A Tour of the Interface
Field has one canvas of boxes, one code editor, and a handful of panels that open over them. This page shows each one: what it is for, how to open it, its shortcut, and how to close it. Every panel closes the same way, with the × in its top-right corner or with Esc while it has the focus. The command palette and Open Anything have no ×; Esc closes them.
If you have not made a box yet, start with the Survival Guide. The other tours go further into one subject each: Connecting Boxes, Graphics on the GPU and Looking at Data.
Shortcuts at a glance
These are the shortcuts for the parts of Field on this page; Keyboard shortcuts
has the complete list. You can change any of them in ~/.afield/keybindings.yaml, and a command
with no shortcut runs from the command palette. On Windows and Linux, cmd is ctrl.
| What | Command | Default shortcut |
|---|---|---|
| Command palette | open-command-palette |
cmd+shift+p, f1 |
| Open Anything | open-anything |
cmd+p |
| Insert a template | insert-from-workspace |
cmd+t |
| AI chat for the selected box | ai-chat-panel |
cmd+4 |
| Shortcut card | show-cheatsheet |
? |
| Documentation pane | toggle-docs |
cmd+/ |
| Run the line or selection | execute-fragment |
alt+enter |
| Code history for a line | history-lens-selection |
alt+shift+h |
| Search boxes | document-search |
cmd+f (canvas focused) |
| Bookmarks panel | show-bookmarks |
alt+b |
| Frame the selection | frame-selected |
alt+f |
| Reset the view | reset-view |
alt+h |
| Layers panel | show-layers-panel |
alt+l |
| Drawing layer | toggle-drawing-layer |
alt+d |
| Macro Recorder | macro-transcript-panel |
none |
| Document history | show-document-history |
none |
| Document guide | show-document-guide |
none |
| Profiling timeline | show-profiling-timeline |
none |
| Publish for the web | publish-document-web |
none |
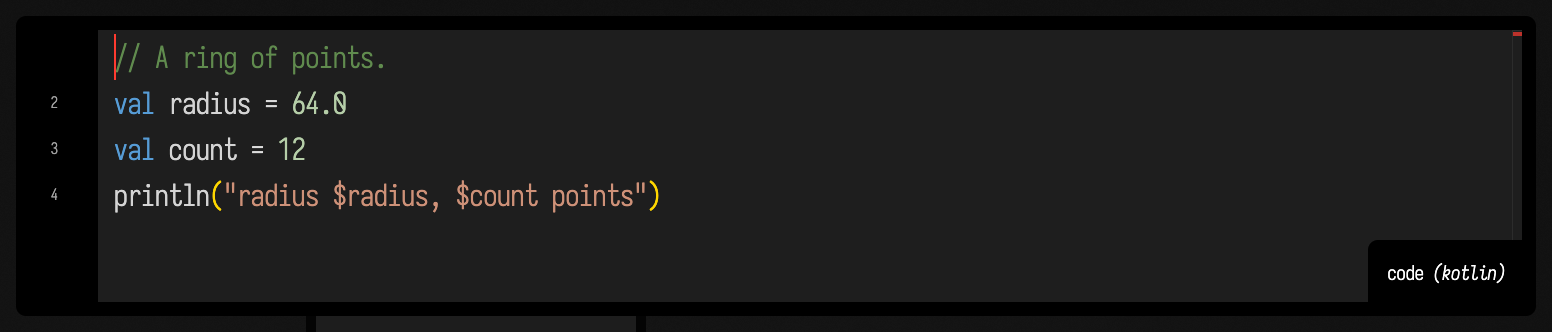
The code editor
Click a box to select it, and its code opens in the editor on the right. The editor is
Monaco, the editor inside VS Code, so its own
shortcuts work: cmd+f finds in the code, cmd+d adds the next match to the selection.
alt+enter runs the current line or selection; the Survival Guide (and its Autocomplete section)
covers running code and autocomplete. Click the empty canvas to deselect and hide it.
The command palette and Open Anything
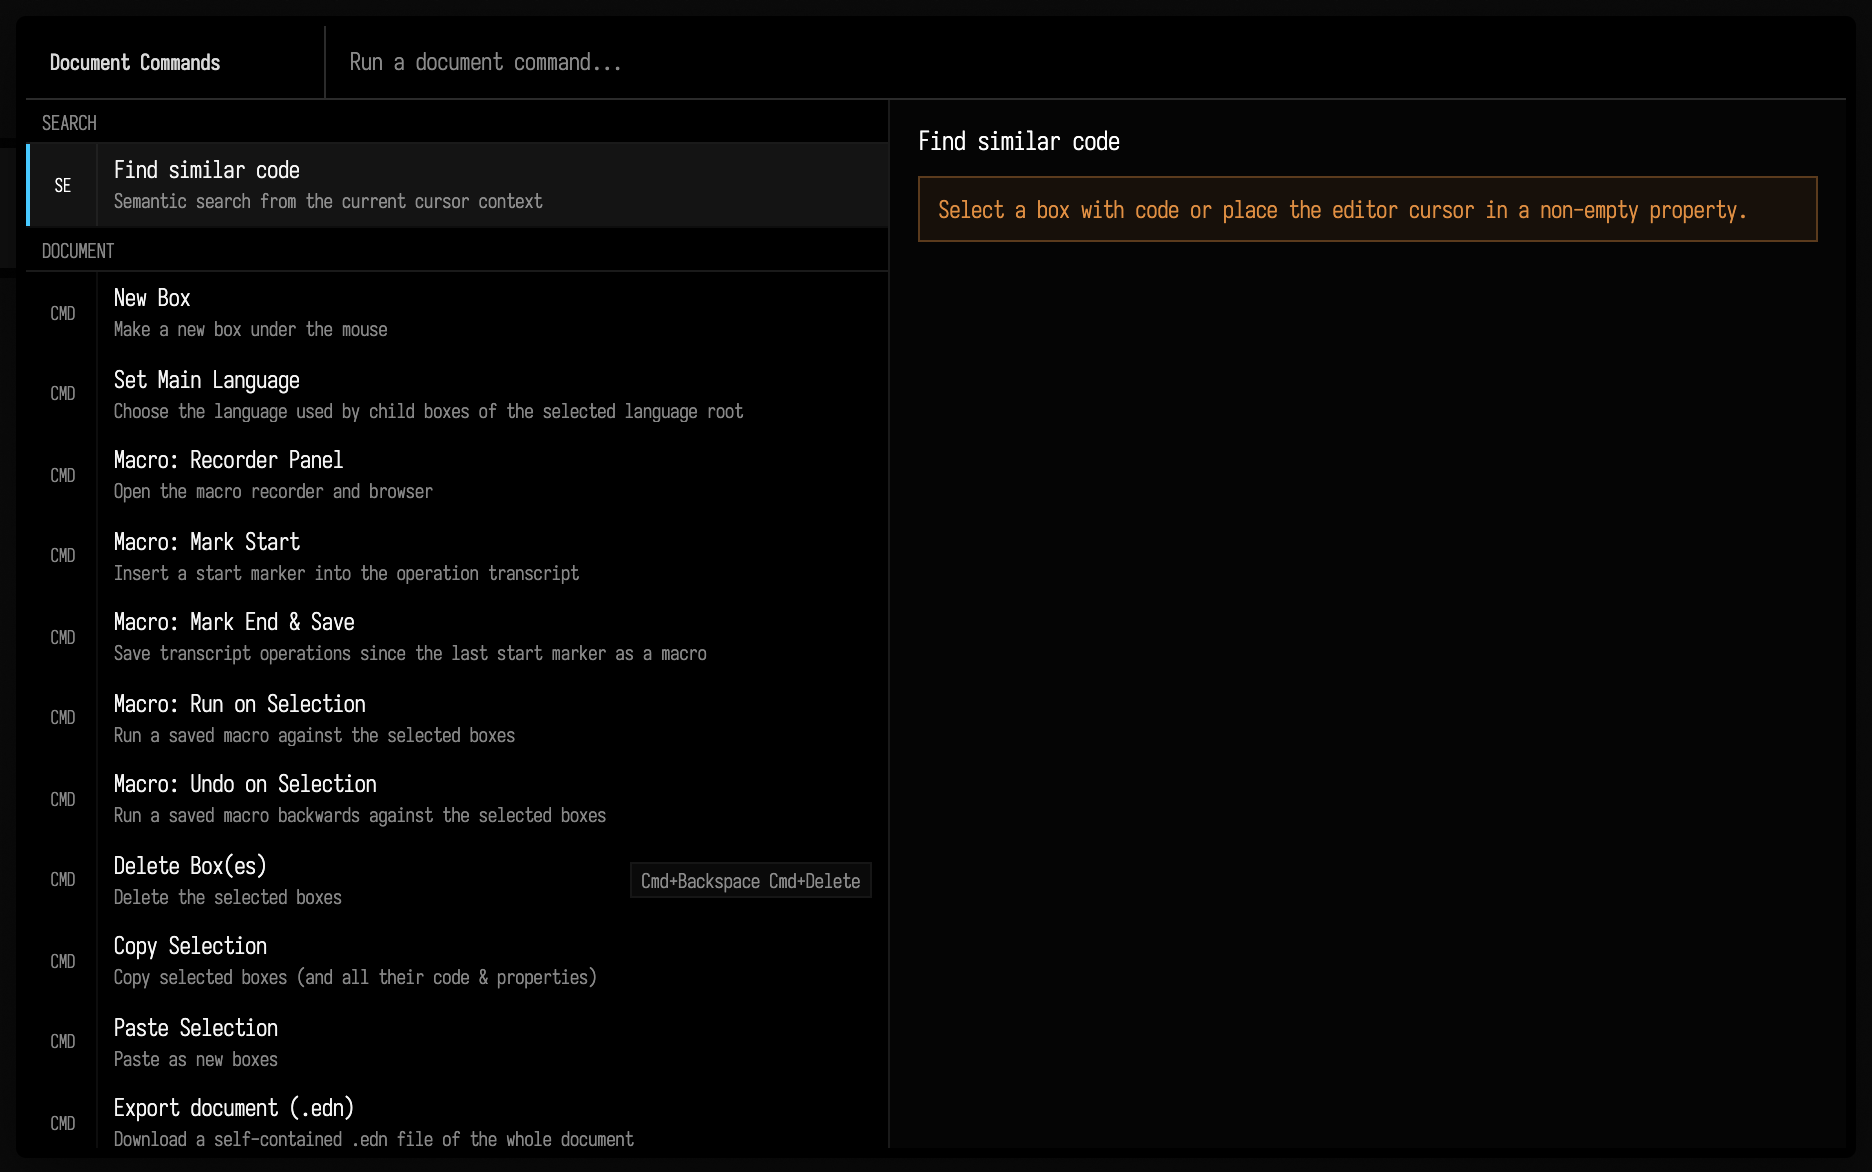
The command palette (cmd+shift+p or F1) lists every command Field has, with its shortcut,
and filters as you type. Open Anything (cmd+p) searches boxes, properties and text across the
document and jumps to what you pick. Esc closes either. The
Survival Guide has more on the palette.
Insert template (cmd+t) is the same kind of palette over your saved templates: pick one and
a copy of its boxes lands where the mouse is. Templates covers saving them.
Press ? on the canvas to see every shortcut on one card. It reads your current bindings, so a
change to keybindings.yaml shows up there; see Keyboard shortcuts.
Search boxes
With the canvas focused, cmd+f opens a search bar at the bottom left of the canvas. It finds
text in every box's name and code (shaders and metadata too), outlines the boxes that match, and
marks each with the properties it matched in. Enter and Shift+Enter, or the ↑ and ↓ buttons,
step through the matches: each one is selected in the editor and its box scrolled into view.
With the editor focused, the same key opens the editor's own Find instead, at the top of the
editor, for the code in front of you.

Bookmarks
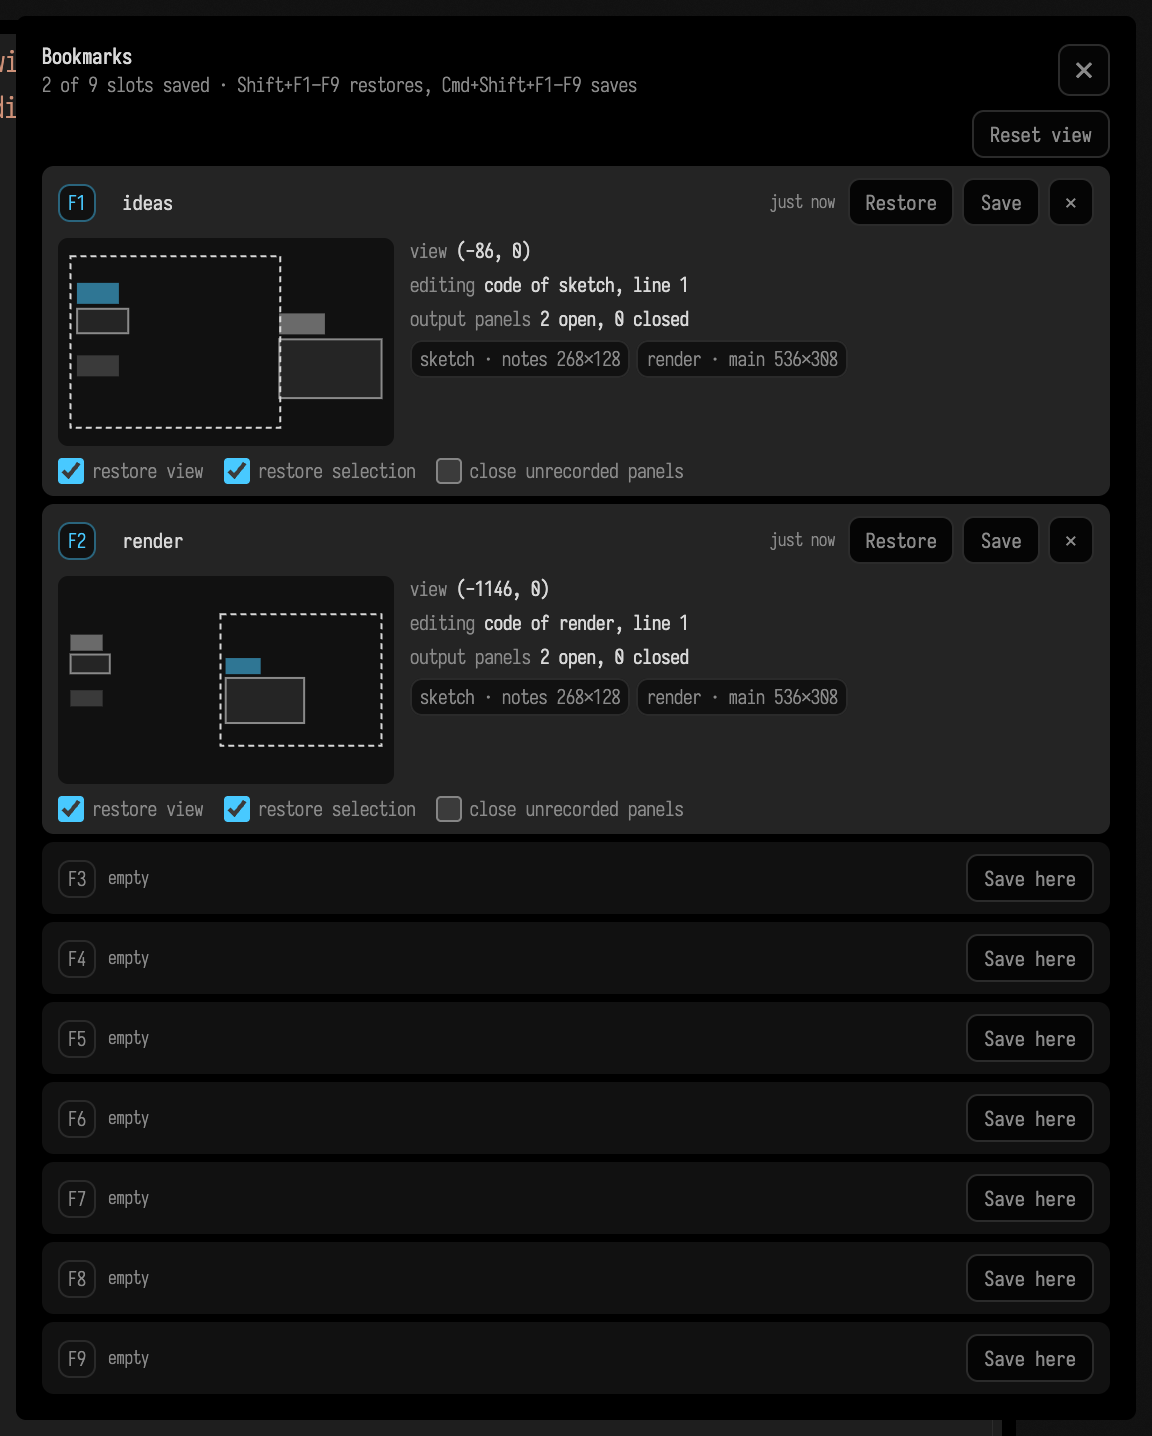
shift+F1 to shift+F9 restore a saved view of the canvas; cmd+shift+F1 to F9 save one.
alt+b opens the bookmarks panel, which lists the slots with their names and a small map of
what each one shows; below, two slots are saved and named, ideas and render.
Moving around the canvas explains views,
framing (alt+f) and resetting (alt+h).
Layers
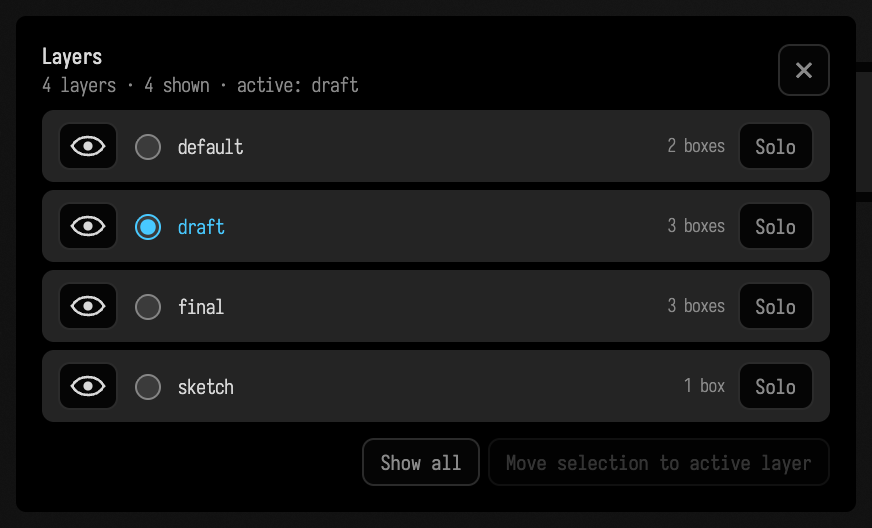
Layers hide and show groups of boxes. alt+l opens the layers panel, where you can show, hide,
solo and activate each layer; new boxes go on the active layer. Here a document has four
layers, and draft is active.
The drawing layer
alt+d turns on a drawing layer over the whole canvas, for notes, arrows and sketches beside the
boxes. While it is on, the mouse and keyboard draw; press alt+d again to go back to the boxes.
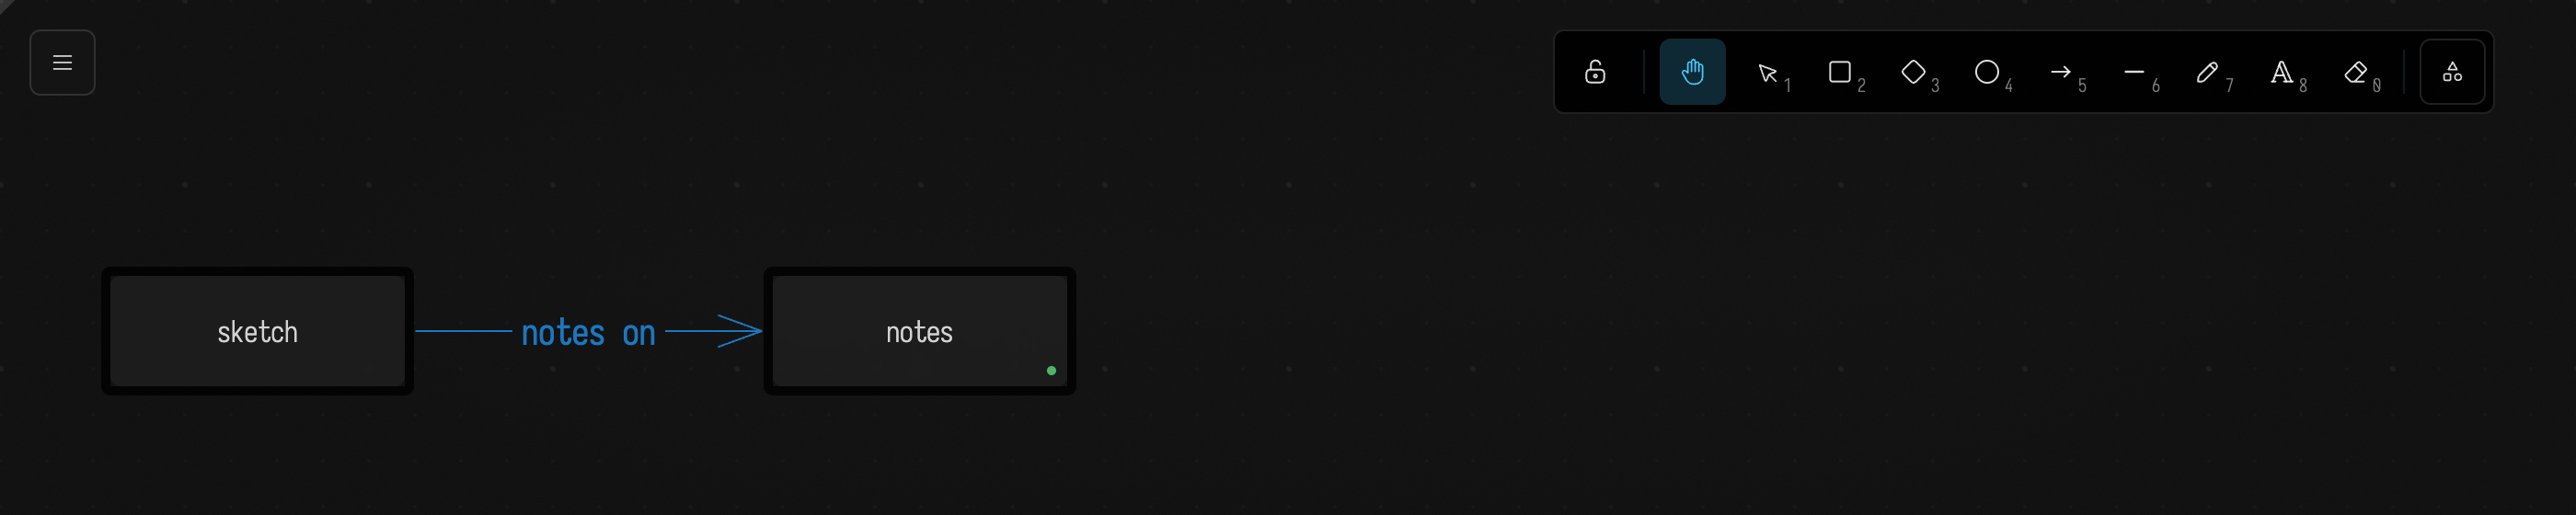
The drawing stays visible either way and moves with the canvas. Boxes can draw on it too: here
the notes box draws the arrow with notation { arrow(from = sketch, to = thisBox) }, and its
ends follow the boxes when they move. Boxes can also read what you draw:
Drawing and Notation.
The Macro Recorder
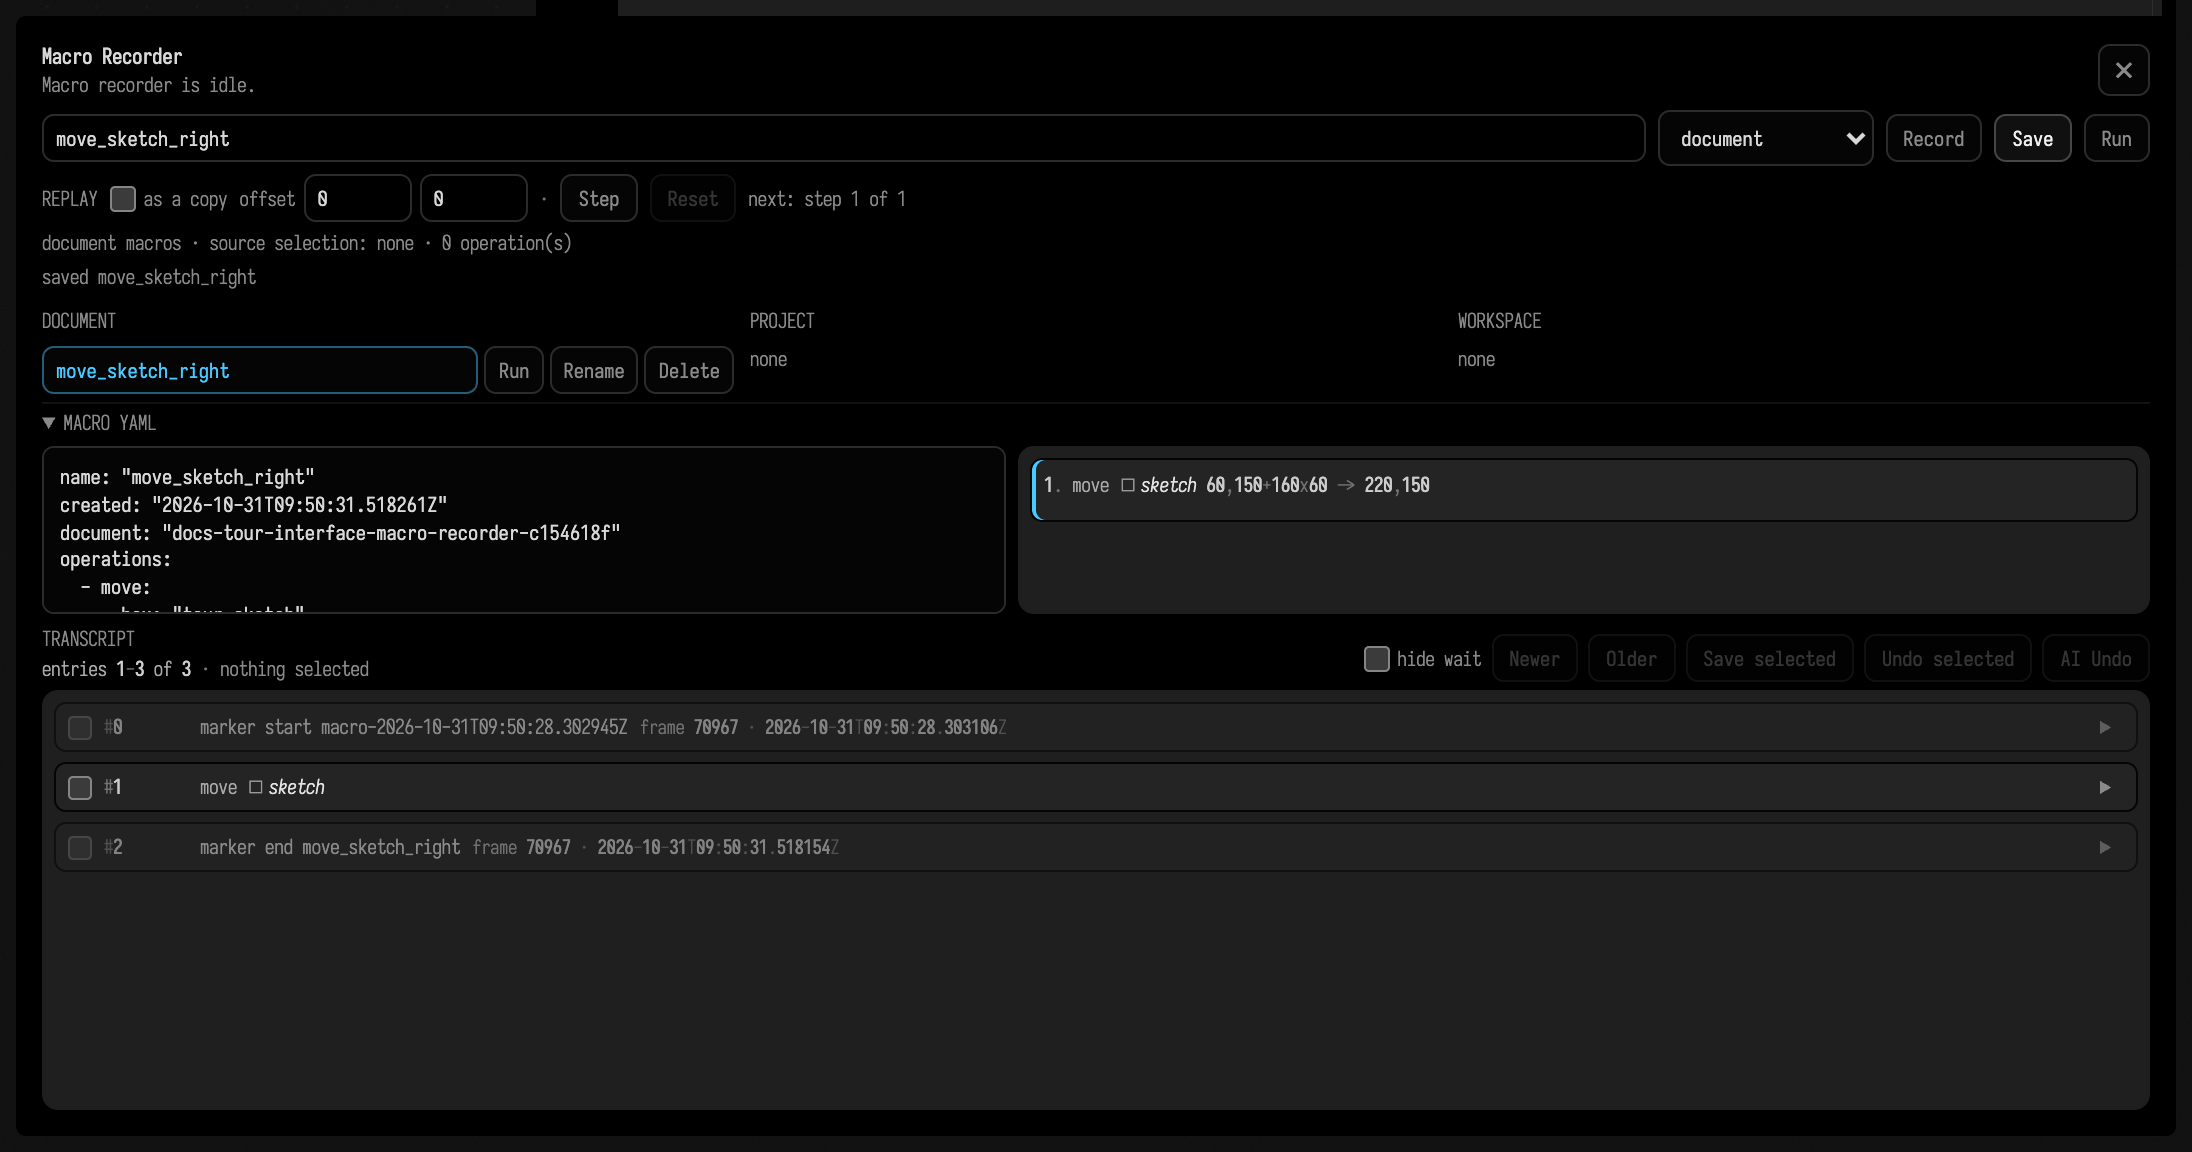
The Macro Recorder records what you do to boxes (making them, editing, connecting, running) and
saves it as a macro you can run again, here or in another document. Open it from the command
palette: Macro: Recorder Panel. Press Record, do something on the canvas, give the macro a
name and press Save; below, the recording is one drag of the sketch box.
Document history
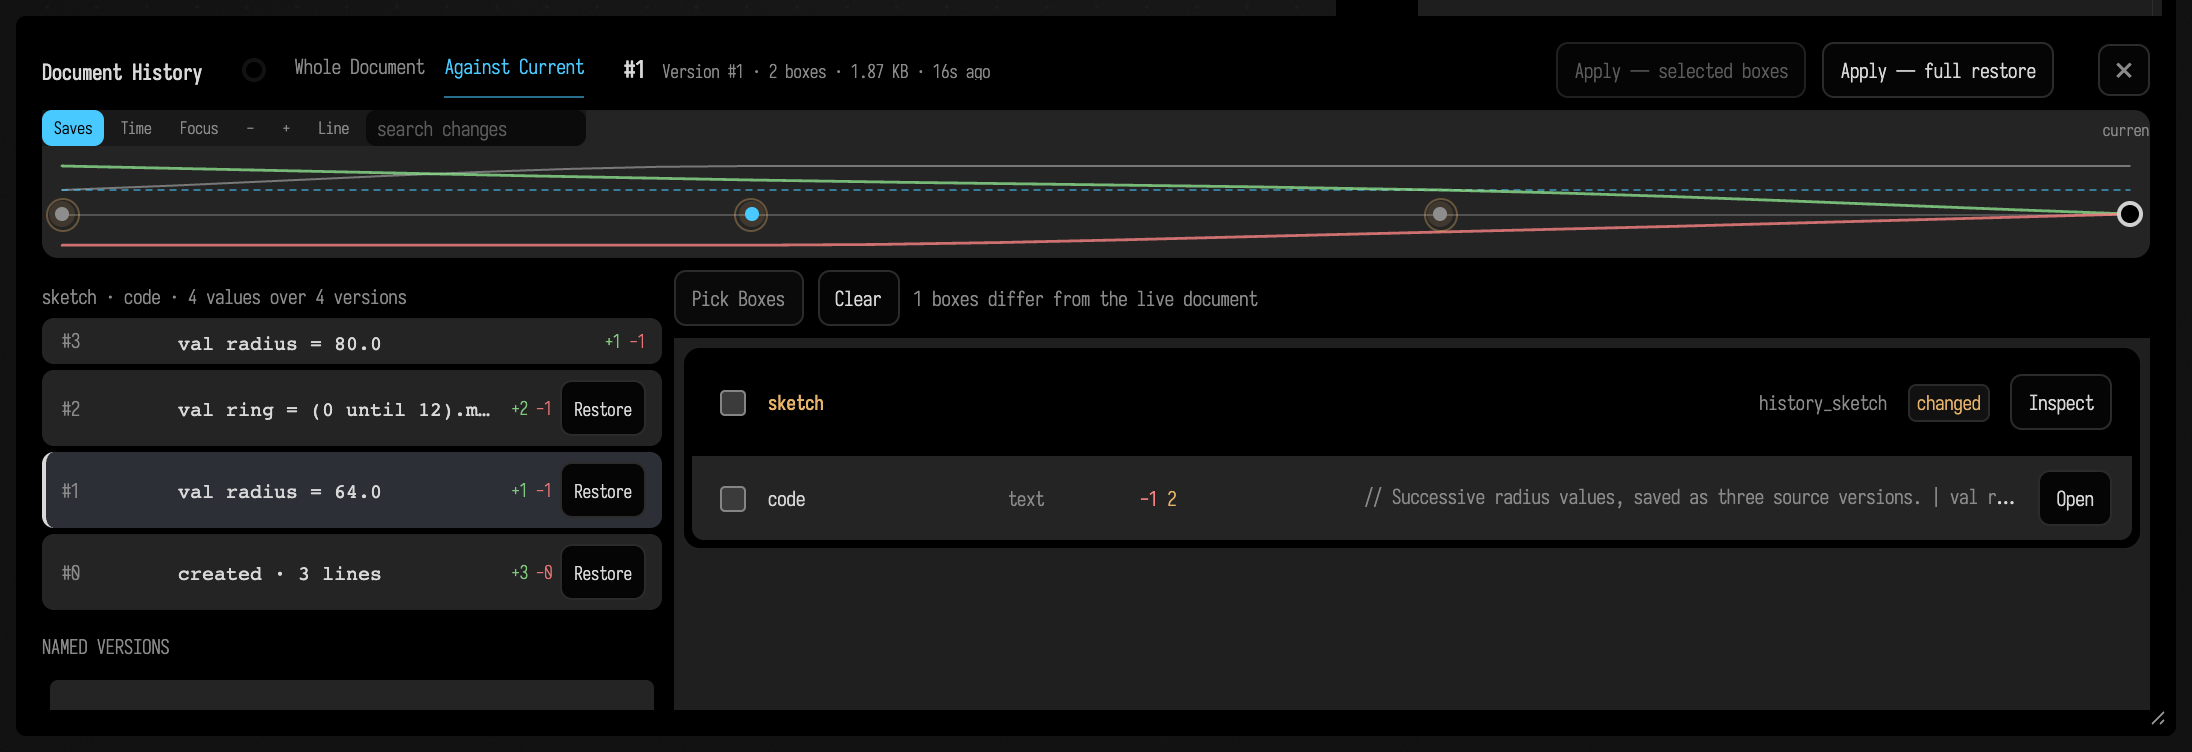
Every save is kept. Show Document History in the command palette opens the history panel
along the bottom of the canvas: a timeline of saves, what changed in each, and buttons to bring
back a box or the whole document. Below, the box sketch has been edited and saved four times,
and version #1 is selected: the counts say what differs from now, This Box lists sketch's
code version by version, and the diff shows that version against the current code.
Document history walks through it.
For one line of code rather than the whole document, put the cursor on it and press
alt+shift+h: the editor opens that line's history in place, version by version.
The document guide
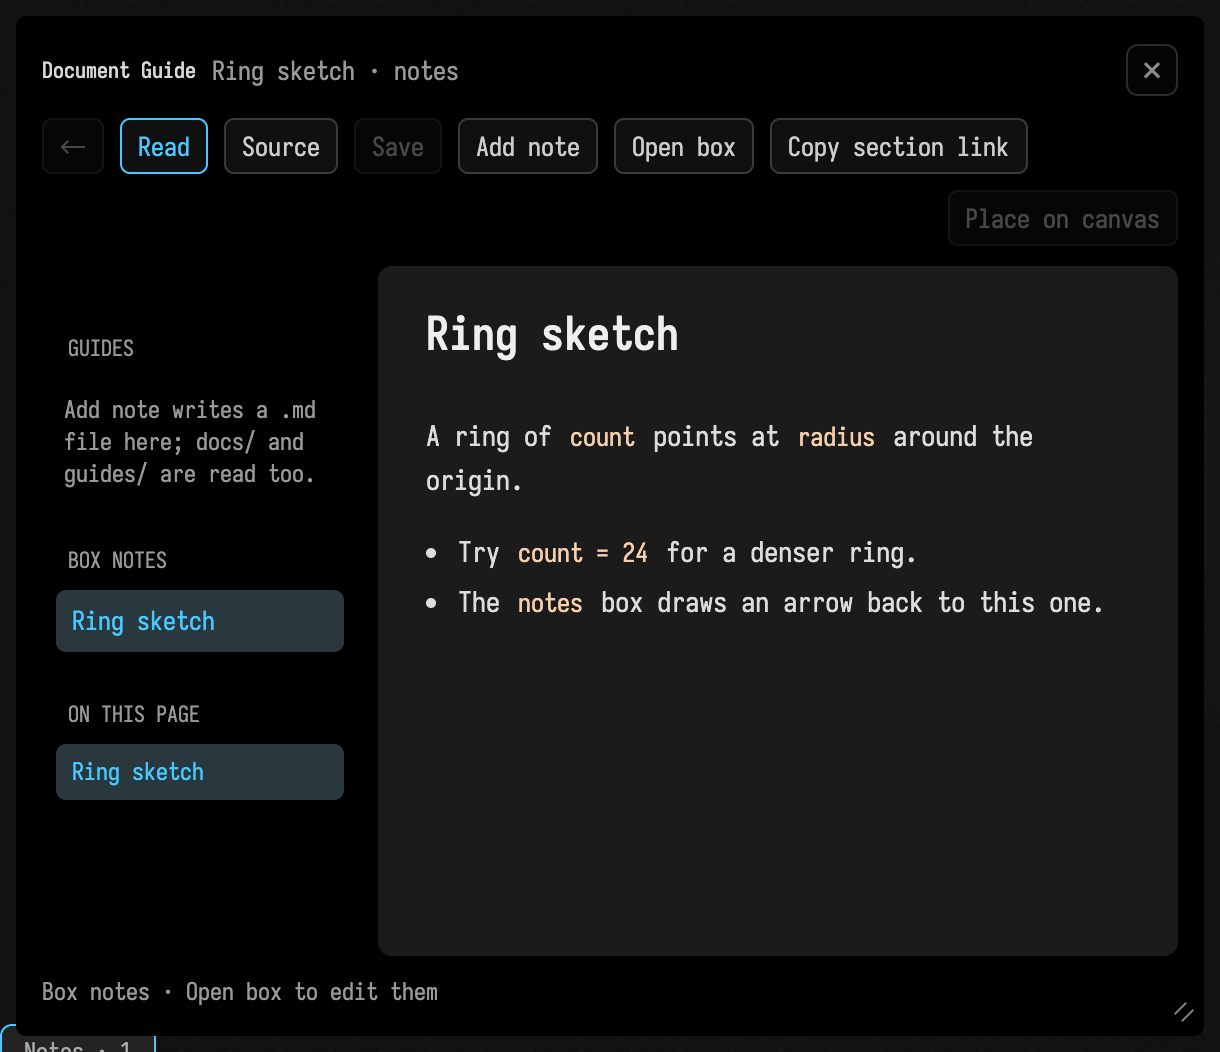
The document guide is a reader for a document's own Markdown files and notes, beside the
canvas. Open it with Show Document Guide in the command palette. A box's notes property
is listed too; here the guide is reading the notes on sketch.
The profiling timeline
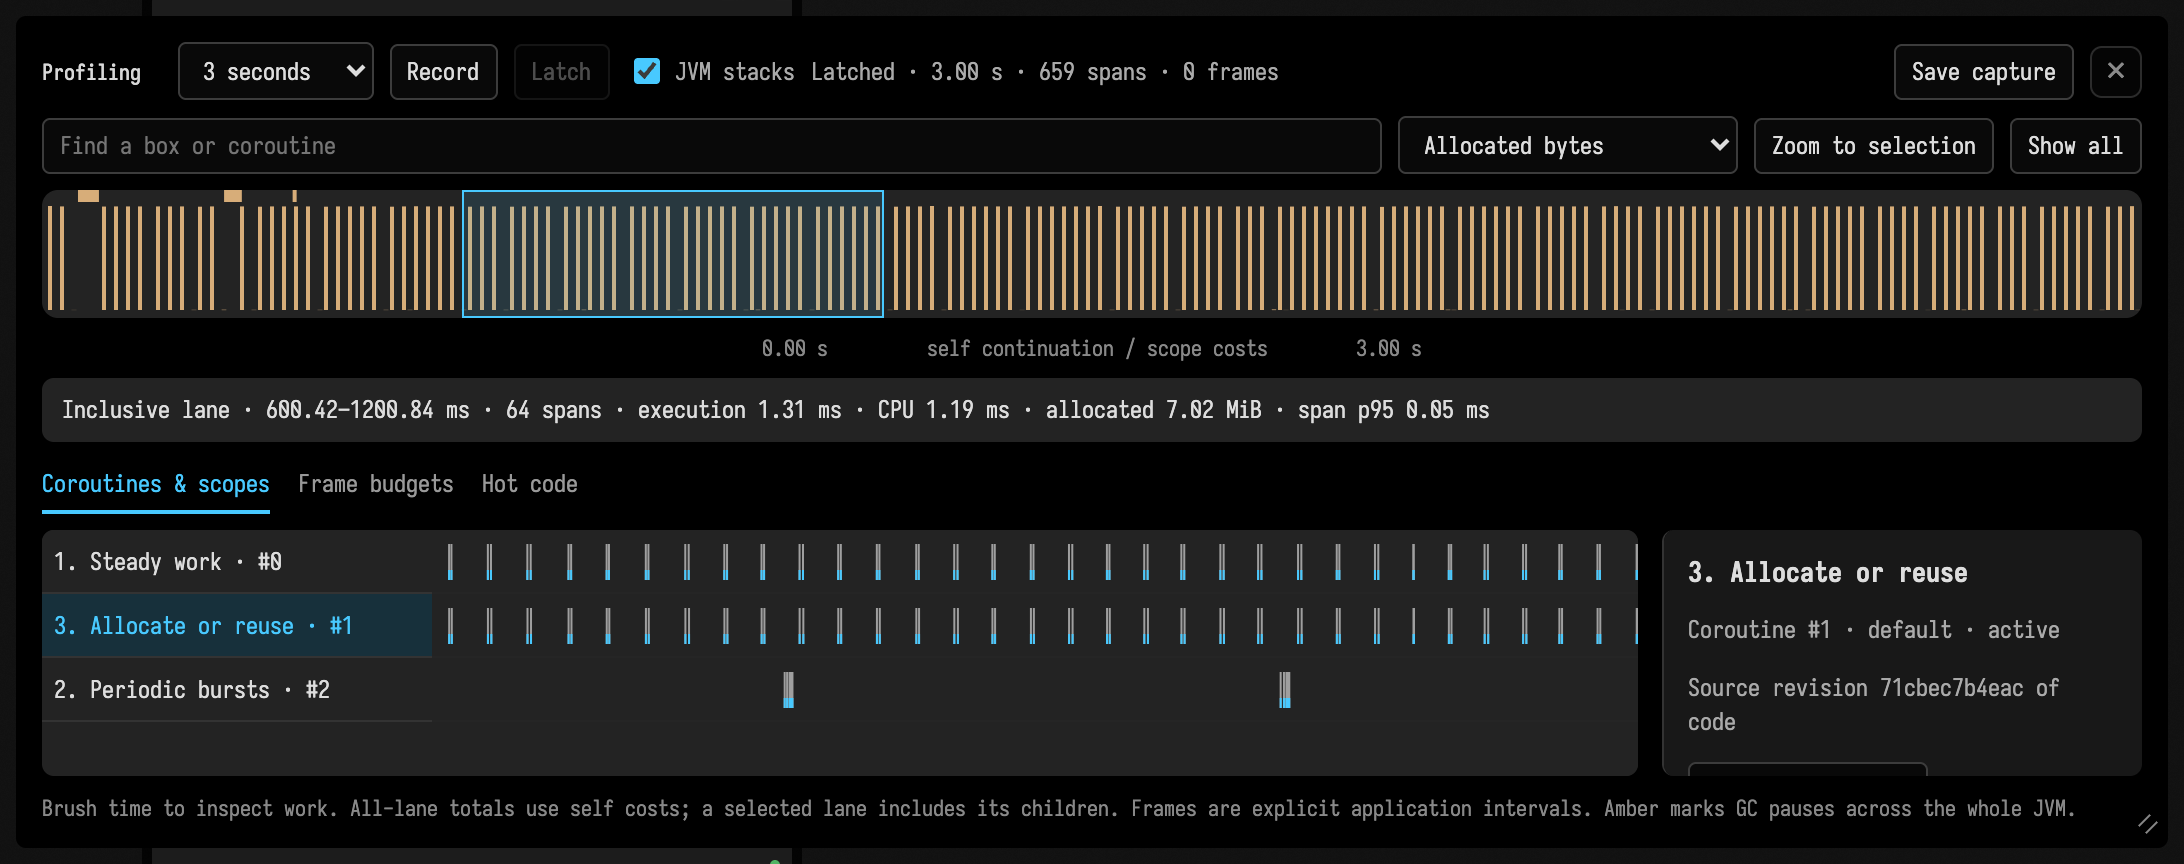
Show Profiling Timeline records what your boxes' coroutines, the CPU and allocations are doing for a few seconds, and lays it out as a timeline you can zoom into. Below is a three-second recording of three running boxes, zoomed in, with the lane of the box that allocates selected. The profiling timeline explains how to read it.
Box output
What a box shows with display(...) (and plots, controls, and the value it ends on) appears in
panels under the box, one per channel. println is different: it prints in the text editor, beside
or under the line that printed. Each panel has a title bar to open or fold it; drag its corner to
resize it. Box output has the details.
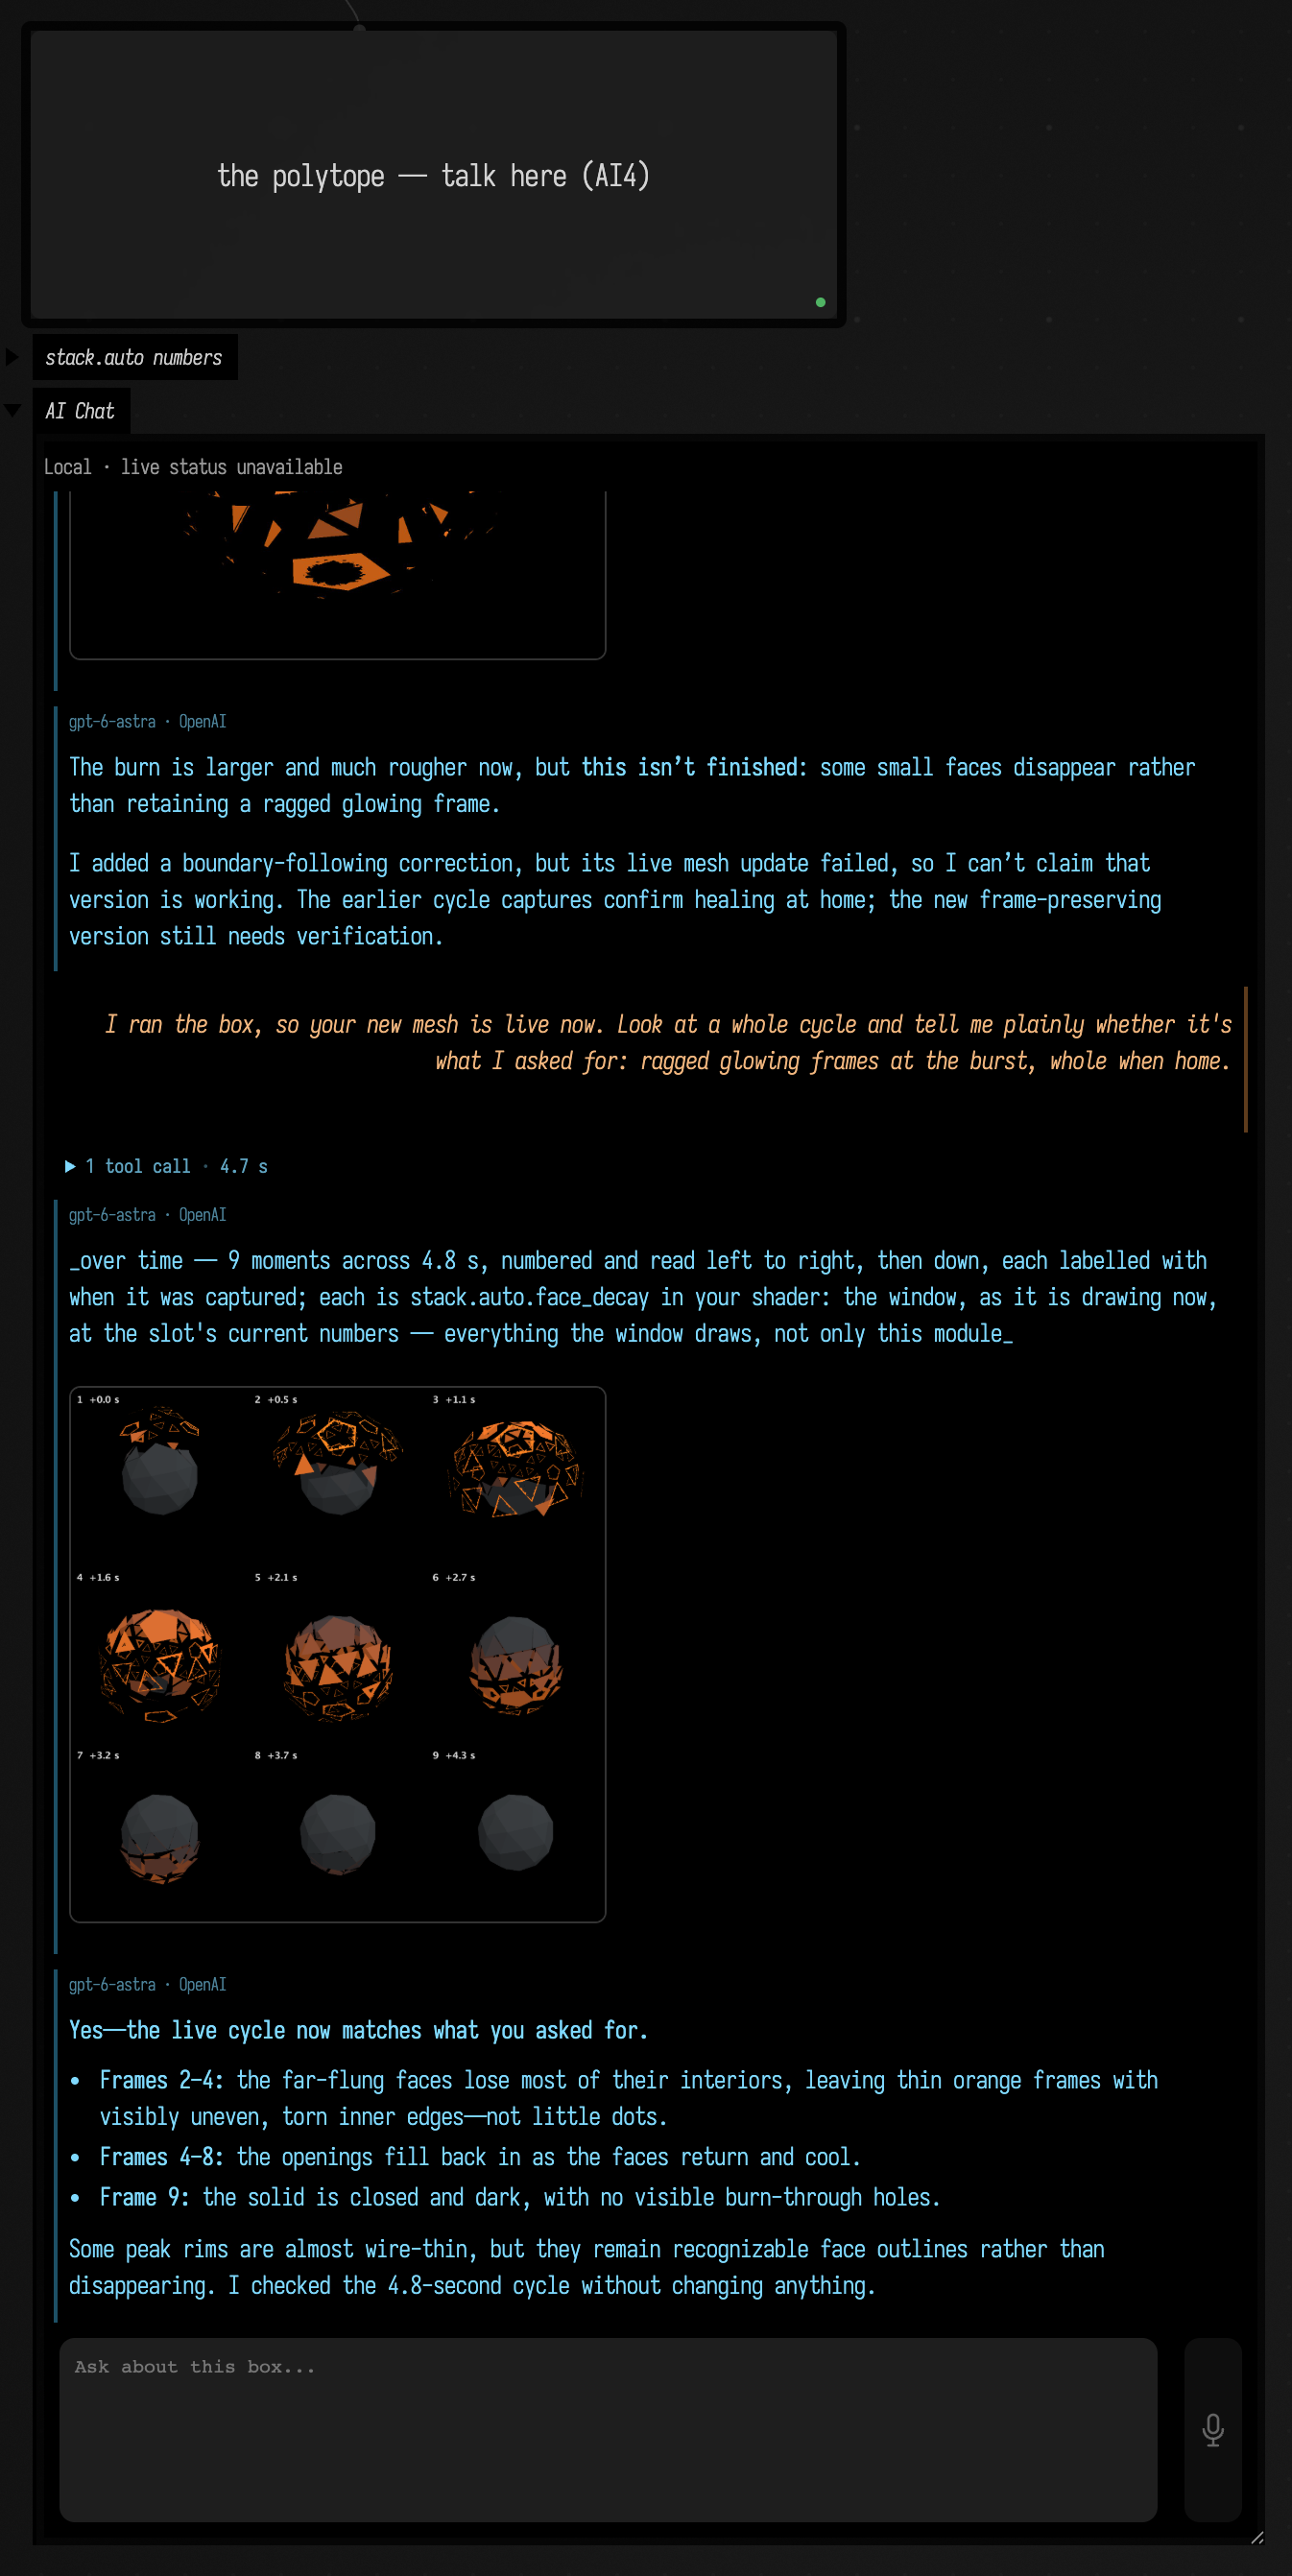
Some panels look like the floating ones above but belong to one box. The
AI chat (cmd+4 with a box selected) opens as that box's
ai-chat output: it reads the box's code and can propose edits to it. Here is one restored from a
saved conversation, in a worked example:
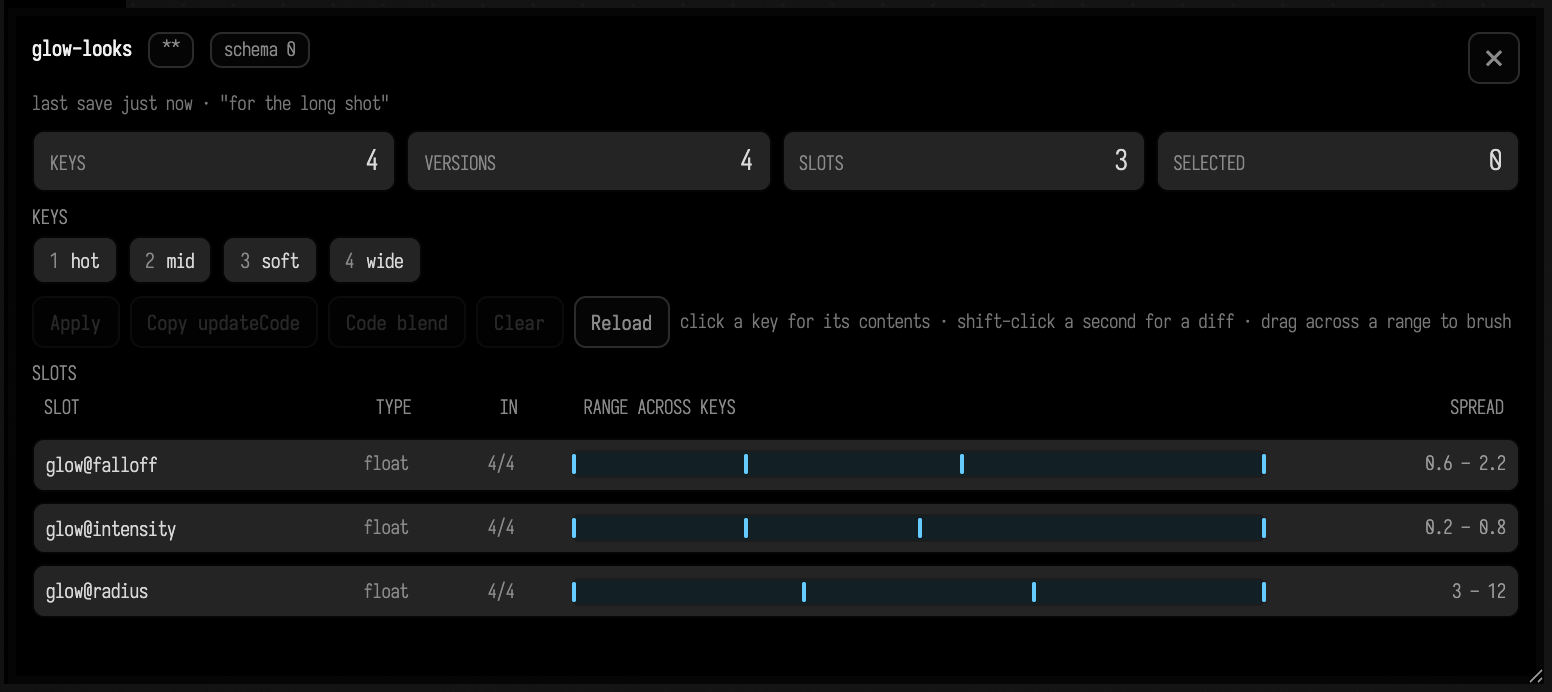
Others are small tools of their own, such as
the keyframe browser, which lists saved keyframes and closes with its own ×. Below it reads
four looks saved for a glow pass, hot, mid, soft and wide, and plots each look's values
for the pass's three settings; Keyframer examples
shows the code that saved them.
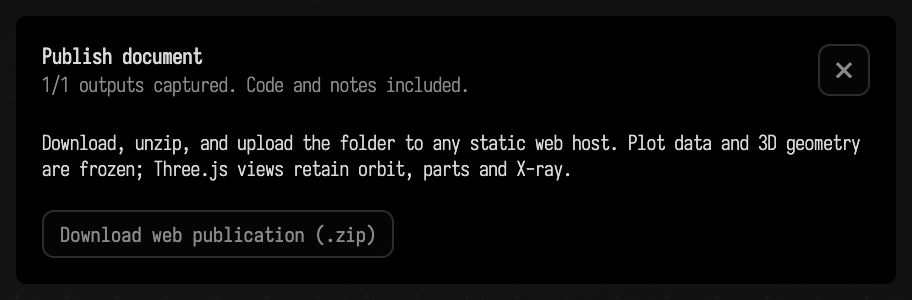
Publish for the web
Publish document for the web (.zip) in the command palette captures every box's output and packages the document as a folder you can put on any static web host. A panel shows its progress and, when it is done, a download button; below, it has captured the output of this document's box.
The Tour: previous, What Field Is · next, Frames and the Animation Loop