Your first five minutes
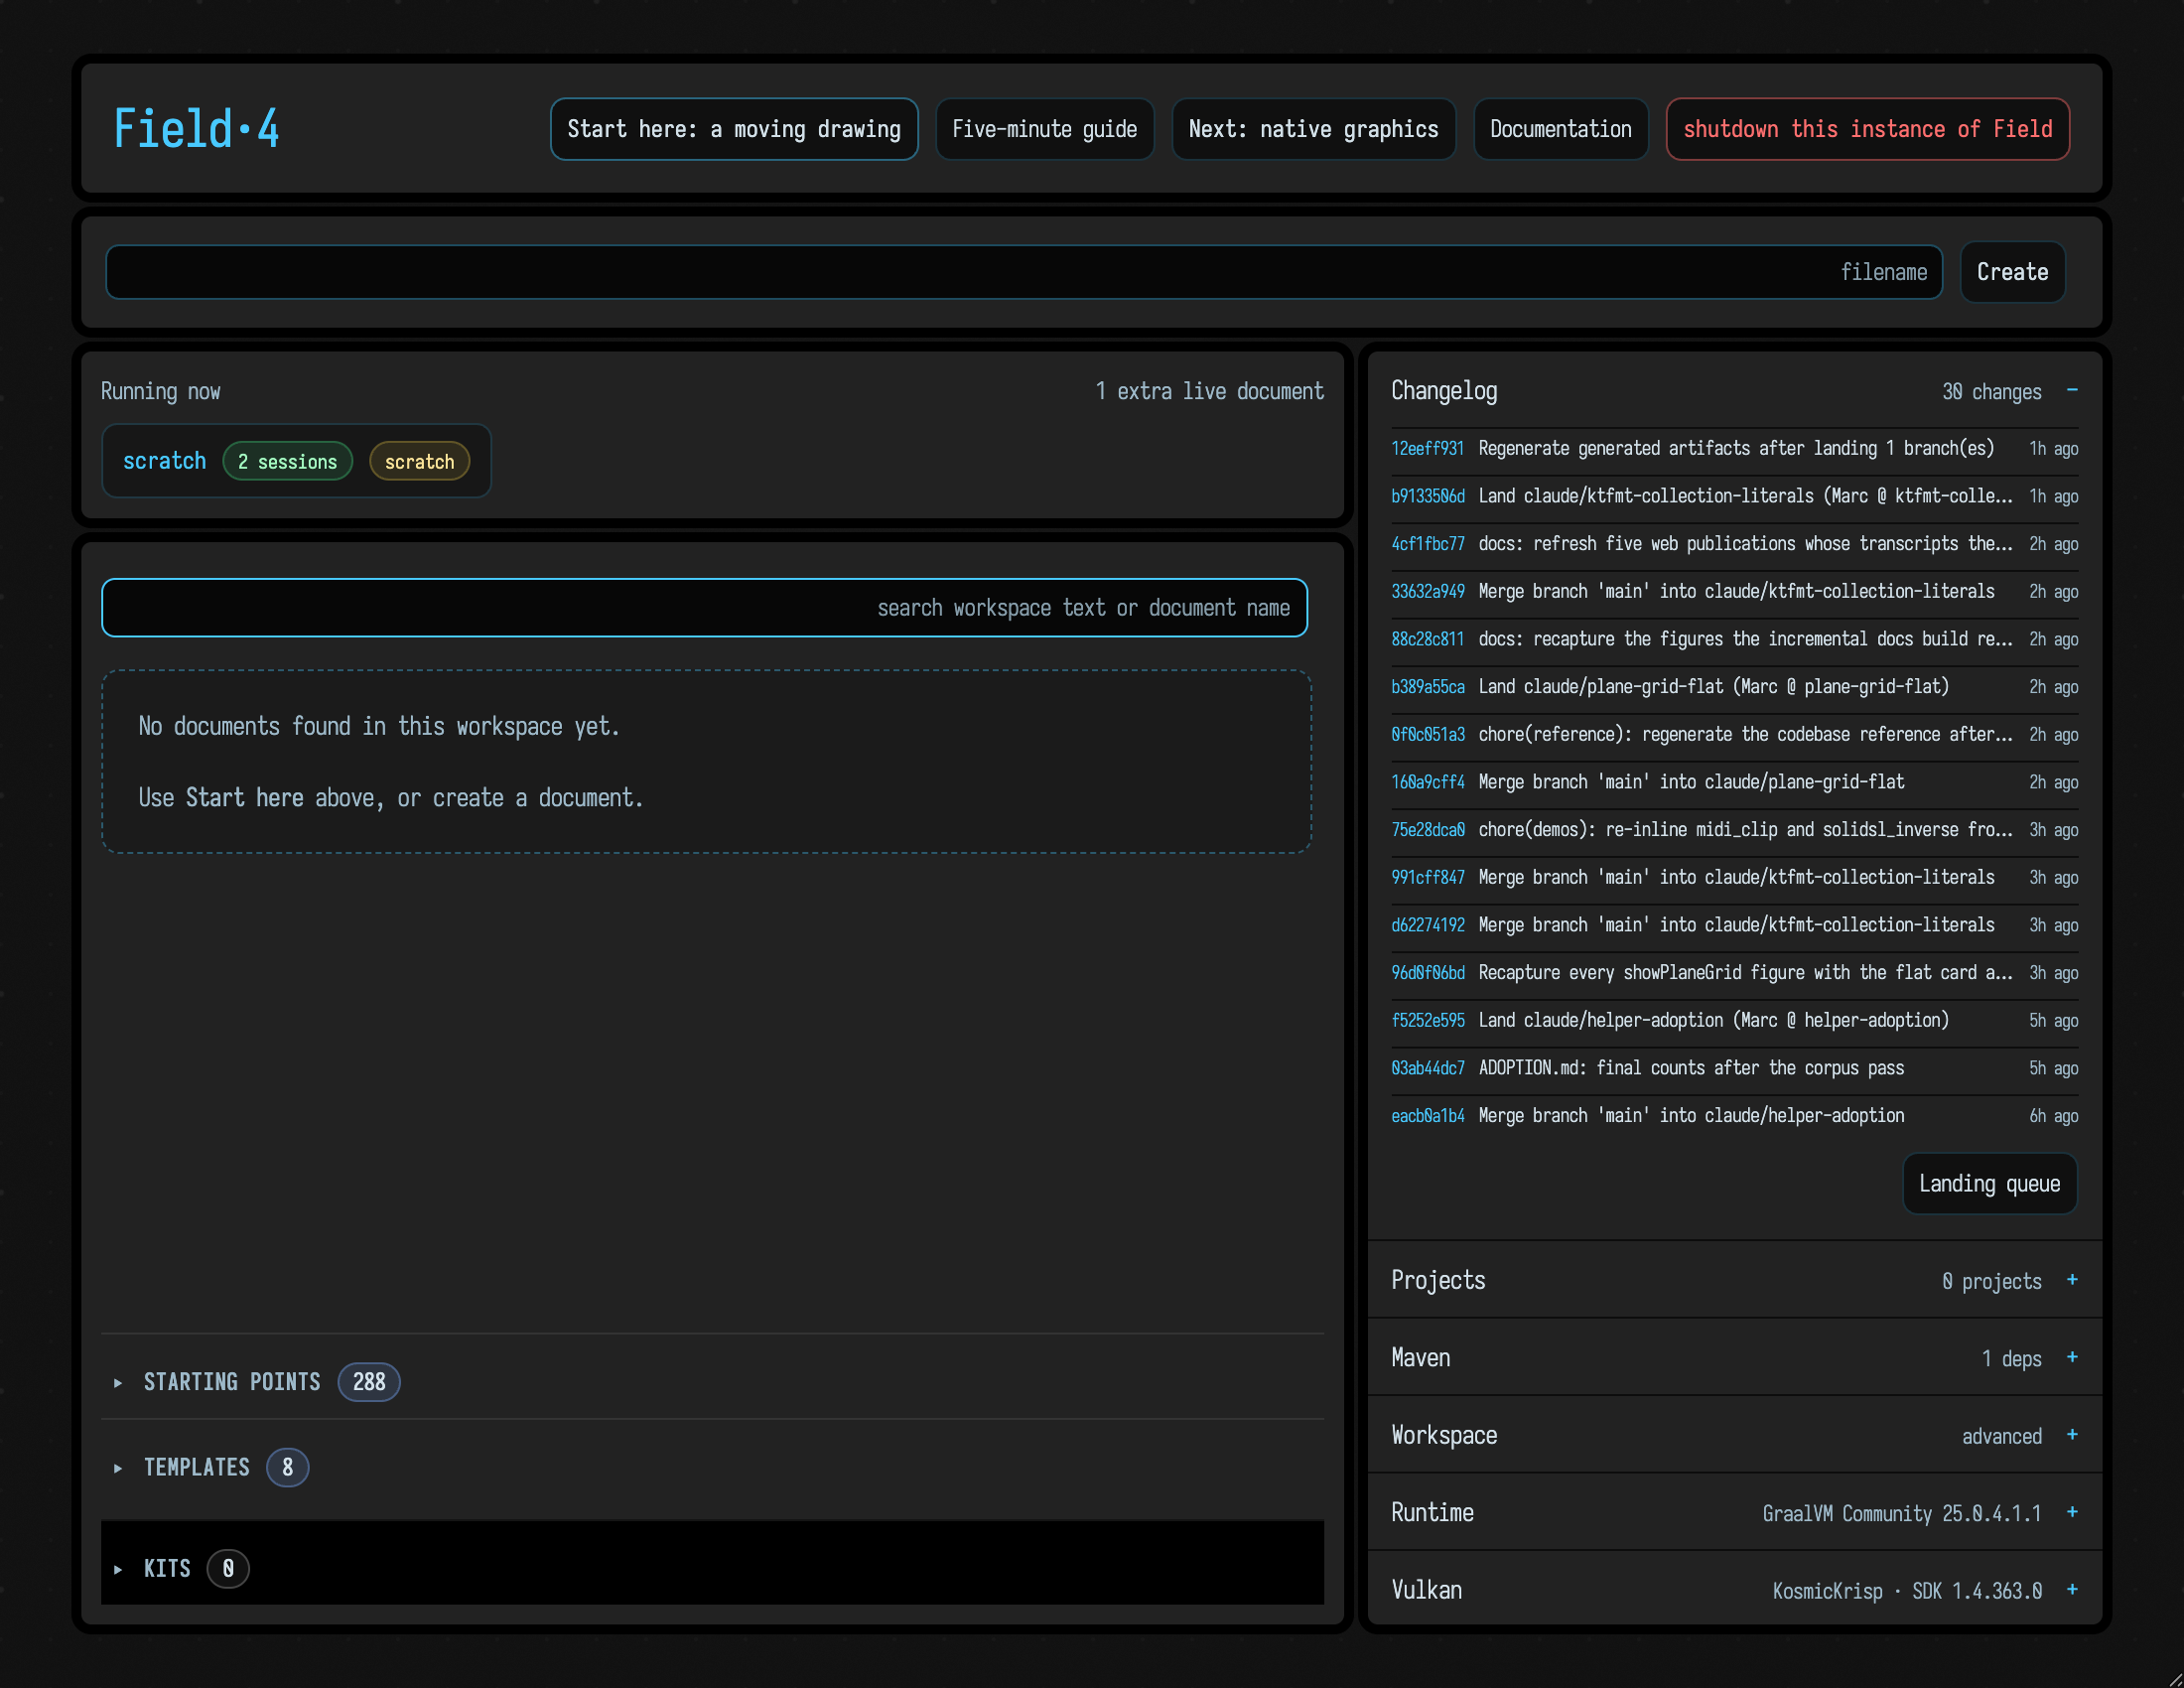
Field opens on its Welcome page. Click Start here: a moving drawing at the top. Field copies the example into your workspace as a document of its own. You can edit your copy freely. For this example, you won't need a GPU driver, Python or an AI key.
The document opens as a canvas holding one box. A box is a titled rectangle that holds code; when the code runs, what it draws or prints appears in the box's output area, just below it. To launch a box is to run all of its code from the top. Code that keeps going, like this drawing's animation loop, keeps running until you stop the box.
The recording shows the steps below: launch, change five petals to eight and run that line while the drawing moves, launch again, and stop.
- Click the box titled First steps · a moving drawing (the one the Welcome button copied for you) to select it and open its code in the editor.
- Press alt/option-Up to launch it. Open the output disclosure below the box if the drawing is collapsed. Fine blue-white curves ripple and twist together.
- While it runs, change the 5 in
var petals = 5(the second line) to 8, keep the cursor on that line and press alt/option-Enter. That runs only this line, and the running drawing picks up eight petals without restarting. Editing alone runs nothing; running the line does. - Press alt/option-Up to launch the whole box again: it starts over, still with eight petals,
and
println(petals)prints 8 beside the code. Press alt/option-Down to stop. The drawing freezes. - Wait for autosave (about five seconds), close the document tab, and reopen your copy from Welcome. The edited code is still there, but the drawing is not moving: opening a document does not restart its animations. Launch it again to bring it back.
If a window manager intercepts the shortcuts, use Field's editor command palette (ctrl/command-shift-P) to find the launch and stop commands. Press ? on the canvas for the shortcut card.
The drawing is made of FLines, Field's type for drawn lines and curves, drawn into the box's output, so it needs no separate graphics
window. Its loop computes a ribbon from petals and phase. Each layer follows the same wave
with a small delay, making the lines bunch together and spread apart. The code is in the document,
including the comments that walk through these steps.
The fine-line motion takes inspiration from Étienne Jacob’s animation gallery.
Try another edit: change petals again while the drawing runs. The line you run becomes part of
the state the loop is already using. That's a useful way to work in Field: keep the thing you're
making alive while you change it.
Try a native graphics window
The drawing above runs in a box's output panel. If you'd like to try a separate GPU graphics window too, the next starting point takes you there. You can skip it and continue to the Survival Guide if you want to stay with the basics for now.
Return to Welcome and click Next: native graphics. This opens an editable first-graphics
copy with two connected boxes. The window draws with Vulkan, the GPU graphics system Field uses,
so first open the Vulkan panel on the Welcome page and check that it finds a working GPU
driver. You also need a desktop session for the window to appear in.
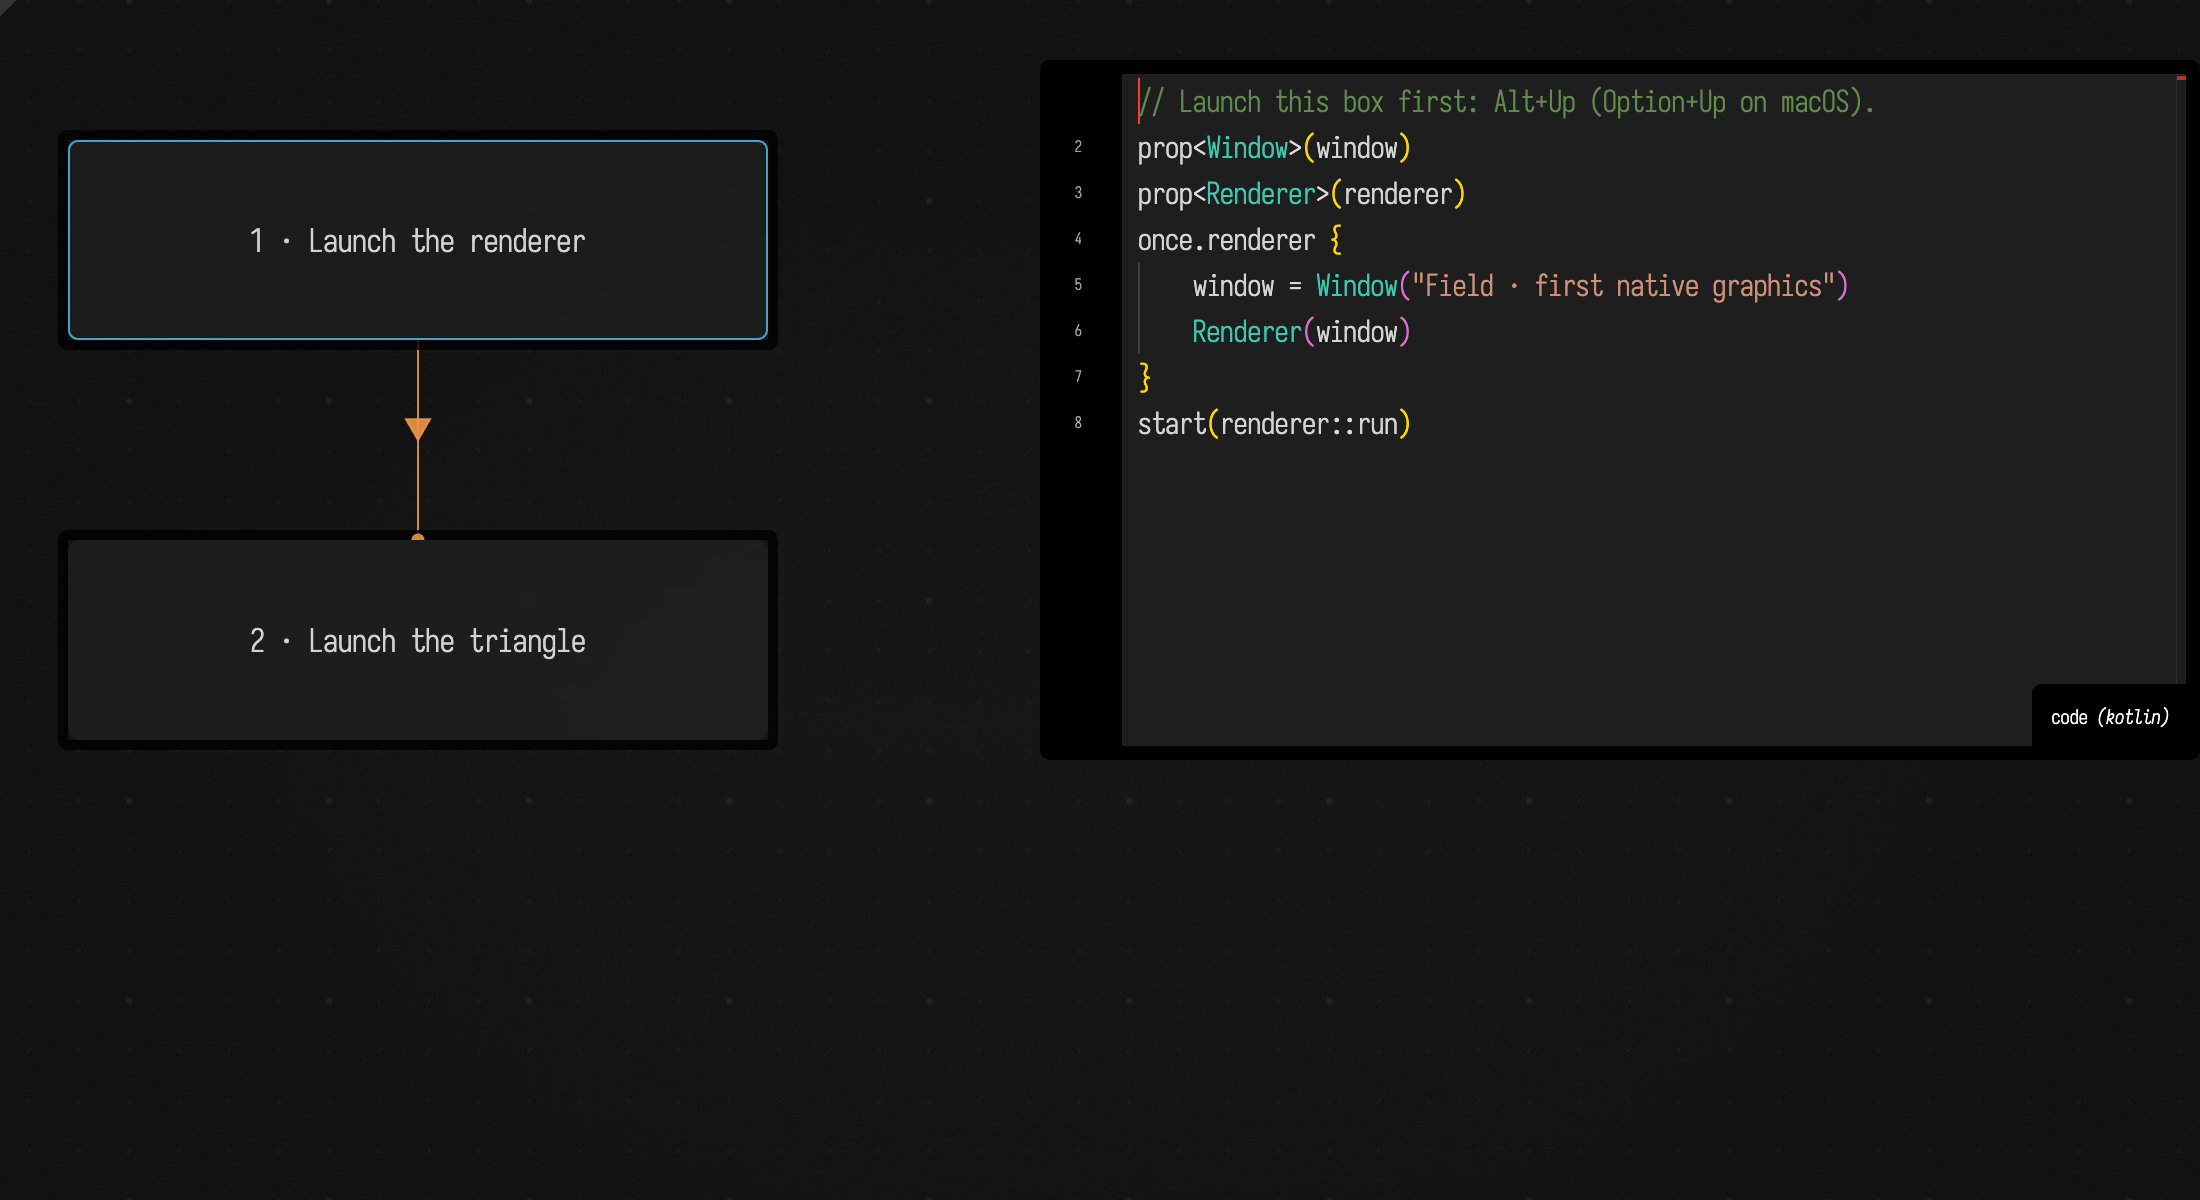
- Click the 1 · Launch the renderer box to select it and open its code. Press alt/option-Up. A separate, initially black graphics window opens.
- Return to Field, click the 2 · Launch the triangle box, and press alt/option-Up. The graphics window now shows a colored triangle.
- To stop, select the triangle box and press alt/option-Down. Then select the renderer box and press the same shortcut.
The renderer box's code opens the window and creates the renderer. The triangle box's code lists
the triangle's three corners and their colors. The triangle box also holds two shaders, small
programs that run on the GPU: vertex places each corner and fragment colors the pixels between
them. Switch the editor from code to vertex or fragment to read them. The
graphics curriculum builds on this pair step by step. With both boxes running, the window looks like this:

When the triangle runs, Graphics on the GPU goes on to shaders you edit while the window draws.
Where next?
From here, the Survival Guide gives you the moves you'll use every day. To
make more drawings like the first one, go to Drawing with FLines. To learn
where println and display put their results, see Box Output; for where your
work and AI history are kept, see Your code, AI and local history.