More advanced scene-graph based graphics in Field
This page assumes you've digested BaseGraphicsSystem — which tells you how to make and display geometry using Field's graphics system — and BaseGraphicsSystem_Texturing — which tells you how to texture and shade it. We'd definitely start with both those pages rather than here.
Because this page describes an advanced feature of Field graphics system — Field's support for frame buffer objects. Stated most simply FBOs are what OpenGL uses to render geometry to places other than the screen. Ultimately this lets you:
- texture pieces of geometry with textures that you also draw live using OpenGL — for example, procedurally creating textures.
- post process scenes that have been rendered — for example, blurring them or doing color correction.
- make optimizations by which complex pieces of geometry drawn once and then reused.
- do multi-pass and multi-layer effects by which scenes get rendered multiple times to different FBO's and then these textures get combined together to form a single image.
Essentially much of the "progress" of the last half decade of the "computer game-look" has come from being able to render things to texture maps and then use these texture maps in later stages of the pipeline. FBO's are OpenGL's (and thus Field's) way of doing this quickly.
The .field sheet that contains the code for this page can be downloaded here.
And additional tutorial-style page on rendering to warped surfaces can be found here.
What is an FBO in Field
For our purposes here you can imagine that an FBO combines three things that you can find elsewhere in Field's graphics system into a single object. An FBO is:
- A texture map. That is, you can "add" it to shaders and geometry using the '<<' operator and it offers a texture source to any running shaders.
- A canvas. That is, you can "add" things to an FBO and they get drawn into it. Like canvases FBO's also have a camera; and they also often need to get cleared to some background color.
- A thing that needs updating. Unlike a canvas — which draws itself over and over again automatically — you have to conspire with Field to get your FBO drawing. You might not want to draw it every frame; you might want to draw it only once.
That one object should have these three faces is going to make it tricky to document and explain. But there's no avoiding it — the FBO is designed to tie a creatively useful knot in the graphics pipeline.
Hello FBO
Let's just get something on the screen first:
from AdvancedGraphics import *
from field.graphics.imageprocessing import *

canvas = getFullscreenCanvas()

mesh = meshContainer()
plain = makeShaderFromElement(_self)

canvas << plain << mesh

with mesh:
        for n in range(0, 10):
                v1 = mesh ** {_vertex : Vector3(0,0,n/10.0), _color : Vector4(n/10.0, 0, n/10.0, 1)}
                v2 = mesh ** {_vertex : Vector3(0.5,0,n/9.0), _color : Vector4(1-n/10.0, 0, n/10.0, 1)}
                v3 = mesh ** {_vertex : Vector3(0,0.5,n/8.0), _color : Vector4(1-n/10.0, 2, n/10.0, n/10.0)}
                mesh ** [v1,v2,v3]
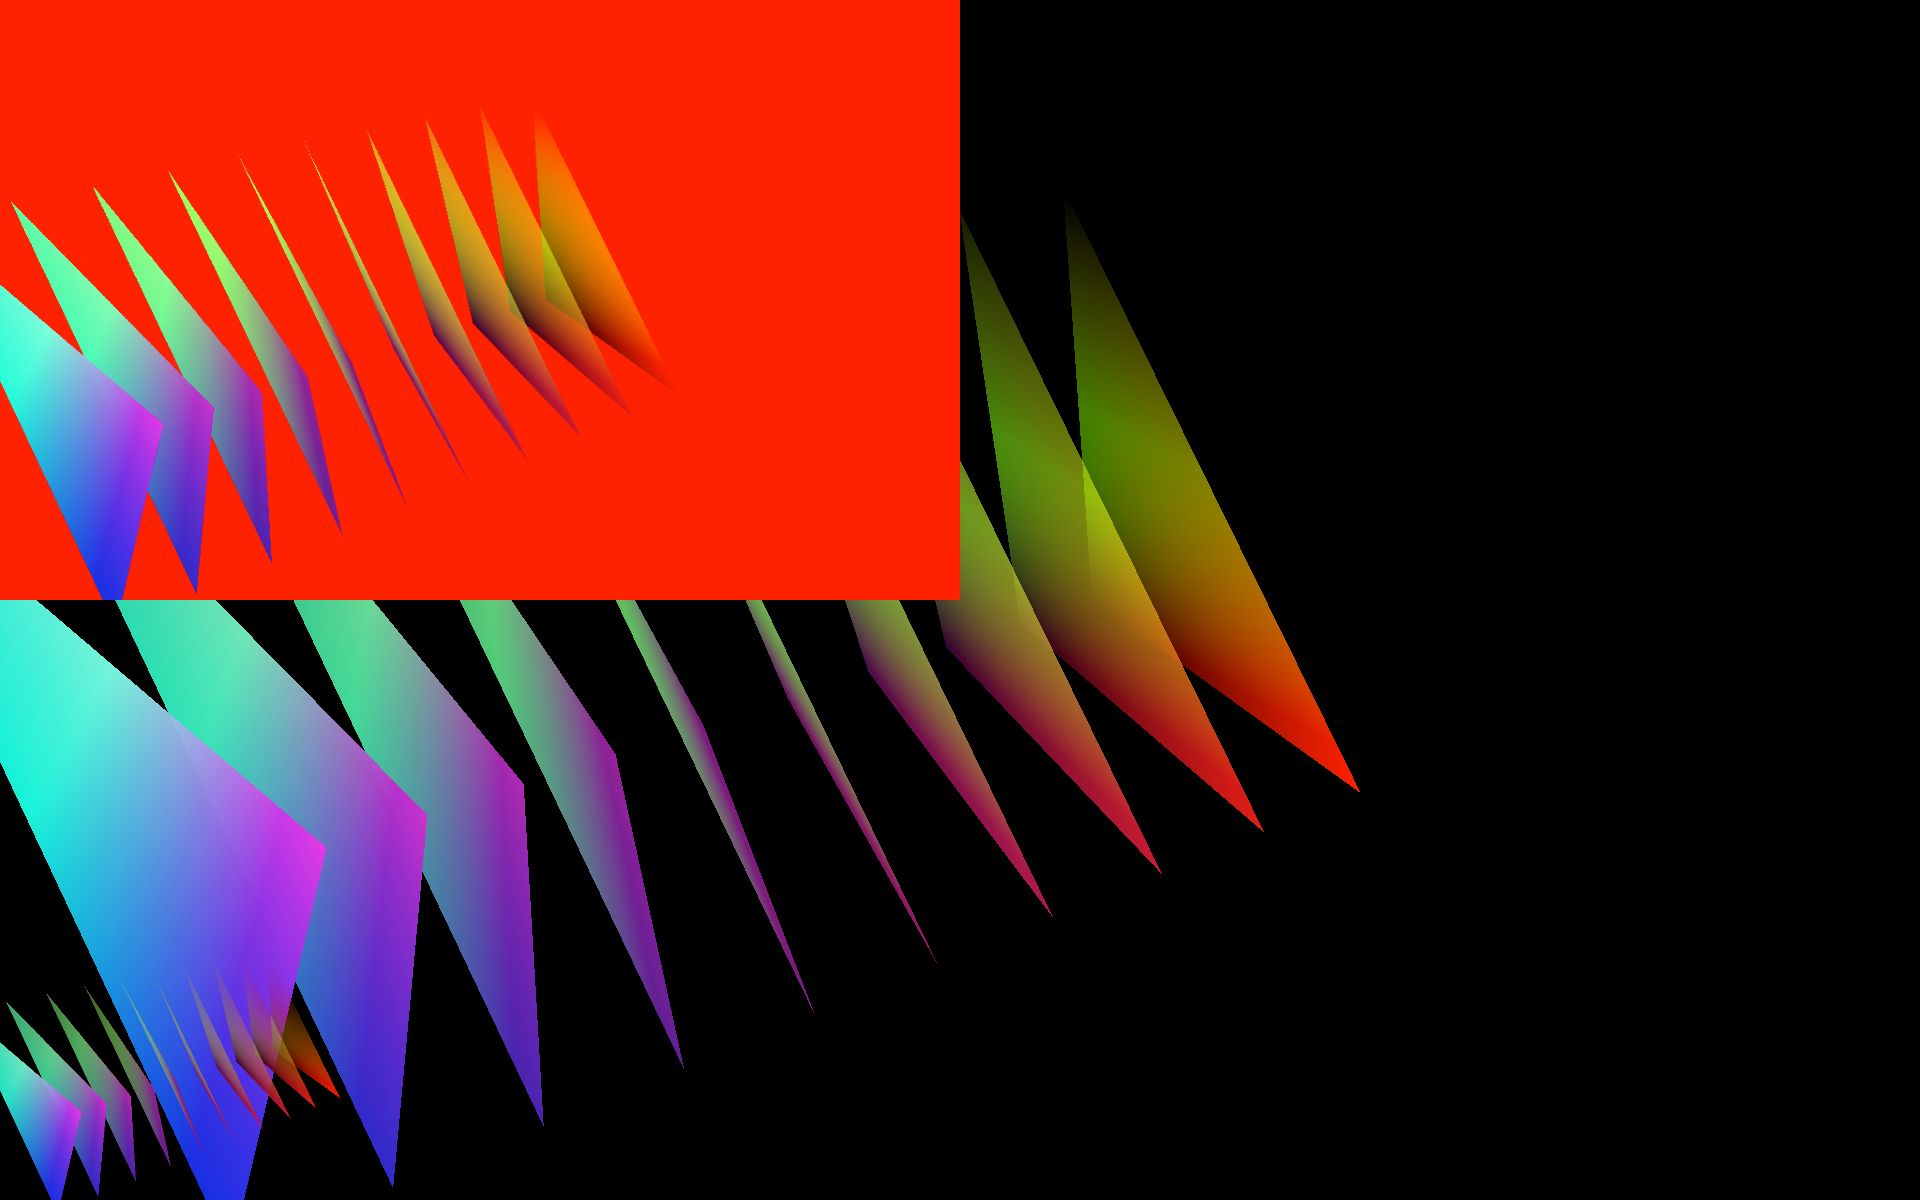
The above code draws 10 colored triangles in a row:
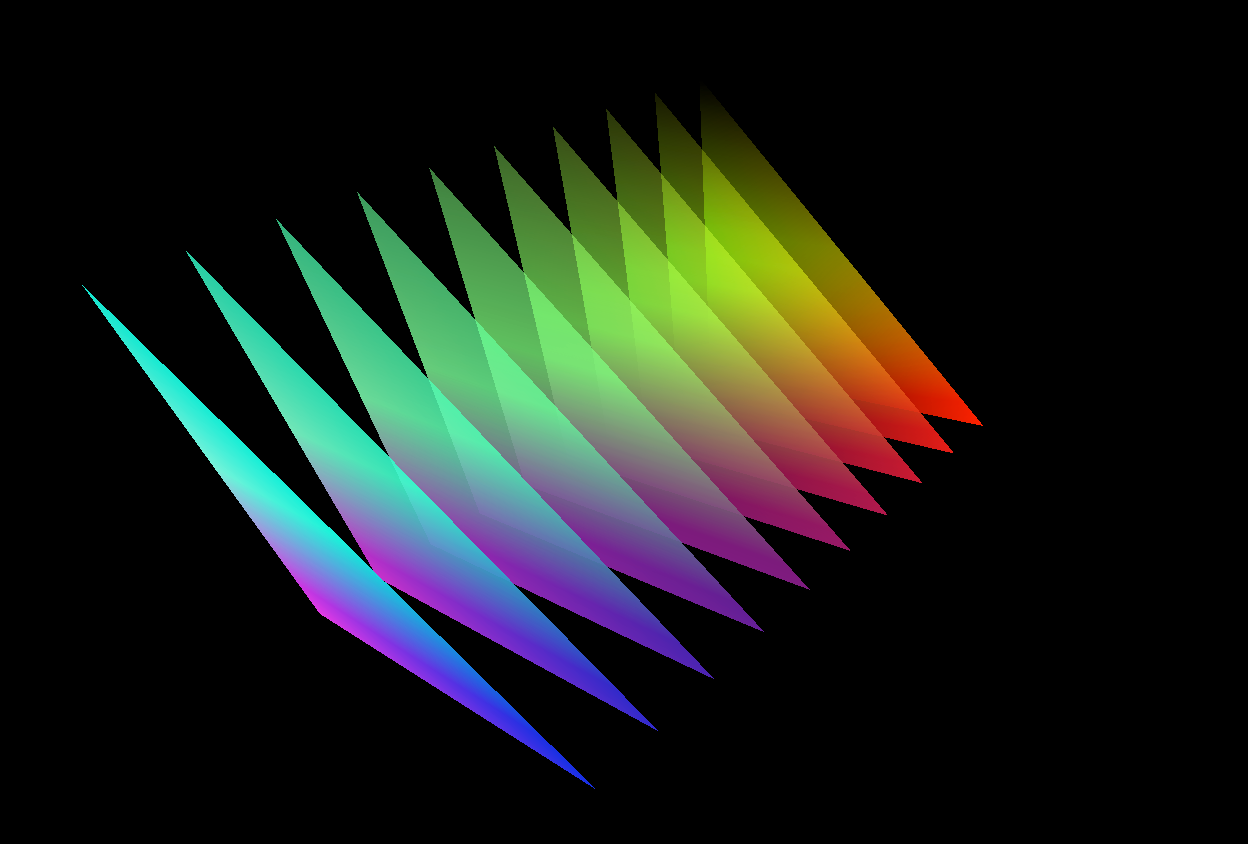
You might have to use the keyboard controls for the camera to dolly in to see these triangles like this.
The code above should make complete sense to you given the BaseGraphicsSystem docs; if it doesn't start asking questions & reading docs.
Now let's add an FBO to the above code:
fbo = makeFrameBuffer(1024, 1024, useFloat=1, useRect=1)
This call makes a FBO that has three properties. Firstly it's a 1024x1024 image; secondly it uses floating point precision (rather than the 8 bit precision that you typically get in textures); and lastly it will offer to the world a rectangular texture map — recall the discussion here.
Having typed and executed this you'll see absolutely no change — it's just a new FBO hanging out unconnected. There's nothing for it to draw and nothing to draw it.
Let's put it on the screen:
canvas << fbo.placeOnscreen(Rect(-1,0,1,1))
(don't worry, we'll write our own version of this connivence call later on in this page). Note that the upper left rectangle of our screen has turned black:
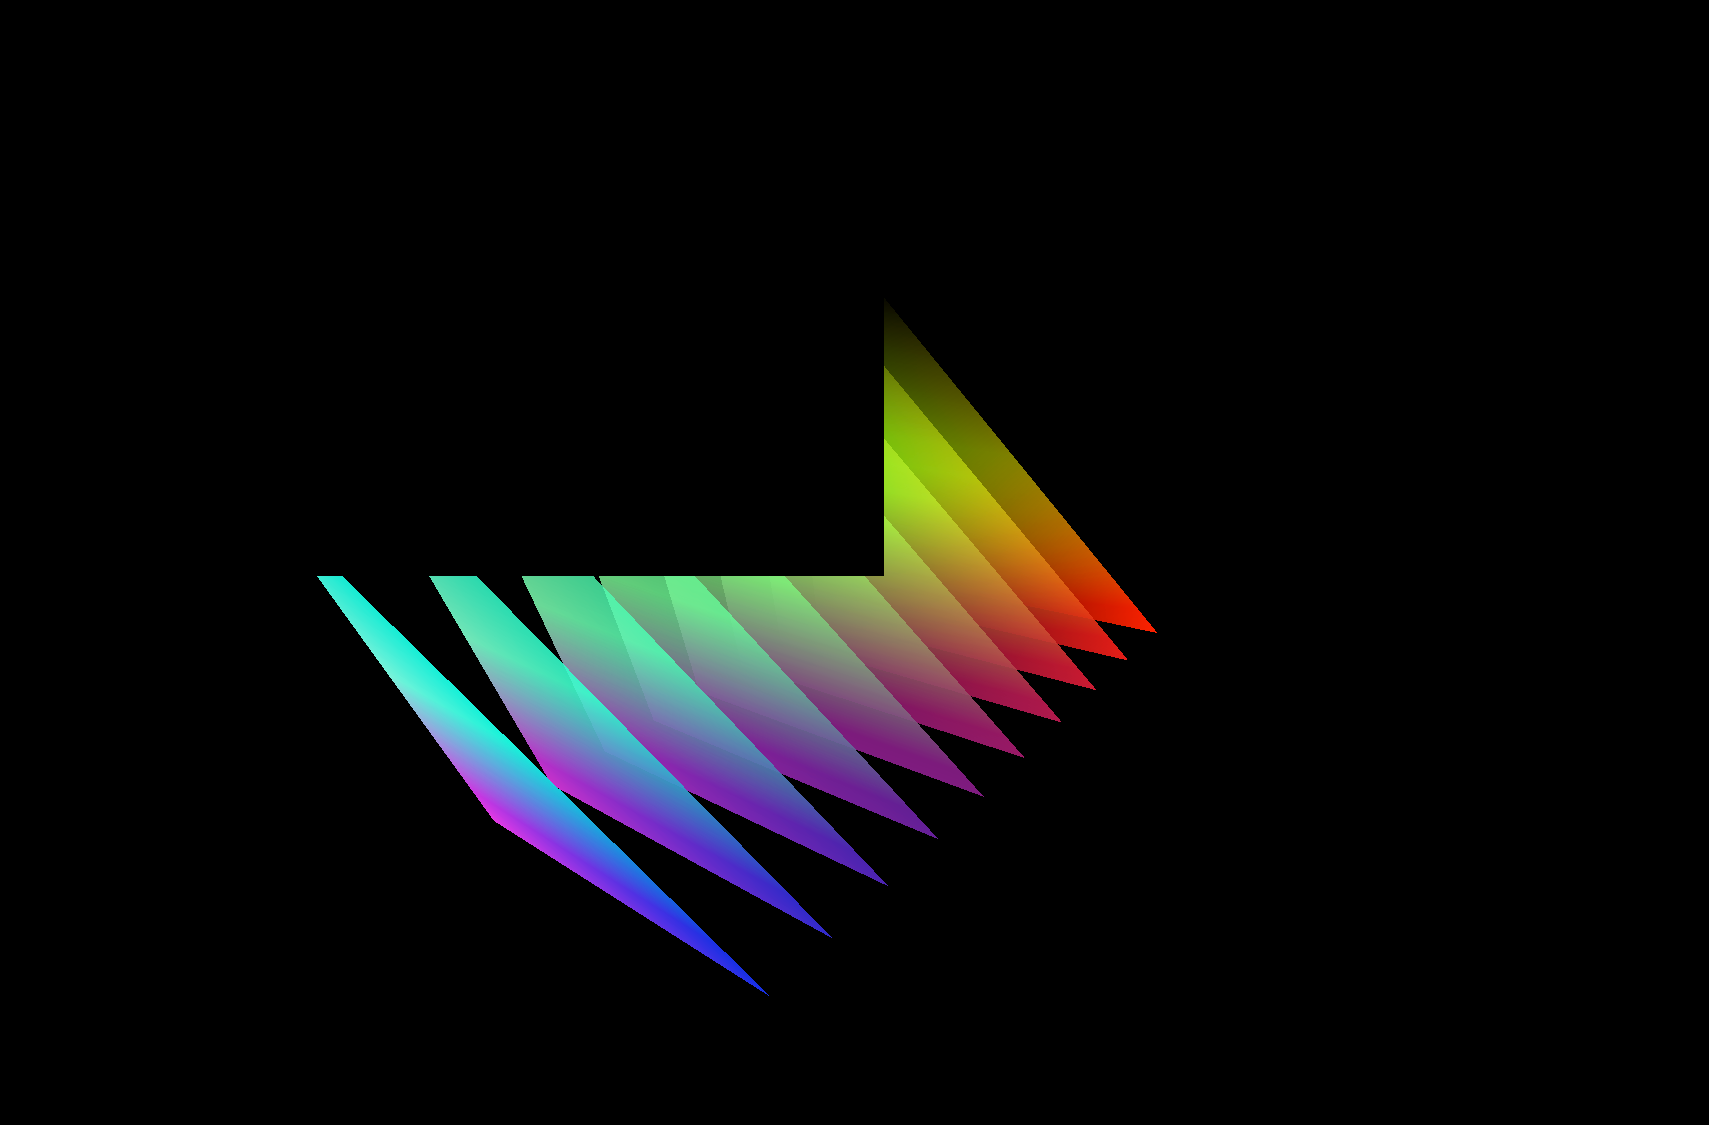
It's in the upper left quadrant of our screen because the rectangle we specified is in normalized device coordinates. NDC is a coordinate system that OpenGL uses for talking about screen space. -1,-1 is in the bottom left and 1,1 is in the top right. So a rectangle that starts at -1,0 and is 1 wide and 1 high goes from the mid left to the middle of the top — the NW quadrant in other words.
More interestingly, our FBO is empty. Let's attach something to it to draw using the << operator. We could attach anything, but we happen to have these triangles already made, so lets just use those.
fbo.getSceneList() << plain
This adds the shader — plain — to the list of things that the FBO will draw. Since mesh is already attached to plain that comes along too. We could have done anything here, we could have attached a different shader with some different geometry; or a different shader with the same geometry; or multiple shaders; or a camera and so on. You should also note that:
#Don't do this
#completely legal, but not what you want here
fbo << plain
This code is completely legal and sensible, just not what we want to do here. It attaches a shader to the fbo acting as a texture map not as a place to draw things. we want fbo.getSceneList() to get the FBO's "canvas face" not it's "texture face".
All said we still don't have anything in our black rectangle. The last thing that we need is to tell the FBO to actually do some drawing.
canvas ** fbo
The '**' operator in Field's graphics system is being used to say update 'this' with 'that'.
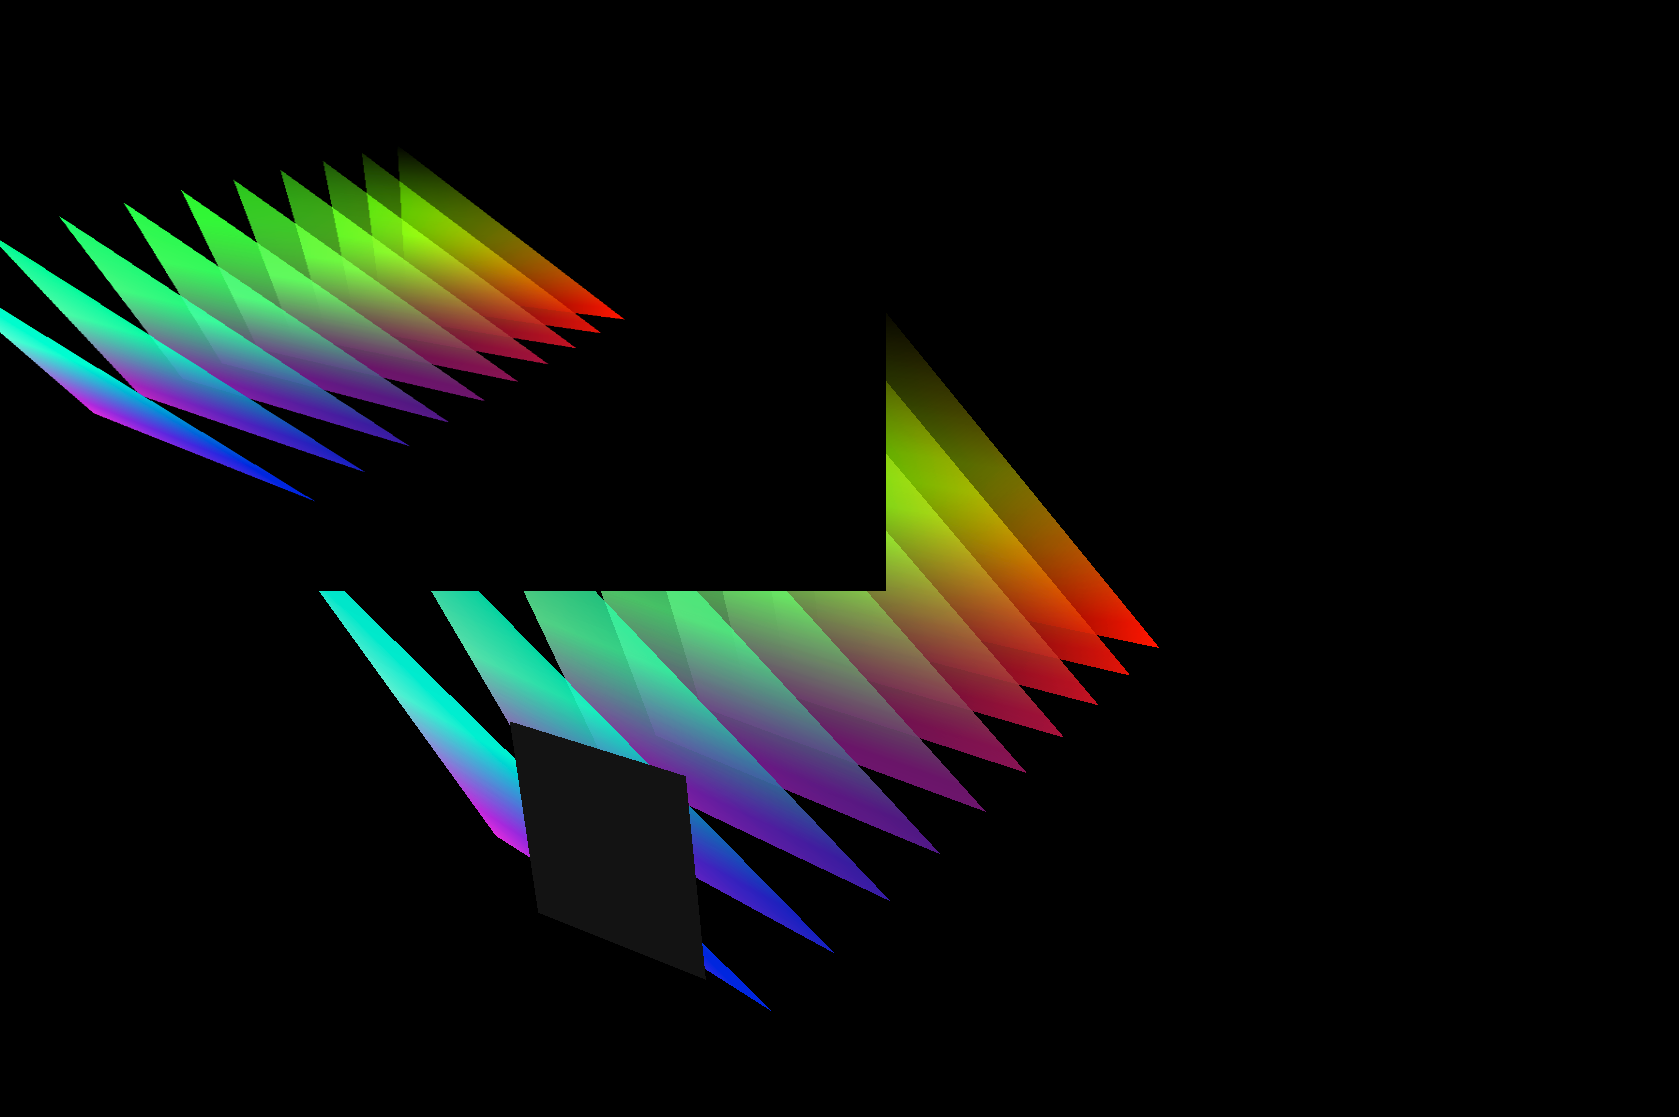
Now we have this:
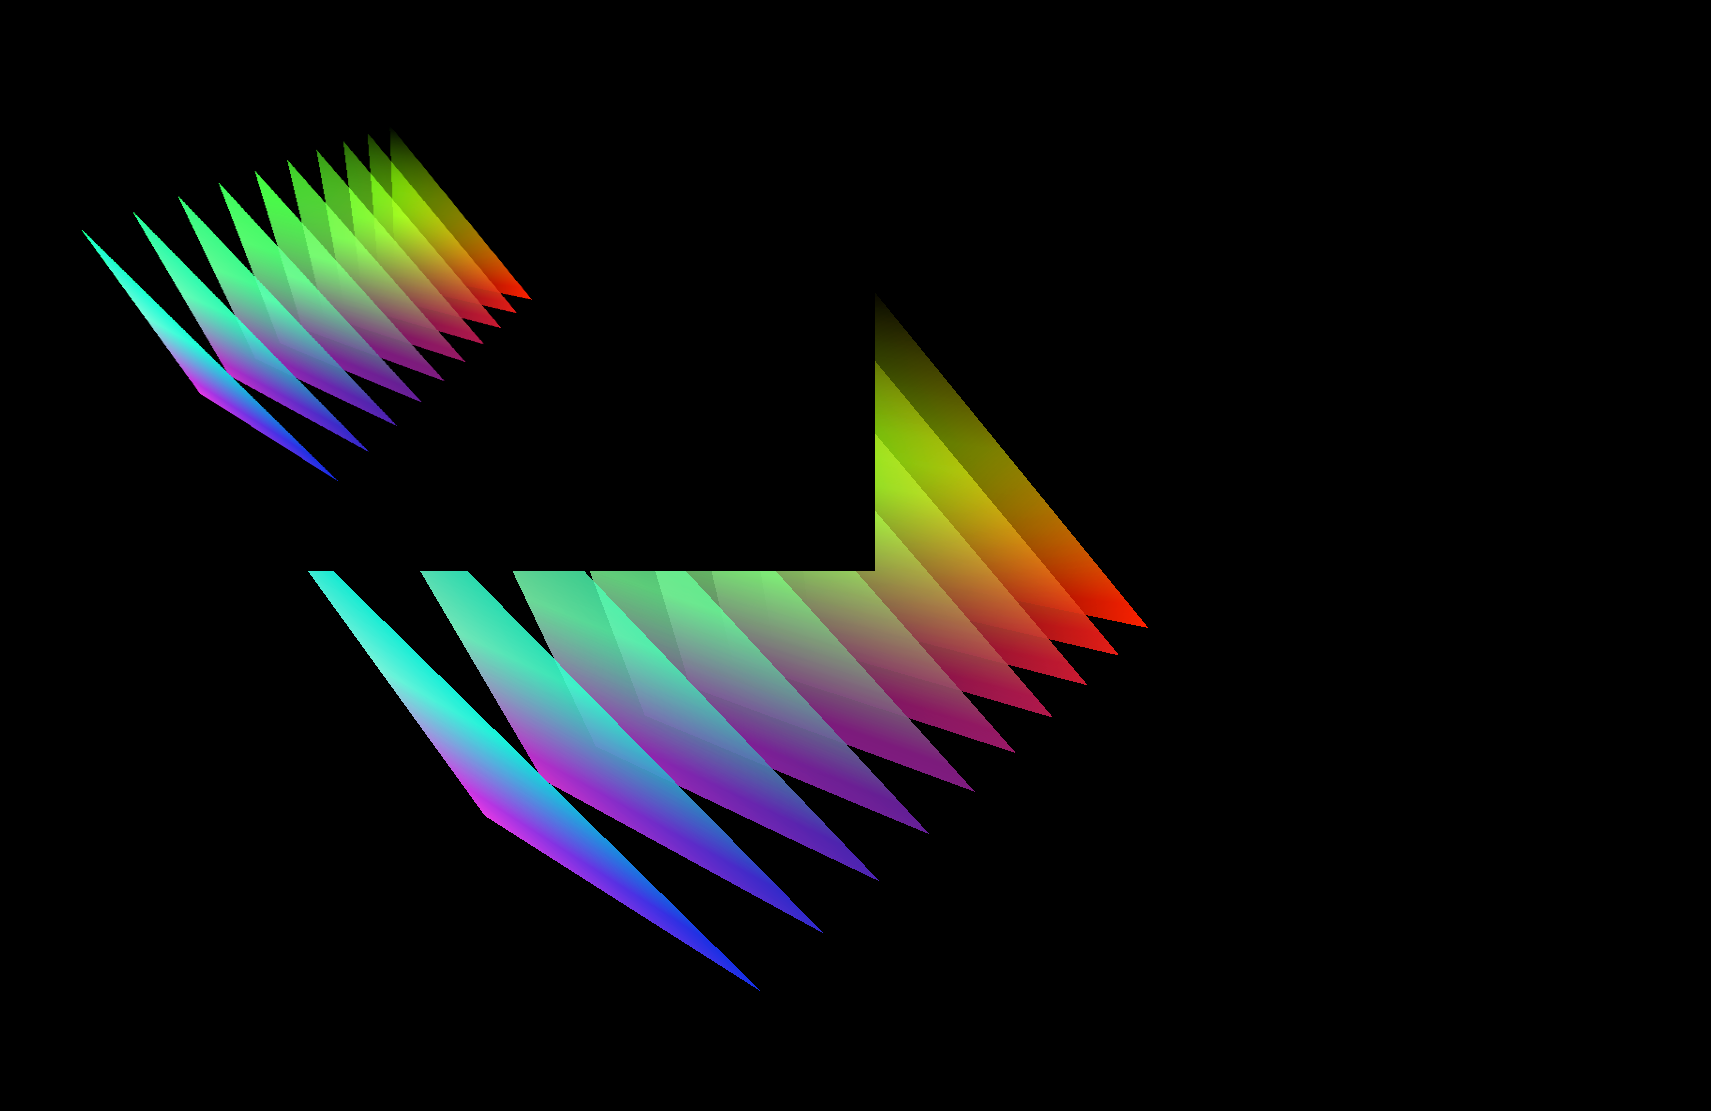
If you rotate the camera using the keyboard you'll find that both the main scene and the little version of it rotate.
Taking it apart
The above example touches on every part of what an FBO is — it has some geometry to draw and a texture map to draw it to. But it does wrap the details of an FBO behind some magic — mainly the call to fbo.placeOnscreen.
It's often useful to be able to just place an FBO on the screen for debugging purposes — it's good to see the individual layers that go into some complicated image. But it's not necessarily very interesting to look at.
This being Field, of course, we can make our own, much more flexible, .placeOnScreen from scratch (and then stick it in our own personal library for future use).
.placeOnScreen from first principles
.placeOnScreen is doing four things. It's making a piece of geometry (a mesh, a rectangle); it's adding the FBO to that as a texture map; it's adding a shader to the geometry that transforms the geometry so that it's stuck to the screen and textured and, with the call to canvas << fbo.placeOnScreen() it's putting all of that on the canvas. It's also helpfully turning off blending and depth occlusion so that we can always see it.
We can do each of these things ourselves. First the geometry:
rectMesh = meshContainer()
rectMesh << FLine(filled=1).rect(-1,-1,0.5, 0.5)
Our rectangle is made up of two triangles. You should stare at the boring vector math a little there to make sure that you can draw those two triangles in your head.
Next we add the FBO to the geometry as a source of texture:
rectMesh << fbo
That was easy. Finally, the hard bit. The shader that transforms the mesh and textures it. Rather than cheating and pulling it out of a standard shader file from disk, let's make it from scratch.
First tell Field we'd like to write a shader and store it in the element that you are editing:
shader = makeShaderFromElement(_self)
This adds three new properties to the drop down box at the top of the editor:
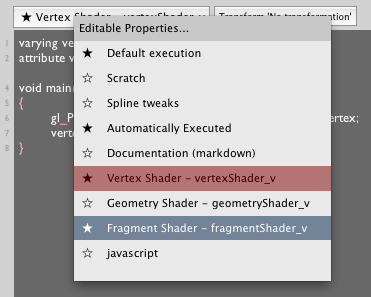
Selecting these lets you edit the shader. But first, let's get it on screen so that we can see what we are doing:
canvas << shader << rectMesh
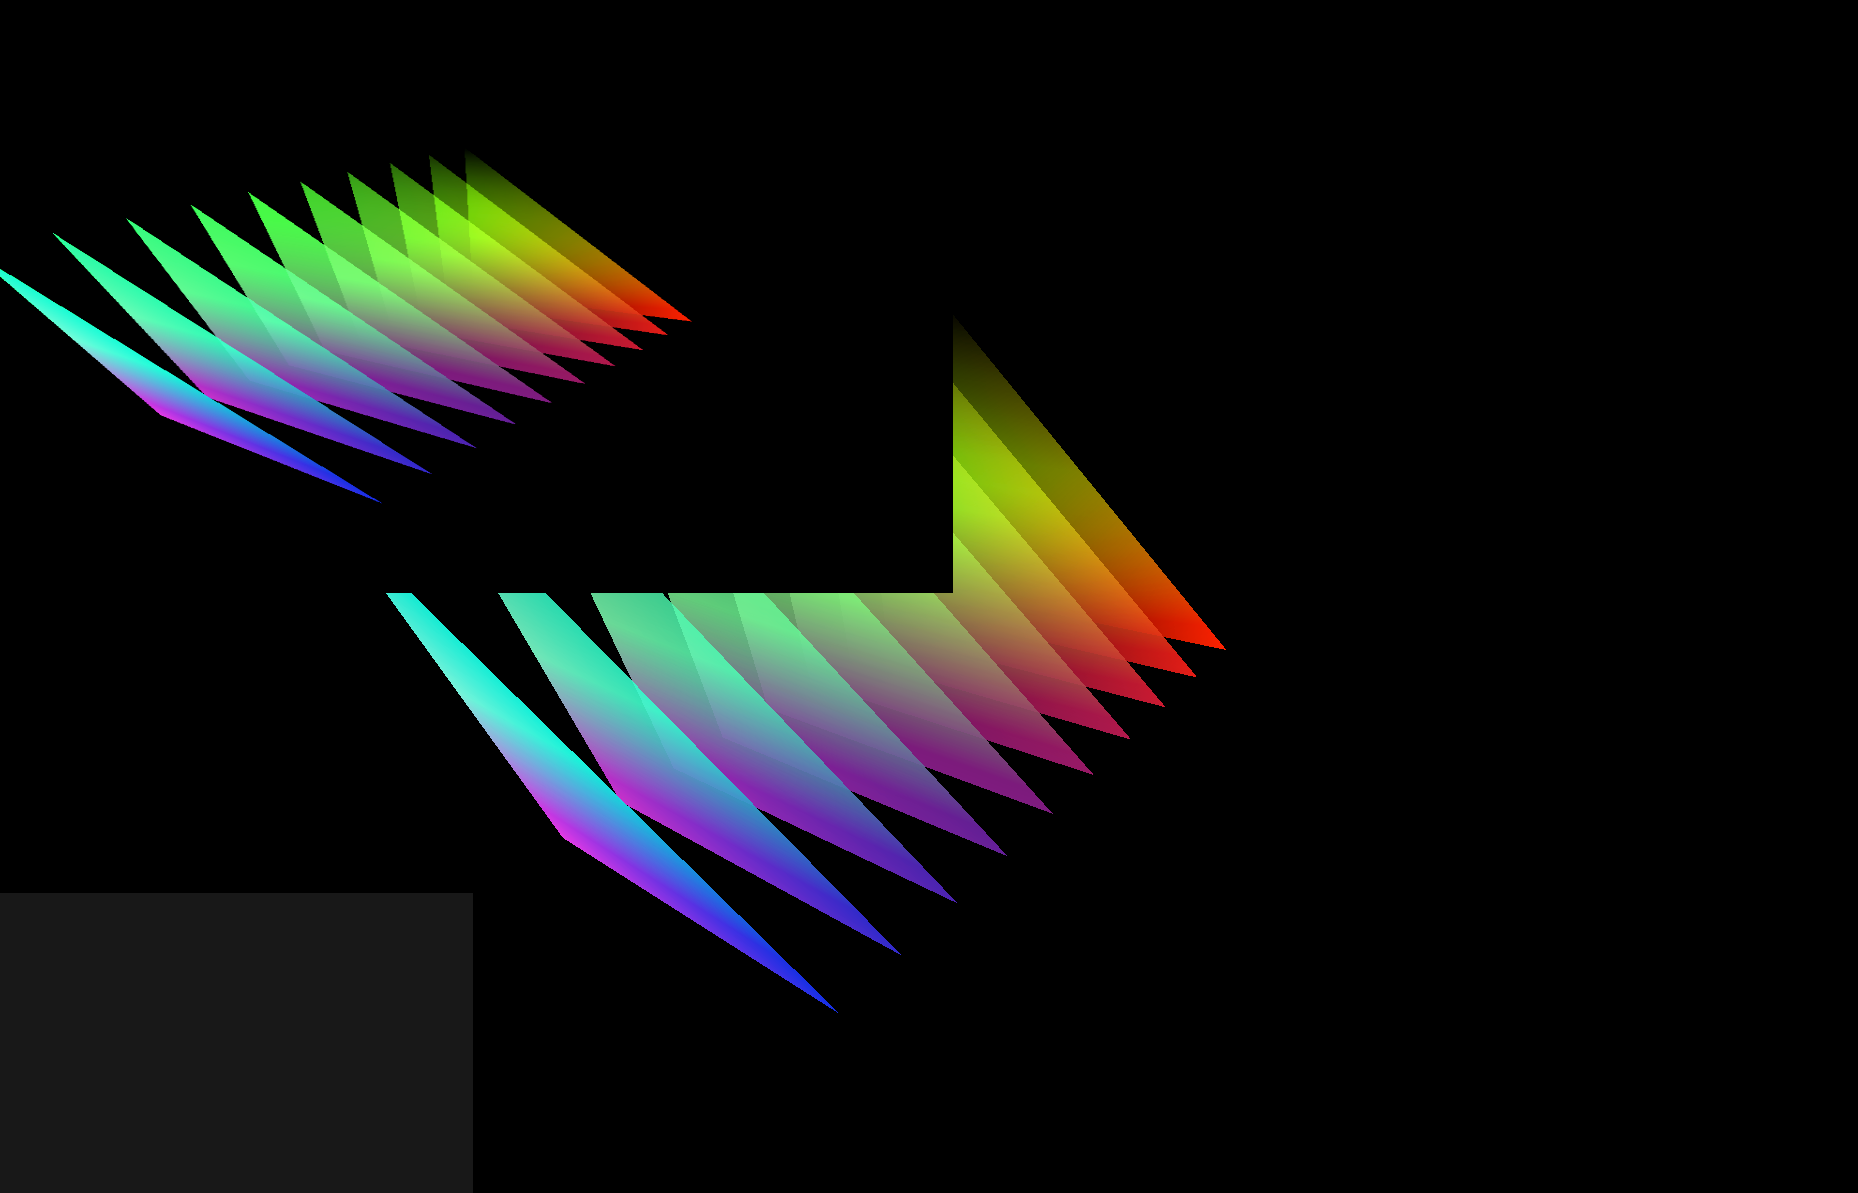
If you've been following completely along in this tutorial, you'll have something like:
The important bit is the grey square, which is the current state of our attempt to get our FBO onscreen. It's in the wrong place — we were aiming for the bottom left quadrant — and it's the wrong color — it's grey, not texture mapped.
Both of these things is because of the default shader that Field gives you when you makeShaderFromElement(. Let's edit it.
The "Vertex Shader" part looks like:
varying vec4 vertexColor;
attribute vec4 s_Color;

void main()
{
        gl_Position = gl_ModelViewProjectionMatrix * gl_Vertex;
        vertexColor = s_Color;
}
What does this actually do? The important line is gl_ModelViewProjectionMatrix * gl_Vertex — this math transforms geometry from the coordinate system that is was specified in (literally, the Vector3(r.x, r.y, 0) of the code above to the position that it appears on the screen (in 'clip coordinates', which are closely related to those normalized device coordinates we mentioned previously).
This transformation accounts for transformation of the geometry, the position and orientation of the camera and the camera's field of view. For much scary looking math see here. But we don't want any of that. We just want to put this rectangle flat on the screen.
So we do just that:
void main()
{
        gl_Position = vec4(gl_Vertex.x, gl_Vertex.y, 0.5, 1.0);
}
We hit the refresh button at the top of the text editor and now we have:
If we play with the camera position a bit with the keyboard, we'll find that the grey rectangle doesn't move, it's stuck to the inside of the monitor.
Now for some texturing. In the "Fragment shader" (again the drop down box at the top of the screen), we have:
void main()
{
        gl_FragColor = vertexColor+vec4(0.1, 0.1, 0.1, 0.1);
}
This needs to change to give us some texturing, and the Vertex shader needs to change to give us some texture coordinates to texture with.
Both together: the vertex shader —
varying vec2 textureCoords;

void main()
{
    gl_Position = vec4(gl_Vertex.x, gl_Vertex.y, 0.5, 1.0);

    textureCoords = vec2(2.0*(gl_Vertex.x+1.0)*1024.0, 2.0*(gl_Vertex.y+1.0)*1024.0);
}
And the fragment shader —
uniform sampler2DRect fbo;
varying vec2 textureCoords;

void main()
{
    gl_FragColor = texture2DRect(fbo, textureCoords);
}
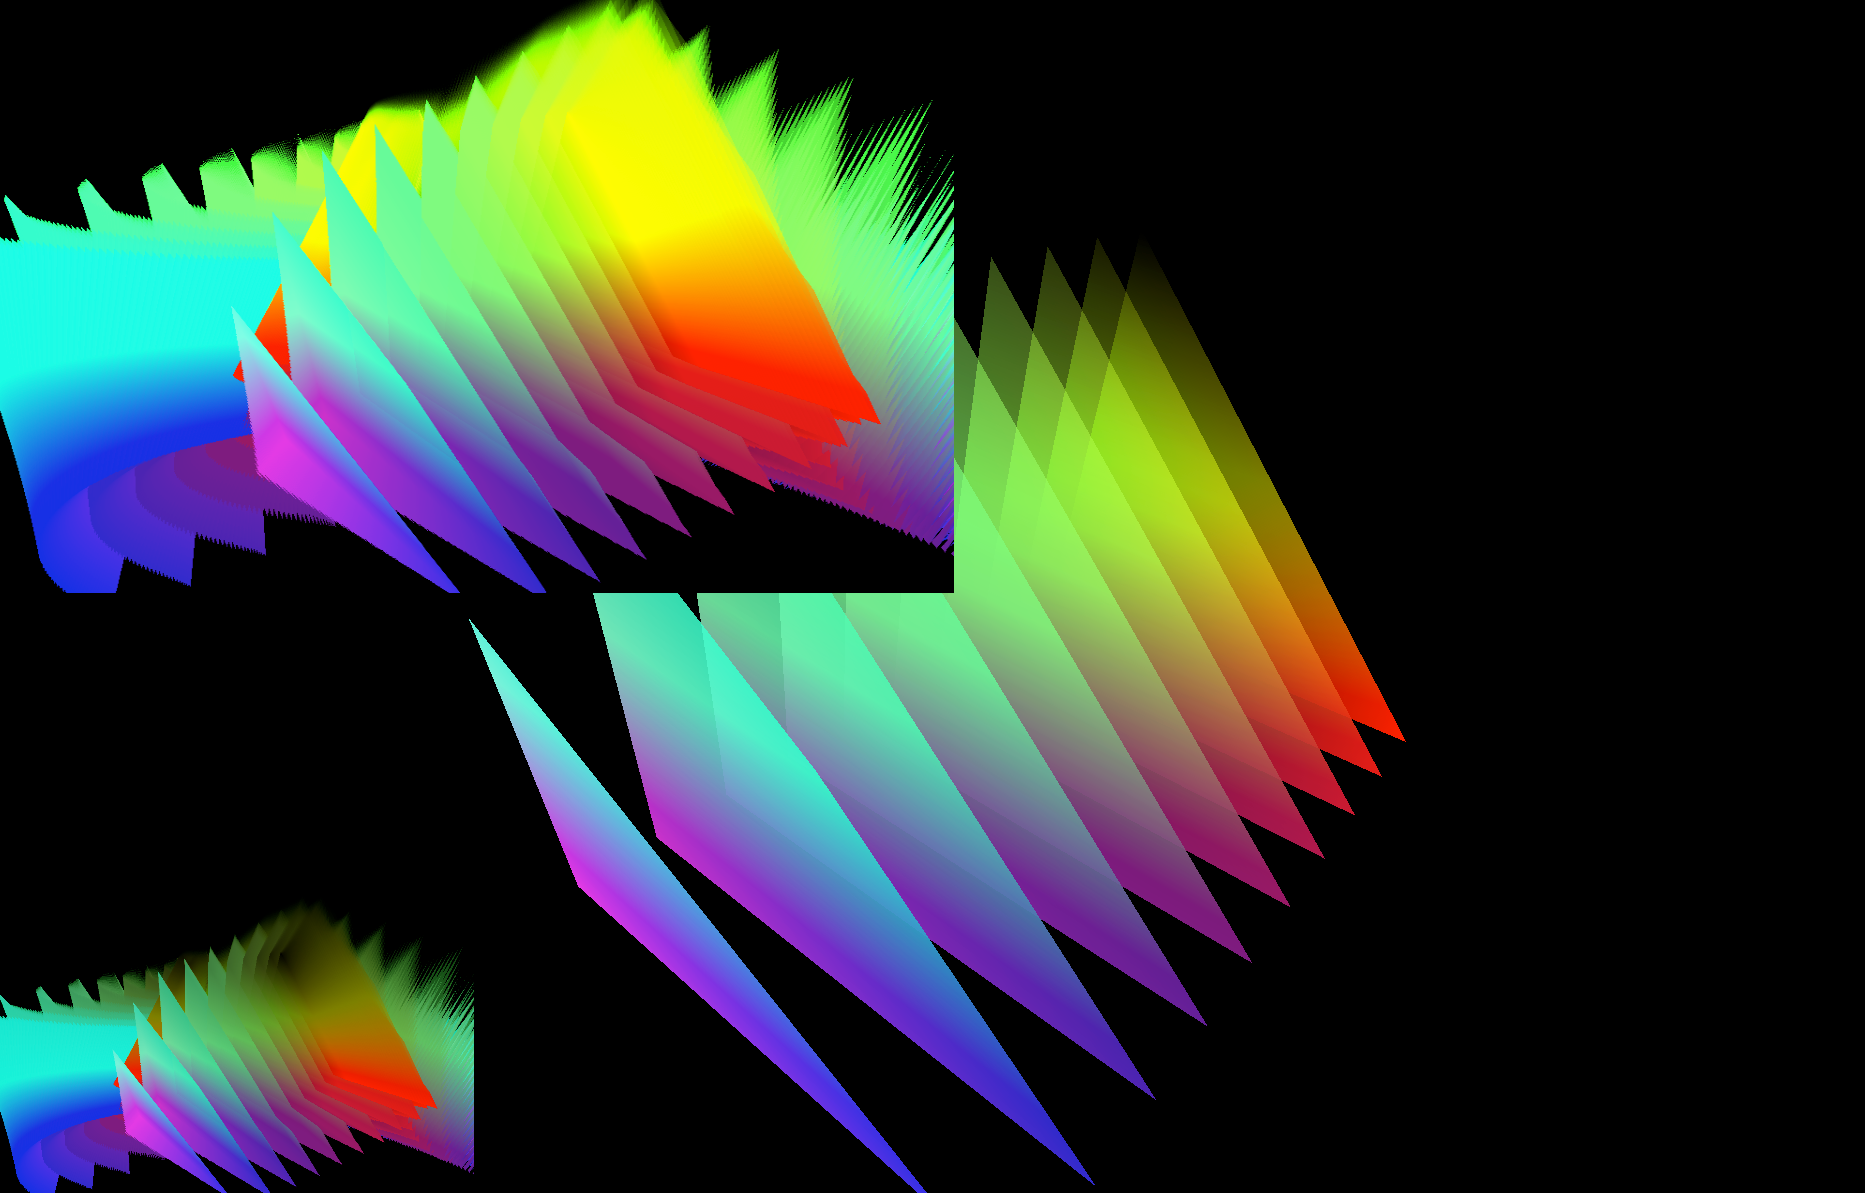
This gives us:
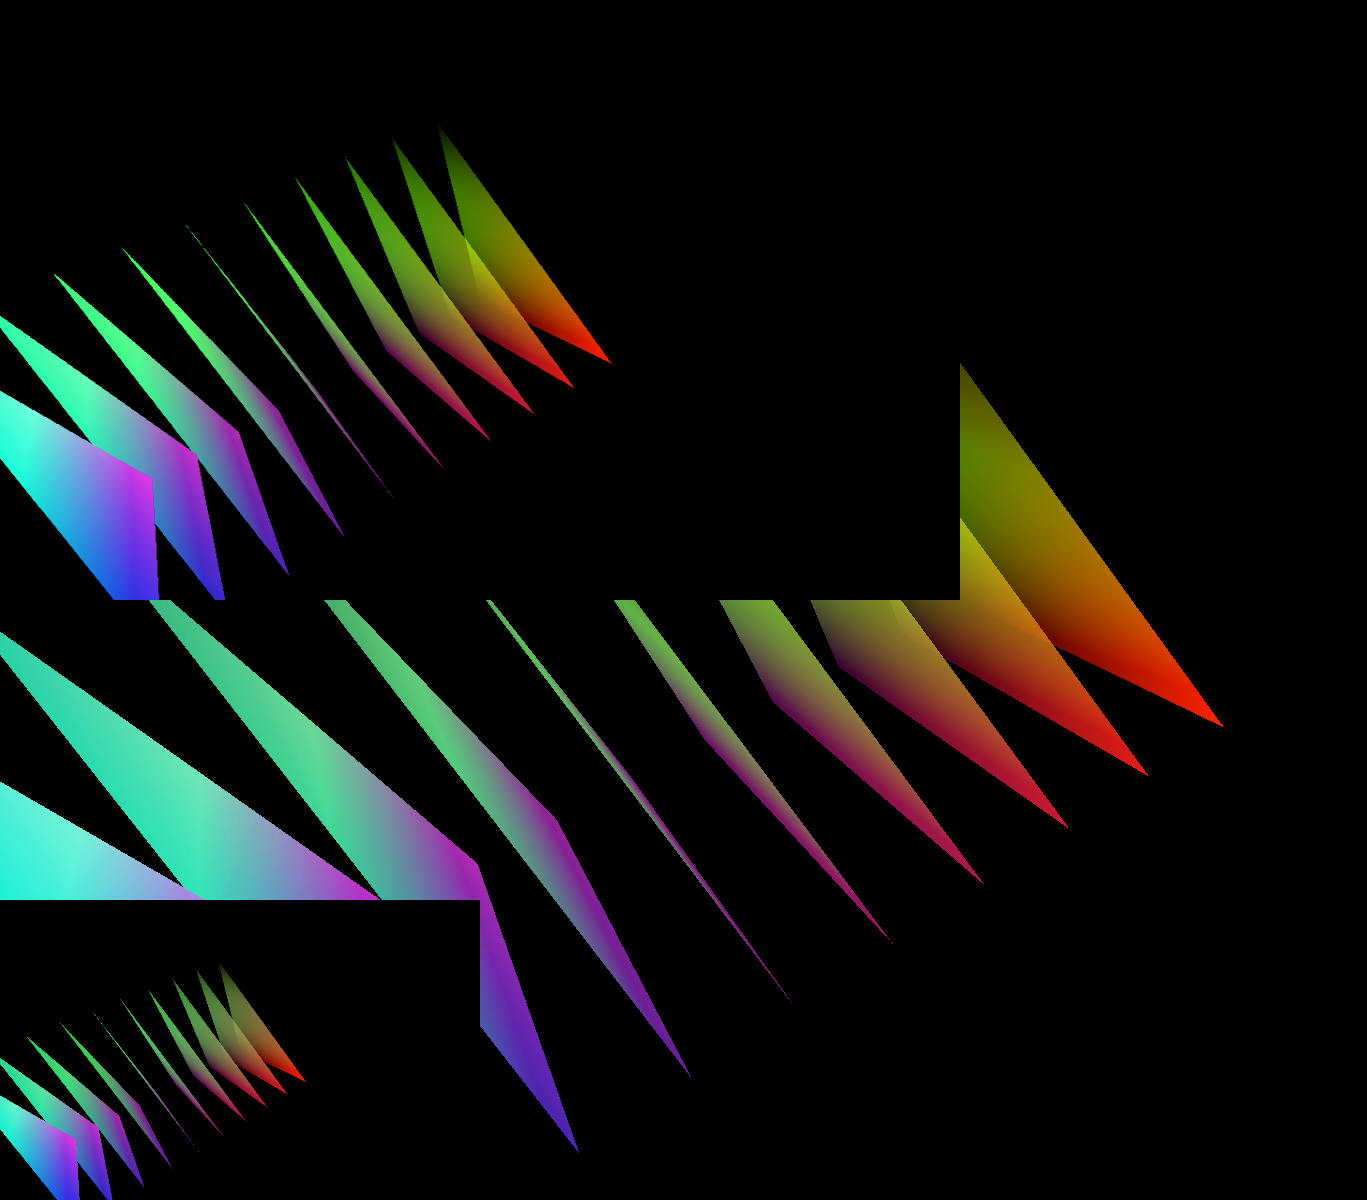
At last! our FBO now appears in two places — once thanks to Field's built in convenience, once thanks to our own hard work. We can stick the FBO as many times onto the screen as we like
Tidying up and extending
A few loose ends. Firstly the line that generates our texture coordinates in the shader above is absurd, I'd never write that. It reuses the vertex positions and then beats them into the right range for the texture map.
What I'd really do is this. Firstly, I'd give the mesh some texture coordinates:
def makeRectangle(r, mesh, textureWidth, textureHeight):
    with mesh:
        v1 = mesh ** {_vertex : Vector3(r.x,r.y,0), 5 : Vector2(0,0)}
        v2 = mesh ** {_vertex : Vector3(r.x+r.w,r.y,0),  5 : Vector2(textureWidth,0)}
        v3 = mesh ** {_vertex : Vector3(r.x+r.w, r.y+r.h, 0), 5 : Vector2(textureWidth,textureHeight)}
        v4 = mesh ** {_vertex : Vector3(r.x,r.y+r.h,0), 5 : Vector2(0,textureHeight)}
        mesh ** [v1,v2, v3]
        mesh ** [v1,v3, v4]

makeRectangle(Rect(-1,-1, 0.5, 0.5), rectMesh, 1024, 1024)
And then, I'd change the vertex shader to just use these:
attribute vec2 s_Five;
varying vec2 tc;

void main()
{
    gl_Position = vec4(gl_Vertex.x, gl_Vertex.y, 0.5, 1.0);

    tc = s_Five;
}
This keeps the size (and orientation) of the texture map out of the hard to maintain shader and back in your code.
Secondly, you might be wondering why the FBO is a black rectangle. Sure enough, it doesn't have to be:
fbo.setClearColor(Vector4(1,0,0,1))
Gives us:
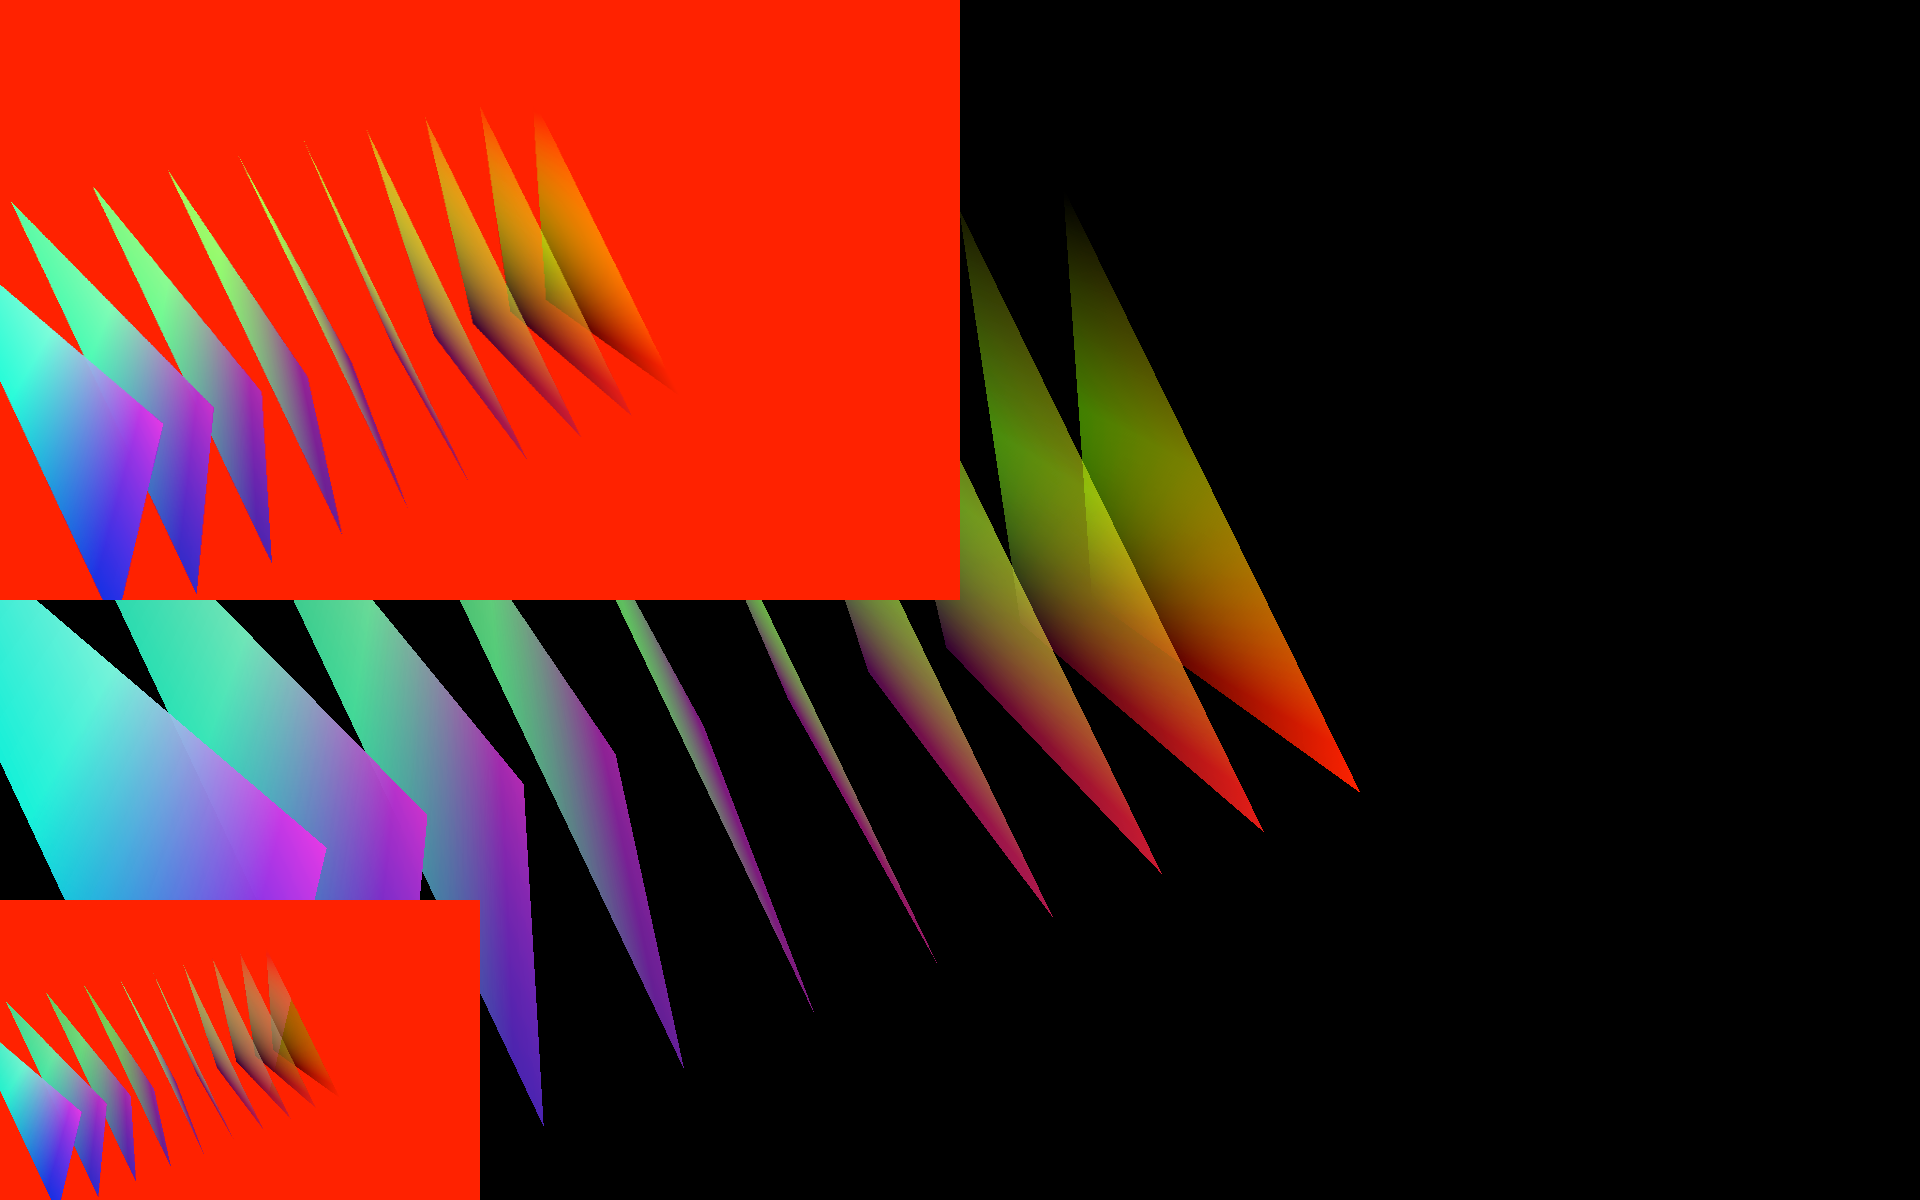
But much interesting:
fbo.setClearColor(Vector4(0,0,0,0))
Gives:
Our FBO — in the case of our hand made rectangle — is being alpha blended correctly onto the screen. The background (and a few of the vertices of the triangles) are now transparent.
And finally:
fbo.setClearColor(None)
Disables the automatic clearing completely, so if we move the camera, we get:
A note on cameras
Up until now the FBO that we've made has inherited the camera from the canvas that it's attached to. This doesn't have to be the case:
from field.graphics.core import BasicCamera
fboCamera = BasicCamera()

fbo.getSceneList() << fboCamera
fboCamera.setViewport(0,0,1024, 1024)
fboCamera.setAspect(1)
The BasicCamera object has lots of interesting methods that you can call on it, but if you want a data-structure that encapsulates a camera position, use the getState() and setState() calls.
For example:
state = canvas.camera.getState() # copy the camera
state.position.x+=1 #modify the position of the camera
state.fov *= 2 #and change the field of view
fboCamera.setState(state) #and tell the fbo camera to use this new configuration
Where next ?
This page should have given you all of the things you need to do so some very interesting fast path GPU-based rendering. You can draw anything you like to an FBO, you can do anything you like to the resulting image with a shader and you can have the results of this shader render onto anything you like; and so on. From now on in what you really need to do is to master the GLSLang shader language.
While there are a few additional classes that we haven't covered just yet — the most pressing of which is are the "Ping-Poing" class for doing recursive image processing — but the completion of the FBO docs is hopefully a tipping point in the documentation of Field's internal graphics system.