3d camera support for Stage
Stages come with 2D ‘cameras’ for projecting the drawings that you make in them onto the screen. A ‘2D’ camera has a translation, a rotation and a scale, and you can set these directly on any layer. While FLines can contain 3d instructions, the third dimension is ignored (specifically: objects that are ‘further away’ in z do not get smaller).
What if you want to do 3D graphics? You can ask a layer to go into a 3D ‘mode’ that adds, on top of any 2D control that you might be exerting over a layer, a full 3D, perspective-correct camera:
// make or fetch a layer
var layer = _.stage.withName("my great layer")

// turn on 3d mode
layer.is3D = true
Turning on 3D mode might yield little to no observable change in what you seen on the Stage. But, now you can move the layer.camera around. A 3D camera has three things: a position in space, a target that it is looking at, and a direction that’s up. We can modify these things with different calls to layer.camera
l.camera.orbitLeft(5) // degrees around target
l.camera.orbitUp(1)
l.camera.roll(5) // degrees around target
l.camera.translateLeft(0.01) move position and target a little to the left
… and so on. Autocomplete on layer.camera is your friend.
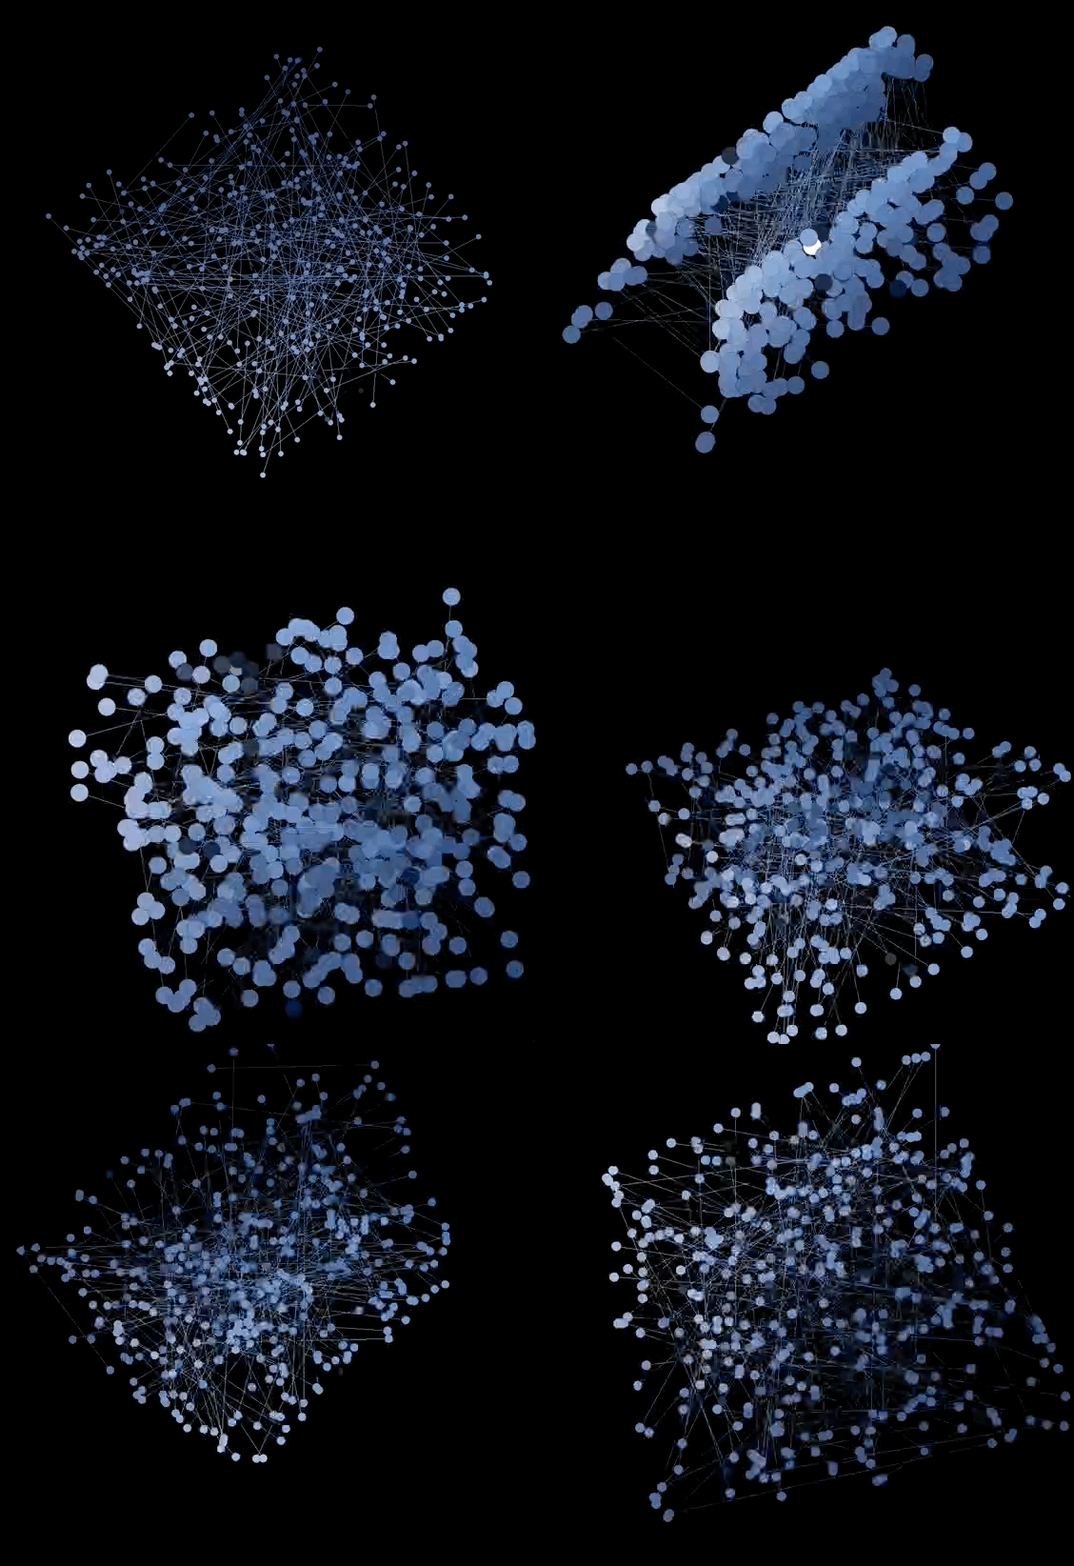
Obviously these calls can be placed inside an animation loop. For example:
// this is a mostly blue texture I found on my hard-drive
var l = _.stage.withTexture("/Users/marc/Pictures/tree_half/IMG_5019.jpg")

// make that layer 3d
l.is3D = true

while(_.stage.frame())
{
	var f = new FLine()

	// 200 random lines between z=0 and z=10
	for(var i=0;i<200;i++)
	{
		f.moveTo( (Math.random()-0.5)*50+50,(Math.random()-0.5)*50+50)
		f.lineTo( (Math.random()-0.5)*50+50, (Math.random()-0.5)*50+50, 10)
	}

	// give them texture coords
	l.bakeTexture(f)

	// draw points
	f.pointed=true

	// of a random size
	f.pointSize=Math.random()*4

	// white (multiplied by the texture color)
	f.color = vec(1,1,1,1)

	// add this to the layer
	l.lines.f = f

	// animate the camera a bit
	l.camera.orbitLeft(1)
	l.camera.orbitUp(2)
	l.camera.roll(0.1)

}
Yields:

Field’s 3d linear algebra
If you have been working through the tutorials on this site diligently you’ll have seen code such as:
var v = vec(1,2)or
var v = vec(1,2) * rotate(10)or even
var v = vec(1,2) * rotate(10).pivot(40,50)
var f = myFLine * rotate(10)
var f = myFLine * scale(2)
These are snippets of code that manipulate positions of things (including the positions of inside pieces of FLines). Most of this site is dedicated to drawing things in 2D, so all of these operations operate on the ‘x’ and ‘y’ dimensions. But for VR it makes sense to manipulate things in 3D. Thus:
# make a new 3d vector
var v = vec(1,2,3)
or
# rotation by 10 degrees clockwise around the y axis
var v = vec(1,2,3) * rotate3(10, vec(0,1,0))
or even
# rotation by 10 degrees clockwise around an axis pointing in the yz direction
var v = vec(1,2,3) * rotate3(10).pivot(0,1,1)
# rotation by 10 degrees clockwise around the z axis
var f = myFLine * rotate3(10, vec(0,0,1))
# scale by 2 in the x direction 4 in the y direction and 3 in the z direction
var f = myFLine * scale3(2,4,3)
The crucial point here is to get full 3d rotations scales and transformations you should use rotate3, translate3 and scale3 accordingly.
Field’s Keyboard controlled camera
You can add to a .is3D=true layer the ability to move the camera around with the keyboard. Just say:
myLayer.is3D=true
myLayer.makeKeyboardCamera()
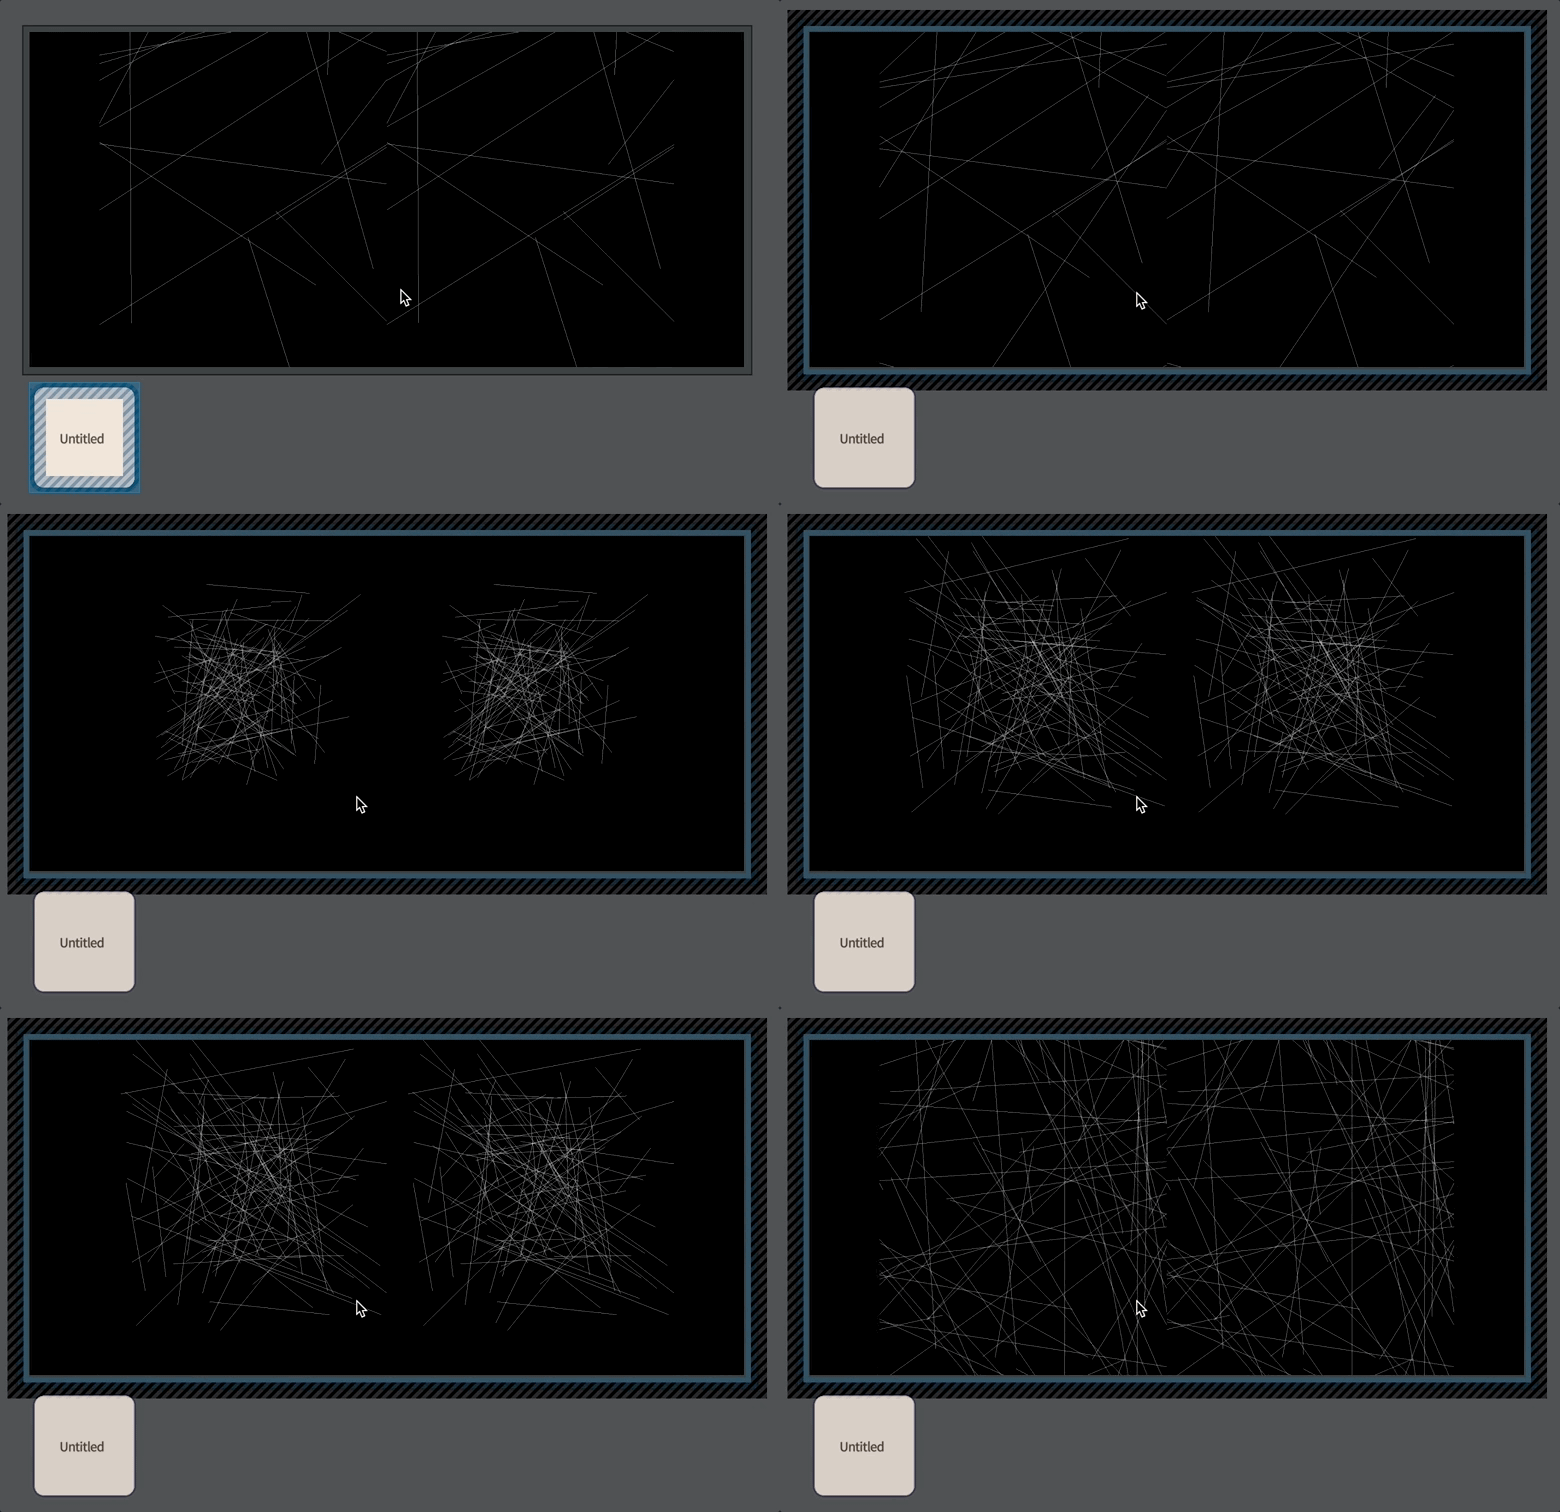
This camera control now works if you have selected the stage (that is, it’s surrounded by both the black (selected) and blue (keyboard focus) outlines:

[In case you are wondering that’s a VR stage — hence the double image (one for each eye). Moving the ‘camera’ around with the keyboard is a fine way to get motion sick…]
Here are the controls (note, on a mac laptop you’ll have to use fn-arrow up and fn-arrow down for page up and page down respectively).
Keys with shift pressed don’t move the target of the camera:
- shift-arrow up — move in towards the camera target
- shift-arrow down — move out towards the camera target
- shift-arrow left — move “around” the camera target left
- shift-arrow right — move “around” the camera target right
- shift-page up — move “around” the camera target up
- shift-page down — move “around” the camera target down
Keys without shift pressed do move the target of the camera:
- arrow up — walk forward (both the target and the camera move inward)
- arrow down — walk back (both the target and the camera move back)
- arrow left — rotate the camera left
- arrow right — rotate the camera right
- page up — rotate the camera up
- page down — rotate the camera down
Finally a four special things:
- [ (open square bracket) — roll left
- ] (close square bracket) — roll right
- { (open curly bracket) — zoom out
- } (close curly bracket) — zoom in
Saving and restoring
Once you have found the perfect angle on something (perhaps by using the keyboard controls above) you might want to save this camera position for later use. One way, of course, to do this would be to do things like:
print(layer.camera.position)
print(layer.camera.target)
print(layer.camera.up)
And then copy and paste the resulting values into code like:
layer.camera.setPosition(vec(1.312, -0.12381, 12.3231))
layer.camera.setTarget(vec(0.1230817, 0.51312, 23.1))
layer.camera.setUp(vec(0.0123, -1.231, 0.23))
Yawn! A better way is to use the remember method:
layer.camera.remember(_, "camera1")This call saves the state of the camera to a new variable called _.camera1. This way you can write:
layer.camera.setState(_.camera1)Crucially, this _.camera1 is saved with the Field document — it’s conceptually part of the box as much as the code (and the shader code, and the box’s name and position etc.). You can have as many of these as you like. If you try to remember the same name twice, you’ll get an error. If you really want to overwrite, use overwrite instead. If you want to expose _.camera1 to other boxes, check out the documentation on properties in general.
Keyframing
Finally, a quick call to interpolate between two camera positions. While this is still technically an area with research to be done in it (that is: figuring out the kinds of interface between creative and aesthetic movements between camera poses and the math) Field provides a simple and often effective interpolator between camera positions. Try:
layer.camera.interpolate(_.camera1, 0.25, _.camera2)For a camera position that’s 25% of the way between _.camera1 and _.camera2. Animate that using a loop and _t() and you are off to the races!.