
Getting started in XR with Field
In order to orient yourself you might want to read general Field survival guide first.
Installations instructions can be found here.
A brief introduction to Javascript can be found and here.
The Reference Documentation for Field / AR.
A ‘Cookbook’ for Field / XR.
And a more sustained drawing example called, A Box of Rain tutorial.
Welcome / Sketch 2
Field offers a wide variety of ways of writing and running code. One new way is that code can be packaged up and sent to a connected web-browser for execution there instead. This trick allows us to ‘write code’ live on devices where writing code might otherwise be impossible or, at best, painful — for example: cell phones. This, in turn, allows us to ‘live code’ AR experiences, device in hand.
To put this hack together we need to connect web-browsers to Field. First we’ll grab a pre-made template and insert it into our Field document:
(bring up that menu by pressing control-space).
The template you want is either called arplayground (despite the name, this will do VR as well on appropriate devices). This will build a square looking box with a web server in it, as well as boxes with all manner of example code for you to play with, connected, correctly, to this server. By default that box will serve files from inside the Field app that bootstrap an AFrame / Three.js XR live-coding system. You can add other directories for files inside that box.
To get that server online for real, you’ll need to work with a utility like ngrok. Install it from here. You’ll need to sign up for an account, and you’ll need to link that account into your computer. Run ngrok from the terminal:
ngrok http 8090Then you can navigate to https://somethingorother.ngrok.io/index.html — note both the s in https and the index.html are important!
As far as Field is concerned there’s now a bridge to executing code inside any web-browser that connects to that url. To tell Field that we want a particular box’s code needs to use that bridge we need to connect a new box to the web-server box:
Hold down the ‘g’, click and drag from the bridge to the box you want to connect (not the other way). You’ll see and arrow pointing from the bridge to the box. Congratulations, code that you write here is actually being executed in a web-browser, which might be on a different machine (or, of course, a cell phone!).
What can go wrong
- you forget to actually connect a device to run the code. You’ll see this message when you run something:
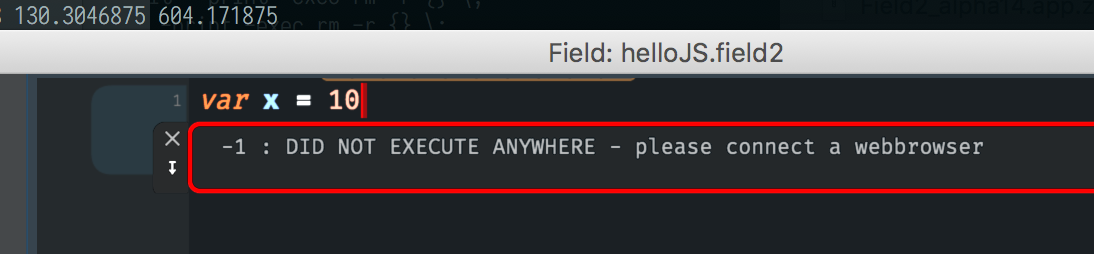
(you might experience this if your cellphone disconnects from the WiFi or swaps IP address over LTE). You can try wiring your phone into your computer.
-
the web-browser doesn’t bother to execute your code. This happens, for example, on desktop’s where the browser’s window is minimized or completely obscured. Make sure there’s at least a bit of the window visible or everything you run will ‘queue up’ until you can see the window again. In this case error messages effectively don’t appear until you look away.
-
you encounter something that is documented for Field as working inside Field, but doesn’t work inside a web-browser. Currently there’s quite a bit of Field that hasn’t been moved over to the web-browser / Three.js way of drawing things — if it isn’t on this page, there’s a good chance that it doesn’t work yet. We’ll be rapidly rolling out large pieces of infrastructure in the next week to bring the browser / Three.js up to parity. The order is definitely up for grabs. Ask.
-
you use two bridge boxes. Each box will try to open it’s own connection and everything will fall apart. Delete both of them and start again!
-
you use the wrong bridge box or browser sfor your device. Desktops and Android devices shouldn’t be picky, but iOS has a separate tree for AR (in our iOS app) vs VR (in Safari)
-
None of the above. In this case the best information that you can provide comes out of the ‘developer console’ or the ‘developer tools’ inside the web-browser. On the desktop you can get to from the application menu of the browser (for example, in Chrome ‘three-dots menu’ -> ‘more tools’ -> ‘developer tools’). You can also connect phones to desktops and open a remote developer tools session. We’ve tried very hard to move all error messages from the browser back to Field. Alas, much error information is considered a security risk, so sometimes browsers might decide to not ‘leak’ the information that your code is broken.
-
Tears, frustration. Above all, you should try to balance paying really close attention to your code and what you are writing, while still calling for help earlier than your pride normally allows. Looking at a piece of code and seeing the mistake isn’t an innate talent, it’s just something you need to practice. Computers are frustratingly cryptic, easily confused and require super-human levels of precision. Expect to lose an afternoon to a misplaced semi-colon at least once.
Sketch 2 — Drawing and coding
Two pieces of code for you to study, understand, manipulate and intervene in.
The first, is how to draw a shape — anything — inside the browser drawing surface:
var f = new FLine()

f.moveTo(0,0,-2)
f.lineTo(3,3,-3)

stage.myGreatLine = f
When executed together that yields:
Let’s take it line by line:
var f = new FLine()This makes a new object called an FLine that’s a container for dynamically drawn geometry. We’ll assign it to a new variable called f. Study this for a moment to make sure you understand which parts of this are arbitrary and which aren’t — where do the ‘names’ come from, and what are the ‘verbs’ in this statement.
fis arbitrary — it’s just a name we come up with here on the spot. It could bevar myGreatLine = new FLine(), orvar FRED = new FLine(), or (not advised)var __$$42 = new FLine(), or any other valid name (given the rules of JavaScript).varis part of JavaScript, it’s how you introduce a new variable. That arbitraryfis accompanied by this to make sure that everybody knows that a new arbitrary name is coming. JavaScript is oddball in that you can leave it out — don’t. Be clear.newis also part of JavaScript, and it precedes the invocation of a name that constructs a new ‘thing’, here anFLineFLineis part of Field (not JavaScript). It’s something built into Field for you.()says that there aren’t any additional options that you want to supply for the construction of thisFLine; again, it’s part of the syntax of the language we are writing in.
Other programming languages would have different things for var, new, () and even =; things might go in a different order. But all languages have an idea of naming, invocation, and creating new things. Learn that once and you’ll have a head start on all other programming languages.
Next we do two things to f:
f.moveTo(0,0,-2)
f.lineTo(3,3,-3)
We’ve added some contents to this. Think of FLine as a pen: it moves (without drawing) to position [0,0,0] and it draws a line to [1,1,1]. At this point, if you execute just these three lines you see nothing. We haven’t told Field to actually draw the line — we’ve built up a structure, a recipe for drawing something, but we haven’t deployed it.
stage.myGreatLine = fThis actually adds this line to the stage (as in “all the world is a…”) to be drawn. We give it the name myGreatLine — again, just an arbitrary name, but we’ll see that shows up in the Editor window. Naming things as we add them is a useful trick — if we run this code again then anything that was previously on the stage called myGreatLine gets replaced. This is exactly what we want: we want to be able to run the code over and over again (while making mistakes).
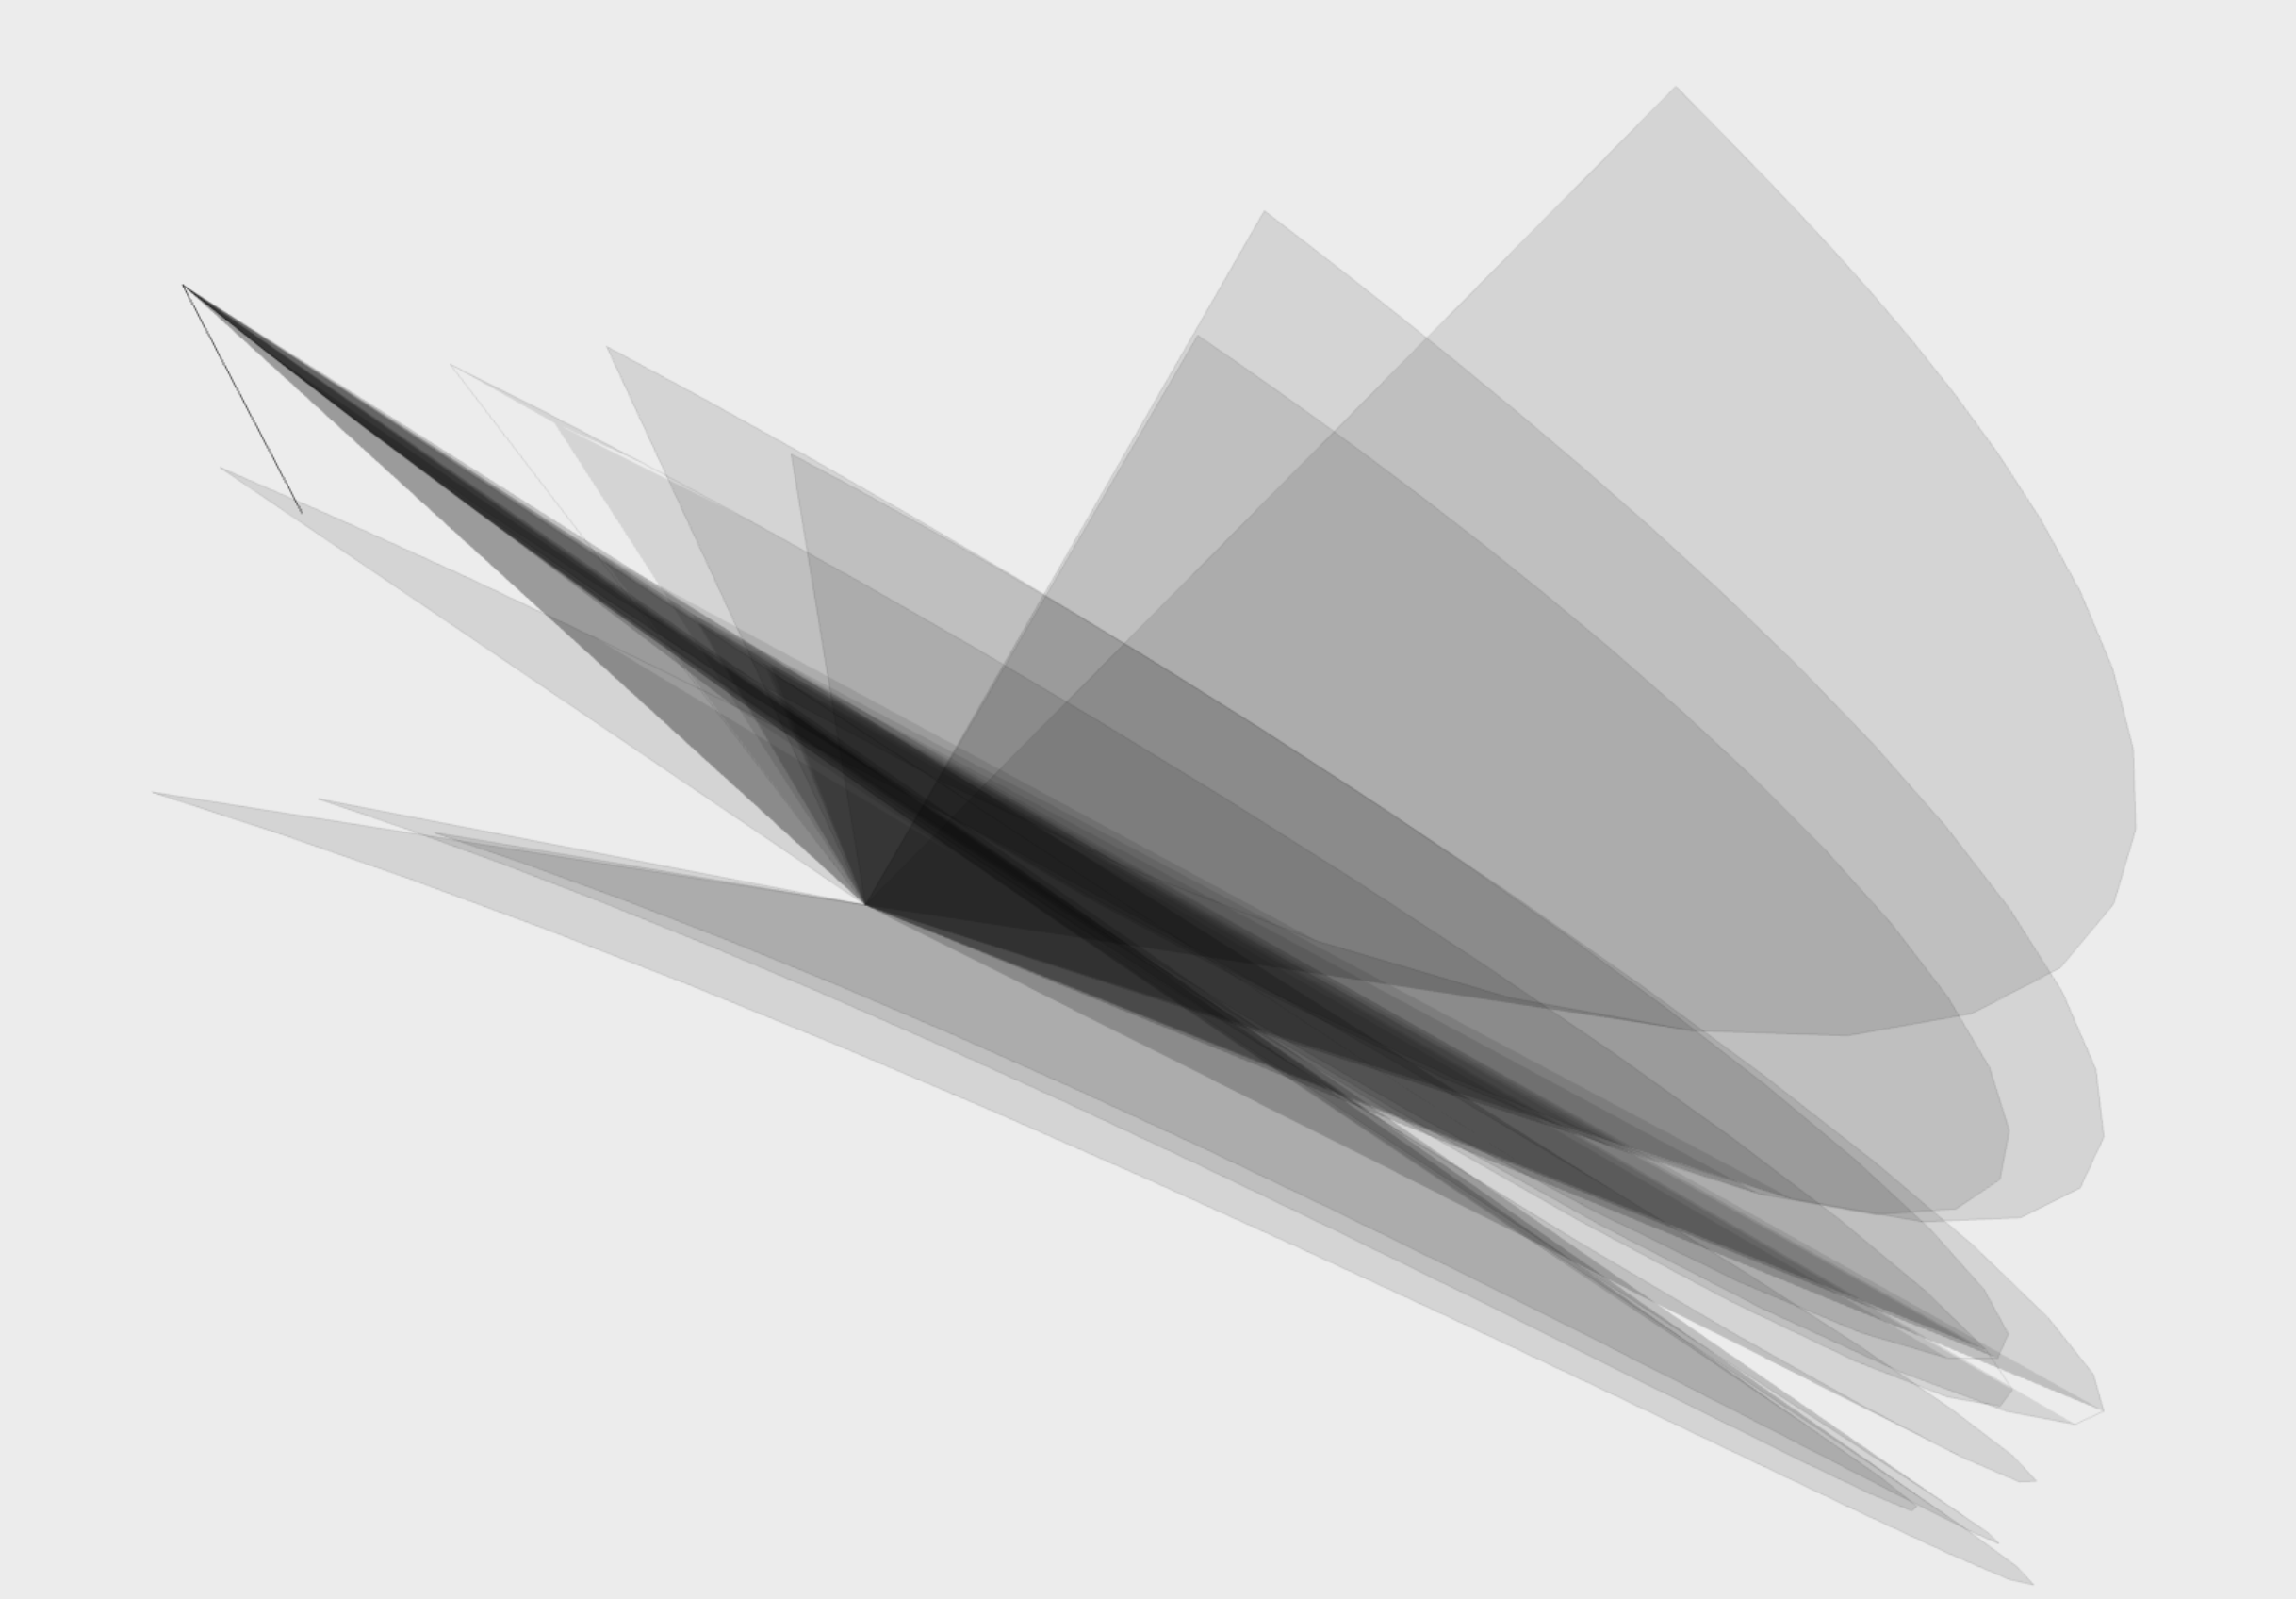
If we tweak and tweak that piece of code we can slowly, incrementally, turn it into some other kind of beast:
// get rid of the default scene
clearAFrame()

// here's a variable that we'll increment each frame
var tick = 0

// this function gets called every frame while this box is 'running'
// we can start it with option-click and swiping down
// and stop it with another option-click and swipe-up gesture
_r = () => {
    // for each frame we'll have a new line
	var f = new FLine()

    // and increment tick
	tick = tick + 1

    // and draw 10 random things
	for(var i=0;i<10;i++)
	{
        // fun with math and random numbers
		f.moveTo(Math.sin(tick/100)*2,Math.cos(tick/40)*2,-9)
		f.lineTo(_t(),1,-3)
		f.cubicTo(1,2,5.01,3,2,3.21,Math.random()*i, Math.random(),-3+ Math.random())
		f.lineTo(Math.sin(tick/100)*2,Math.cos(tick/40)*2,-3)

        // set the color to a very translucent black
		f.color=vec(0,0,0,0.1)

        // fill the resulting shapes as well as draw their outline
		f.filled=true
	}

    // and actually draw it
	stage.myGreatLine = f
}
Yielding a flickering weird thing:
Two tricks.
- We’ve used Field’s
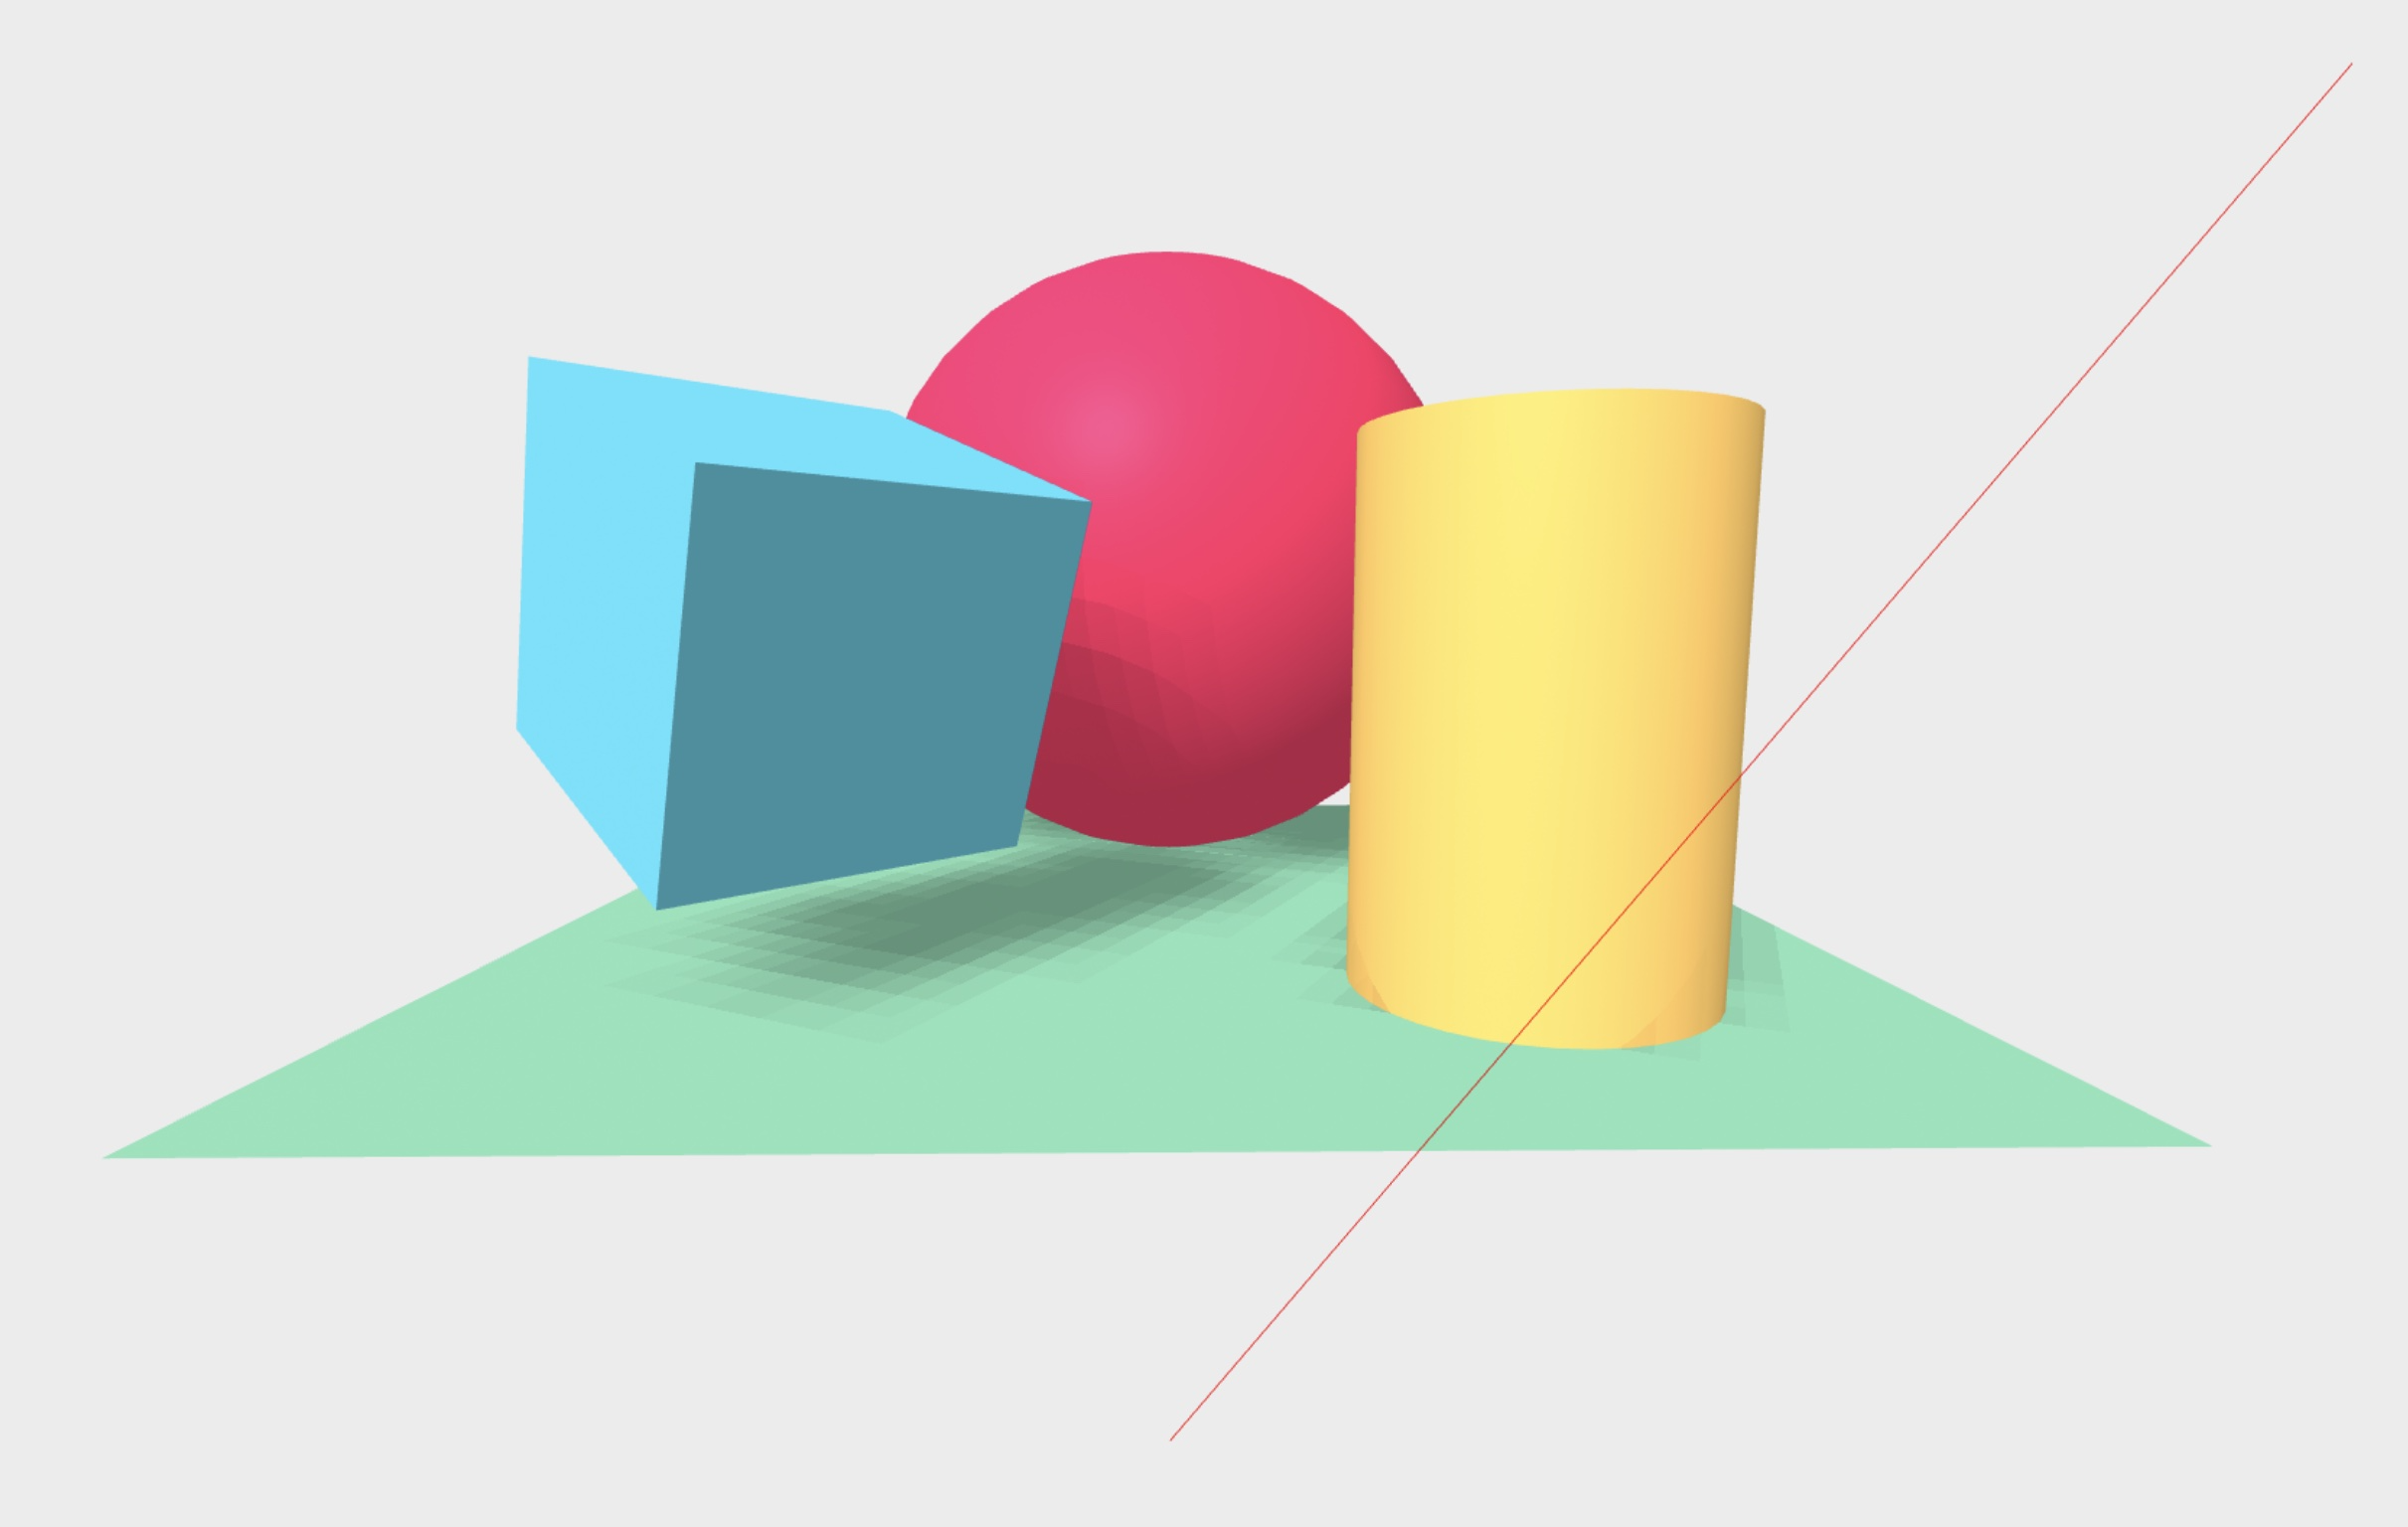
_rvariable to define a function that will be called for every frame of animation — this allows us to start and stop an animation independently of other boxes. Start the animation by option-clicking the box and swiping down. Stop by option-clicking and swiping up. Or you can use Option-up-arrow (to start) and option-down-arrow (to stop). - We’ve used Field’s
_t()which is a function that yields a ‘time’. This time goes from 0 to 1 depending on where the ‘red line’ strikes the left or the right of the box. This lets you build ‘scores’ of animations inside Field. It might be, for example, how you fade something in or out in time.
Drawing something
The code above displays an animation that runs and runs. We can move it around inside the editor, and we can start and stop it inside Field, but other than that we can’t interact with it. To draw something we need to interact. Specifically, we need to run code in response to the environment (the finger). Here’s the code for a primitive copy of ‘Just a Line’ by Google:
var line
var down

mouseDown.drawme = (event) =>
{
	line = new FLine()
	stage.add(line)

	down = true
}


mouseMove.drawme = (event) =>
{
	if (!down) return

	var at = event.ray.origin + event.ray.direction * 0.5

	line.lineTo(at.x, at.y, at.z)
	stage.add(line)
}

mouseUp.drawme = (event) =>
{
	down = false
}
Let’s annotate it from top to bottom:
mouseDown.drawme = (event) =>
{
    // ...
}
This adds to the list of things to do with the ‘mouse’ (or finger) is pressed down. Here mouseDown is part of Field and drawme is just some arbitrary name. But, again, like lines, this gives us code that we can execute over and over — subsequent declarations of drawme overwrite previous ones — without accumulating bits of code that all end up running when we mouse around. The event is an arbitrary name give for a variable that will store some information about where the mouse / finger is. We ignore it here, because we don’t care where the mouse starts.
Let’s finish this code that gets run, automatically (that is: as if we had selected it and hit alt/option-return), when we press down with our mouse-finger:
var line
var down = false

mouseDown.drawme = (event) =>
{
    //make a new line
    // 'line' will be shared by everything in this box, not just this function
    // not where the 'var' is
	line = new FLine()
	stage.add(line)

    // the mouse is currently down
	down = true
}
Now we have an invisible line that’s made and added every time we press down. Let’s add some drawing instructions to it when we move our finger:
mouseMove.drawme = (event) =>
{
    // don't draw if the mouse is just 'moving' and not pressed
    // this doesn't happen with touch devices obviously
	if (!down) return

    // make a point that's 0.5 units from the 'origin' of the camera
    // in the direction through this event
    // event.ray contains information about a 'ray' that starts where our 'eye' is
    // (event.ray.origin) and a direction through our finger tip out into the world (event.ray.direction)
    // we move '0.5 meters' in that direction to put our line
	var at = event.ray.origin + event.ray.direction * 0.5

    // add that to the line
	line.lineTo(at.x, at.y, at.z)

    // and make sure that we're drawing it
	stage.add(line)
}
Finally, a note to record when the ‘mouse’ is released, just in case we are actually using a mouse. Fingers don’t call mouseMove when they aren’t touching.
mouseUp.drawme = (event) =>
{
	down = false
}
Your task, for sketch two, is to provide a new ‘drawer’ — by modifying this code (or any other strategy).