AR Cookbook
This page collects assorted, advanced, snippets of code that bring diverse bits of the reference section together. Remember: best not to copy and paste any code you a) don’t understand and b) can’t test.
The AR initialization ritual
The code for grabbing a position in space from a mouse down and then putting a loaded object there:
mouseDown.e = (event) => {

	if (event.hit)
	{
		print(event.hit)
		var root = findByName("Root Scene")
		root.position.x = event.hit.x
		root.position.y = event.hit.y
		root.position.z = event.hit.z
	}
	else
		print("nothing hit")
}
Custom Shaded Duck
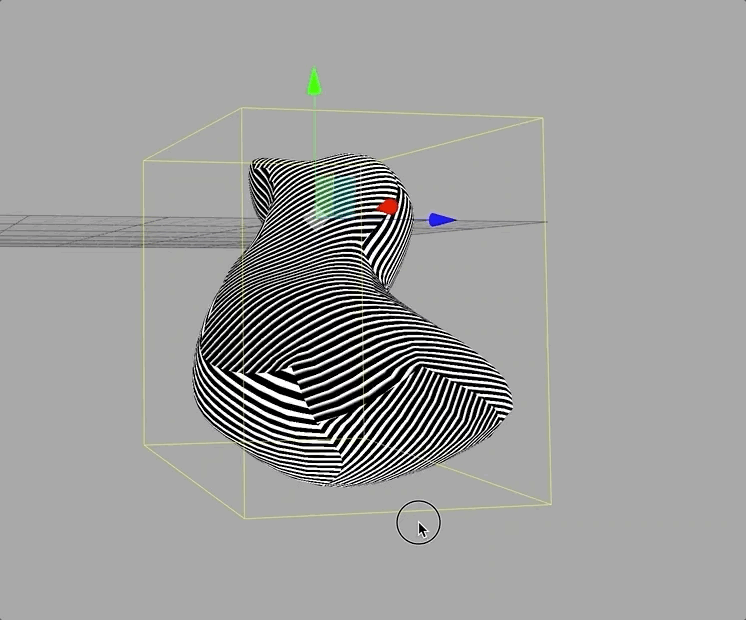
This is an example of loading a model from FBX and applying a custom ‘shader’ to it — instructing the graphics hardware of your phone / desktop to transform the vertices and fill in the pixels of your model differently.
The model loading is quite straightforward:
// a fresh start
clearAll()
// map some corner of my harddrive to /myfiles/
mapDirectory("/Users/marc/Desktop/", "/myfiles")

// load a model, send the name of the base of the tree to 'bounce' and call the code in {}
// when it's loaded
loadFBX("/myfiles/ducky.fbx", "bounce", (x) => {

    // make a custom shader
    var shad = window.newShaderForBox()

    // the 'duck' in this scene is called 'Cube'
	findByName("Cube").material = shad
})
Of course, the real action is in the custom shader. You can access the different parts of the shader using the ctrl-space menu:
Writing ‘edit fragment’ (or enough of it) and pressing return swaps you to a different ‘tab’ of the editor. ‘edit vertex’ brings you to the vertex shader, ‘edit code’ brings you back to JavaScript. Writing ‘reload shader’ causes your edits to be sent to the graphics card (and error messages to be sent back to the top of the document).
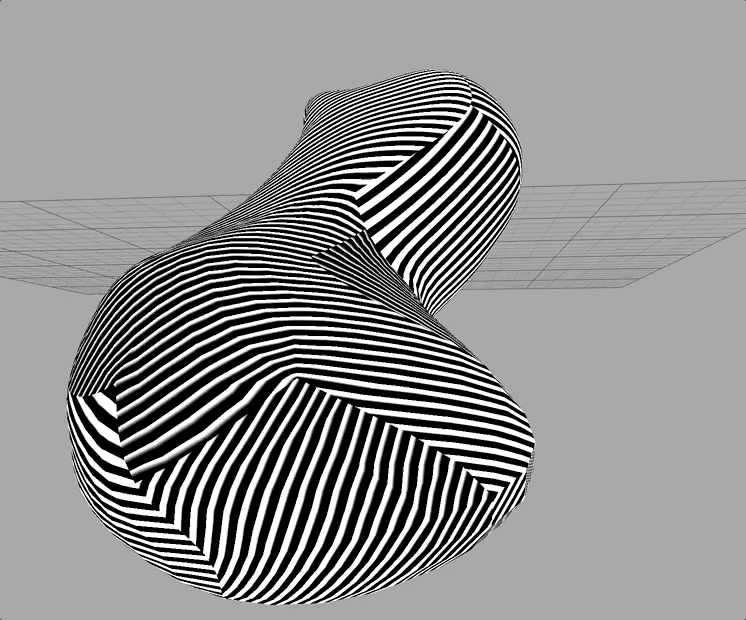
Our Vertex shader is left untouched — those vertices end up exactly where they were going to go anyway — but our fragment shader takes the existing texture coordinates that were on the model and uses them very differently:
precision highp float;
precision highp int;
// the stuff above just needs to be there

// these are _inputs_ from the vertex shader
// you'll see declarations just like these
// there
varying vec3 vNormal;
varying vec3 pos;
varying vec2 vUv;

void main()
{
    // do something 'complex' with the texture coordinates
	float d = smoothstep(0.5, 0.0+vUv.x, fract(vUv.y*80.0));

	gl_FragColor = vec4(d,d,d,1);
}
Of course, some of the power of shaders come from manipulating these complex forms from small pieces of data sent from JavaScript. If we change our declaration of the shader to include some data from JavaScript:
// 'offset' is just a regular vec2 from JavaScript
var offset = vec(0,0)
// but it is mapped into the graphics hardware under the same name 'offset'
var shad = window.newShaderForBox({offset:offset})
Now our fragment shader can read:
precision highp float;
precision highp int;
// the stuff above just needs to be there

// these are _inputs_ from the vertex shader
// you'll see declarations just like these
// there
varying vec3 vNormal;
varying vec3 pos;
varying vec2 vUv;

// HERE is the offset
uniform vec2 offset;
// --------------------

void main()
{
    // do something 'complex' with the texture coordinates
	float d = smoothstep(0.5, 0.0+vUv.x, fract(offset.x + vUv.y*80.0));

	gl_FragColor = vec4(d,d,d,1);
}
Now we can animate offset.x and animate our duck. Export offset to boxes below this box:
_.offset = offsetThen, in a connected new box:
_r = () => {
	_.offset.x += 0.01
}
Fully Alpha-Composited Video
There’s no good mobile-hardware compatible compression format for playing video that includes an animated transparency layer. This isn’t an issue for Netflix or YouTube, because it’s not like there’s anything to composite their content onto. But for us AR pioneers treating the edge of video: the places where our material yields to the world, is very important. Let’s hack our way around this limitation using custom shaders.
First, let’s recall how to load a video onto a plane:
clearAll()
mapDirectory("/Users/marc/Desktop", "/files/")
var vp = addVideoPlane("/files/a_final.mp4", "vp")
We’ve made a very special video by carefully preparing it (in After Effects):
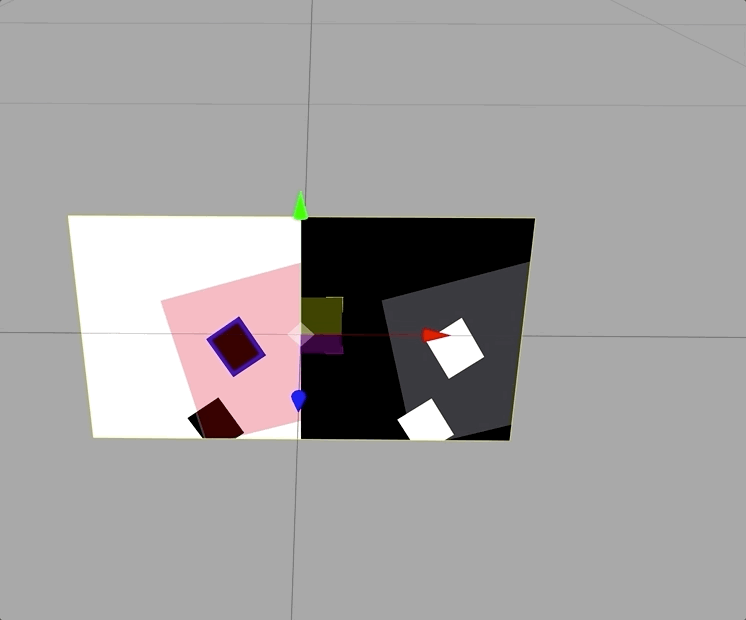
This video has some color information (what we want to draw) on the left hand side, and, on the right, corresponding transparency information. Here ‘black’ is transparent and pure white is opaque and grey the places in-between. Obviously, showing it this way doesn’t make any sense. But, with a shader, we can ‘decode’ this video and show it differently.
Let’s start with adding a custom shader, that includes the video texture map under the name map:
clearAll()
mapDirectory("/Users/marc/Desktop", "/files/")
var vp = addVideoPlane("/files/a_final.mp4", "vp")

var shader = newShaderForBox({map:vp.texture})
vp.mesh.material = shader
Just adding the shader wipes out the texturing and replaces it with a monochrome red rectangle. Let’s first restore the texturing. We want to change pixels, so we change the fragment shader:
precision highp float;
precision highp int;
// the stuff above just needs to be there

// these are _inputs_ from the vertex shader
// you'll see declarations just like these
// there
varying vec3 vNormal;
varying vec3 pos;
varying vec2 vUv;

// this is the declaration for a texture map called 'map'
uniform sampler2D map;

void main()
{
    // and this is how we look up a texture
    // given texture coordinates 'vUv'
    vec4 m1 = texture2D(map, vec2(vUv.x, vUv.y));

    gl_FragColor = vec4(m1.rgb, 1.0);
}
That gets us right back to where we were. Now let’s focus on the line vec4 m1 = ..... If we change it to
vec4 m1 = texture2D(map, vec2(vUv.x/2, vUv.y));We get the left hand side of the texture stretched over the whole thing:
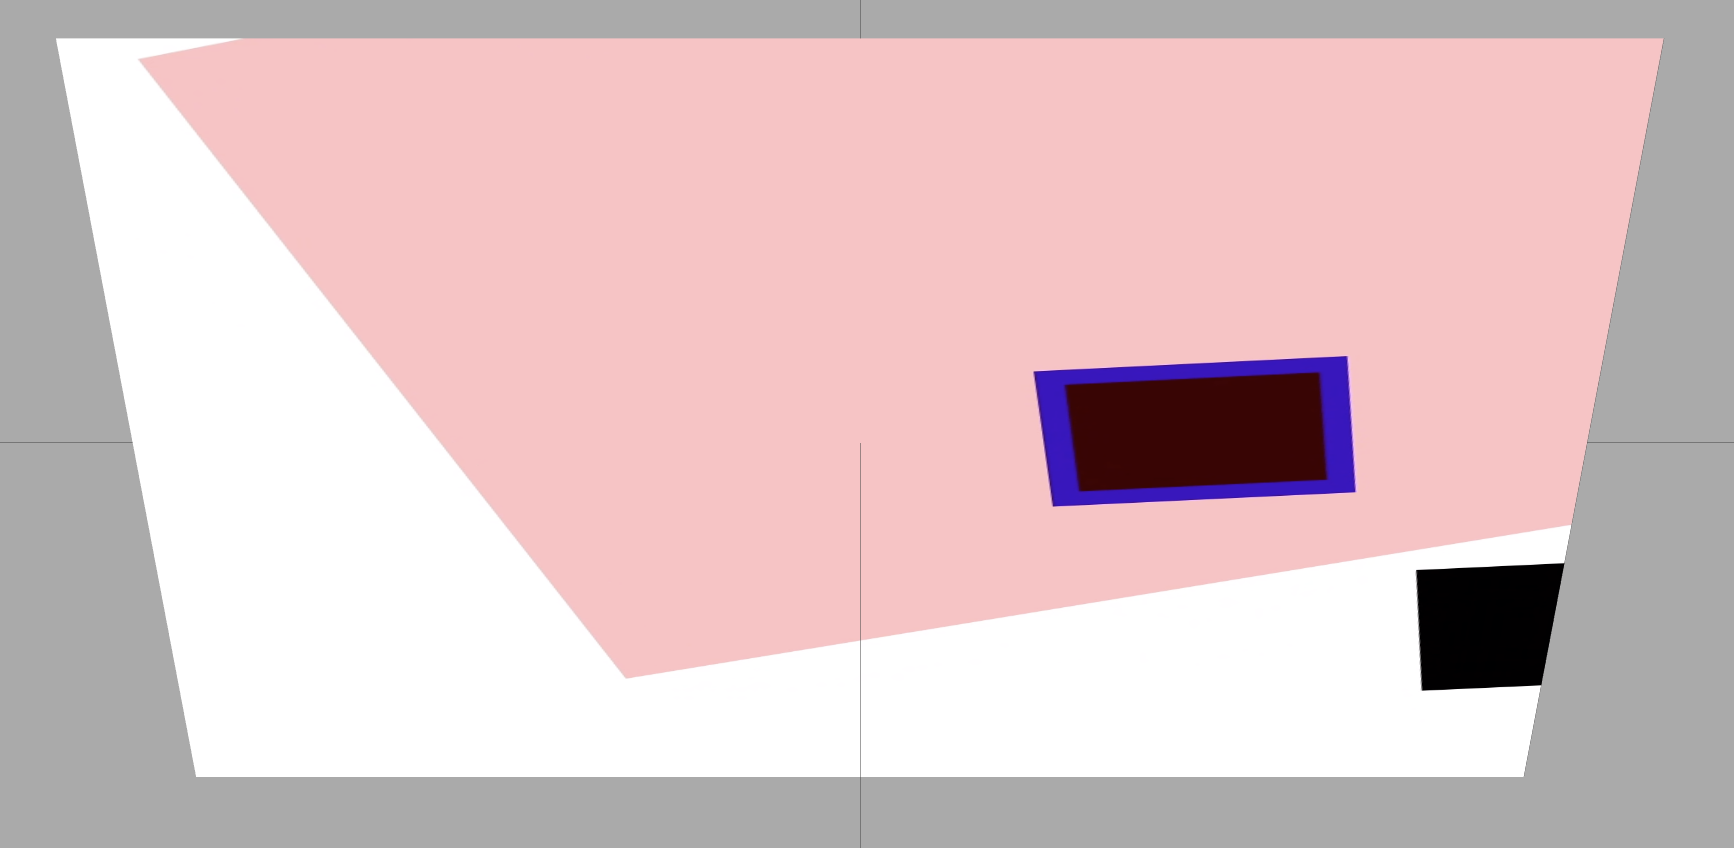
While
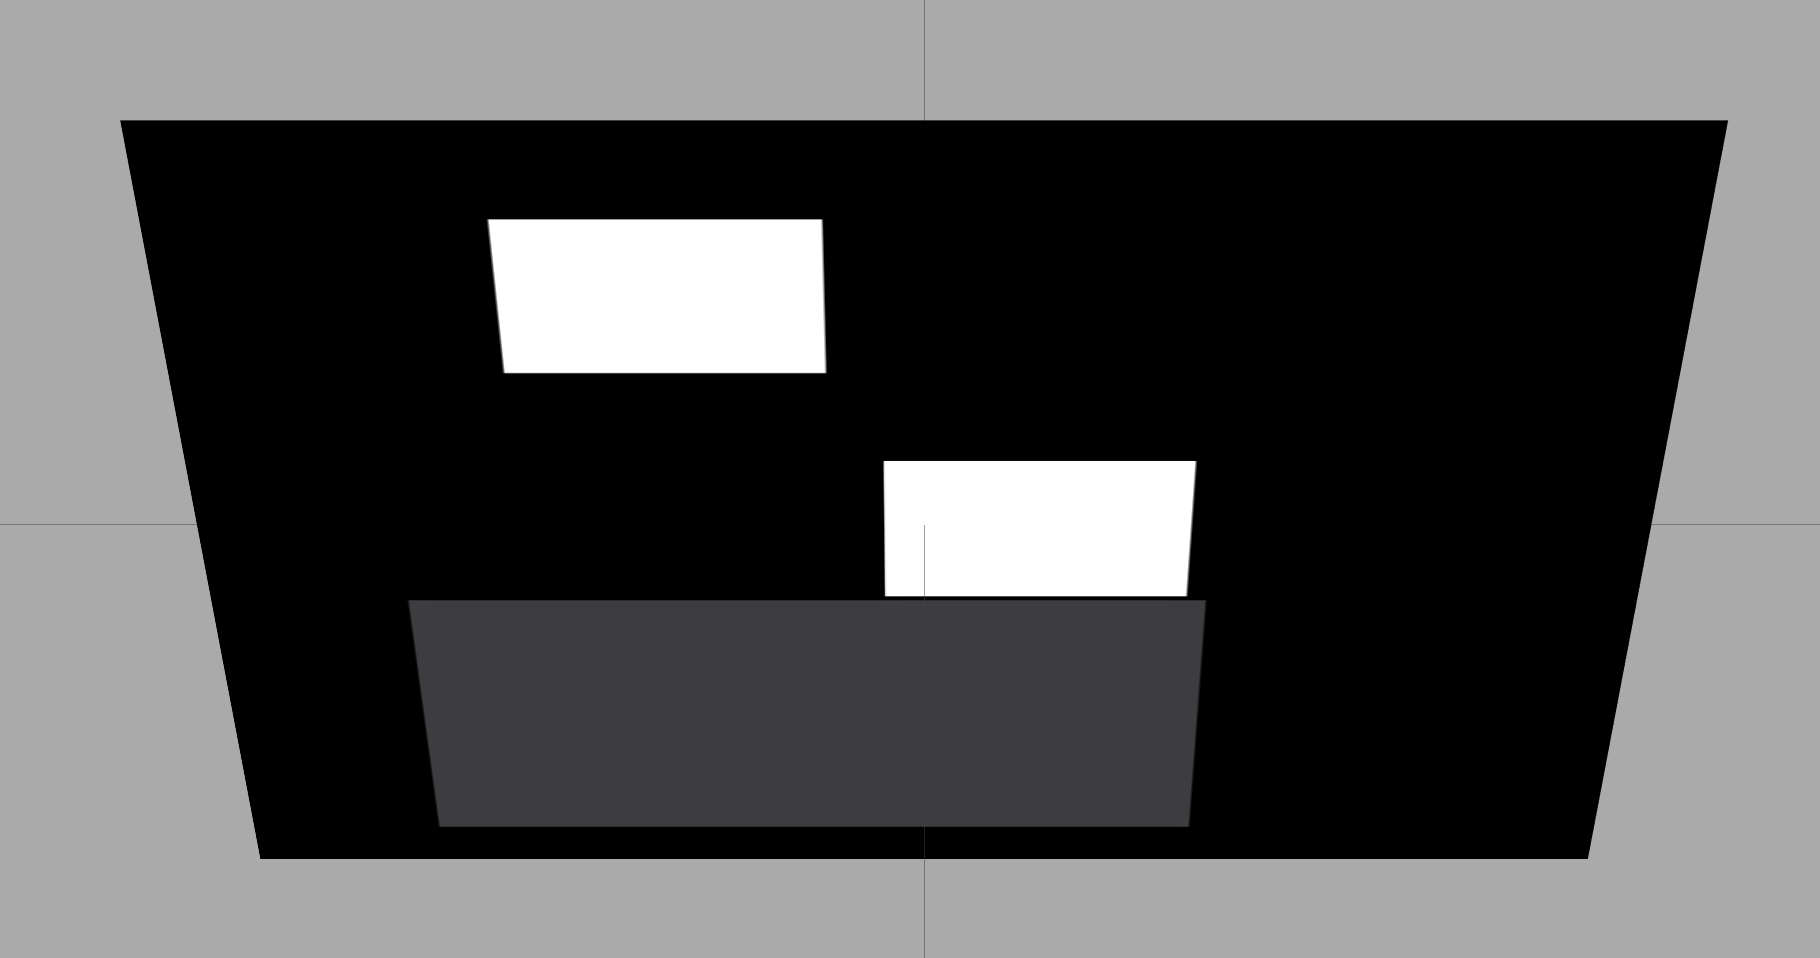
vec4 m1 = texture2D(map, vec2(vUv.x/2.0 + 0.5, vUv.y));Gets us the right half:
Now we can finish the task:
precision highp float;
precision highp int;
// the stuff above just needs to be there

// these are _inputs_ from the vertex shader
// you'll see declarations just like these
// there
varying vec3 vNormal;
varying vec3 pos;
varying vec2 vUv;

// this is the declaration for a texture map called 'map'
uniform sampler2D map;

void main()
{
    // and this is how we look up a texture
    // given texture coordinates 'vUv'
    vec4 m1 = texture2D(map, vec2(vUv.x/2.0, vUv.y));
    vec4 m2 = texture2D(map, vec2(vUv.x/2.0+0.5, vUv.y));

    gl_FragColor = vec4(m1.rgb, m2.r);
}
This gives us an alpha blended movie like the gif in the opening to this section. The left half here maps to color and the right maps to alpha.
Now we are off to the races! To feather the border of everything, consider this cryptic edit:
// same as above ...
    float ax = vUv.x*(1.0-vUv.x)*4.0;
    float ay = vUv.y*(1.0-vUv.y)*4.0;
    float aa = ax*ay;
    aa = pow(aa, 0.5);

    // in Javascript we'd call this 'vec'
    // but here we have to say vec4
    // this is our translucent red
    gl_FragColor = vec4(m1.rgb, m2.r*aa);
}
Yielding a smooth transition to transparent regardless of the contents of the video:
Study float ax = vUv.x*(1.0-vUv.x)*4.0; in the knowledge that vUV.x goes from 0 to 1 across the video plane.
Live microphone input [half-duplex only on iOS]
After this video here I give you live microphone input in Field:
// blank canvas
clearAll()
// call to tell iOS that you want in rather than out
window.beginLiveAudioInput()
var average = 0
_r = () => {
// grab an array of microphone values (around 1024)
var a = window.getLiveAudioInput()
var f = new FLine()
// find a spot 0.5m in front of the camera
var center = getCurrentCamera().position + getCurrentCamera().forward*0.5
// keep track of the average
average = 0
// draw the waveform in a circle
for(var i=0;i<a.length;i++)
{
var theta = Math.PI*2*i/a.length
var r = 0.1+a[i]
var x = Math.sin(theta)*r
var y = Math.cos(theta)*r
average += Math.abs(a[i])
f.lineTo(x, y, 0)
}
// compute the average
average /= a.length
// move 'f' to be in the right spot
f = f + center
// fill it
f.filled = true
// if it is above a certain threshold add the shape to the scene
if (average>0.1)
{
print("ADDED!")
stage.add(f)
}
else
{
// otherwise keep it there for only one frame
stage.f = f
}
}
// this is here, because I set that threshold of 0.1
// by repeatedly printing what average actually was while making sounds
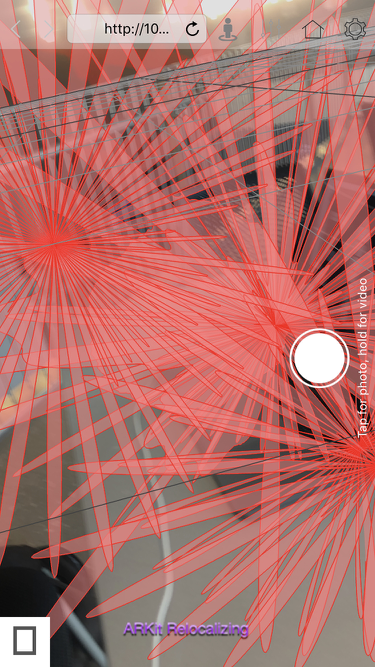
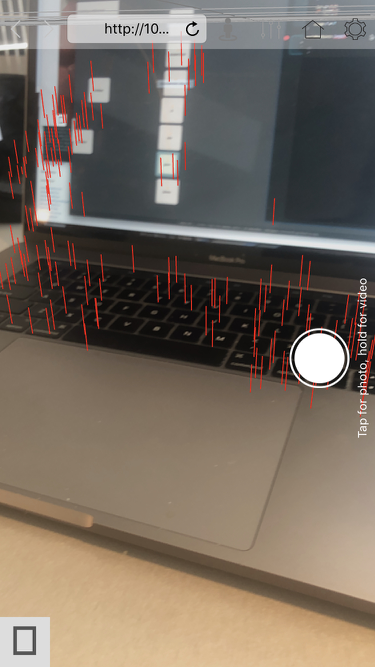
print(average)More “World Sensing” 1 — keypoints [iOS]
This code give access to the keypoints currently sensed by the phone
clearAll()
// tells the phone to update our copy of the world points
updateWorldMapPoints()
var len = 0
_r = () => {
var f = new FLine()
for(var i=0;i<worldMapPoints.length;i++)
{
// worldMapPoints is an array of arrays containing the raw
// position data.
f.moveTo(worldMapPoints[i][0], worldMapPoints[i][1], worldMapPoints[i][2])
// we are going to make it grow upwards from various surfaces
f.lineTo(worldMapPoints[i][0], worldMapPoints[i][1]+len, worldMapPoints[i][2])
}
// and then reset 'len' when its too long
len += 0.01
if (len>0.2)
len = 0
stage.f = f
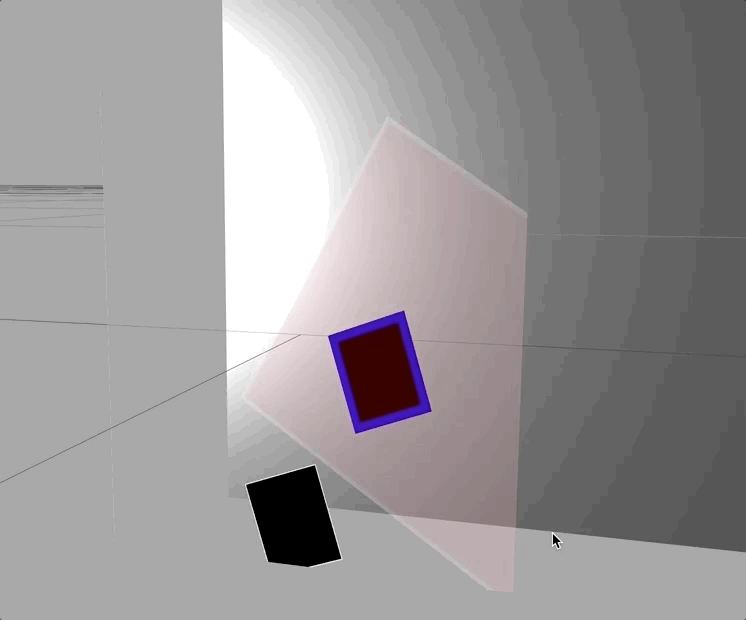
}More “World Sensing” 2 — planes [iOS]
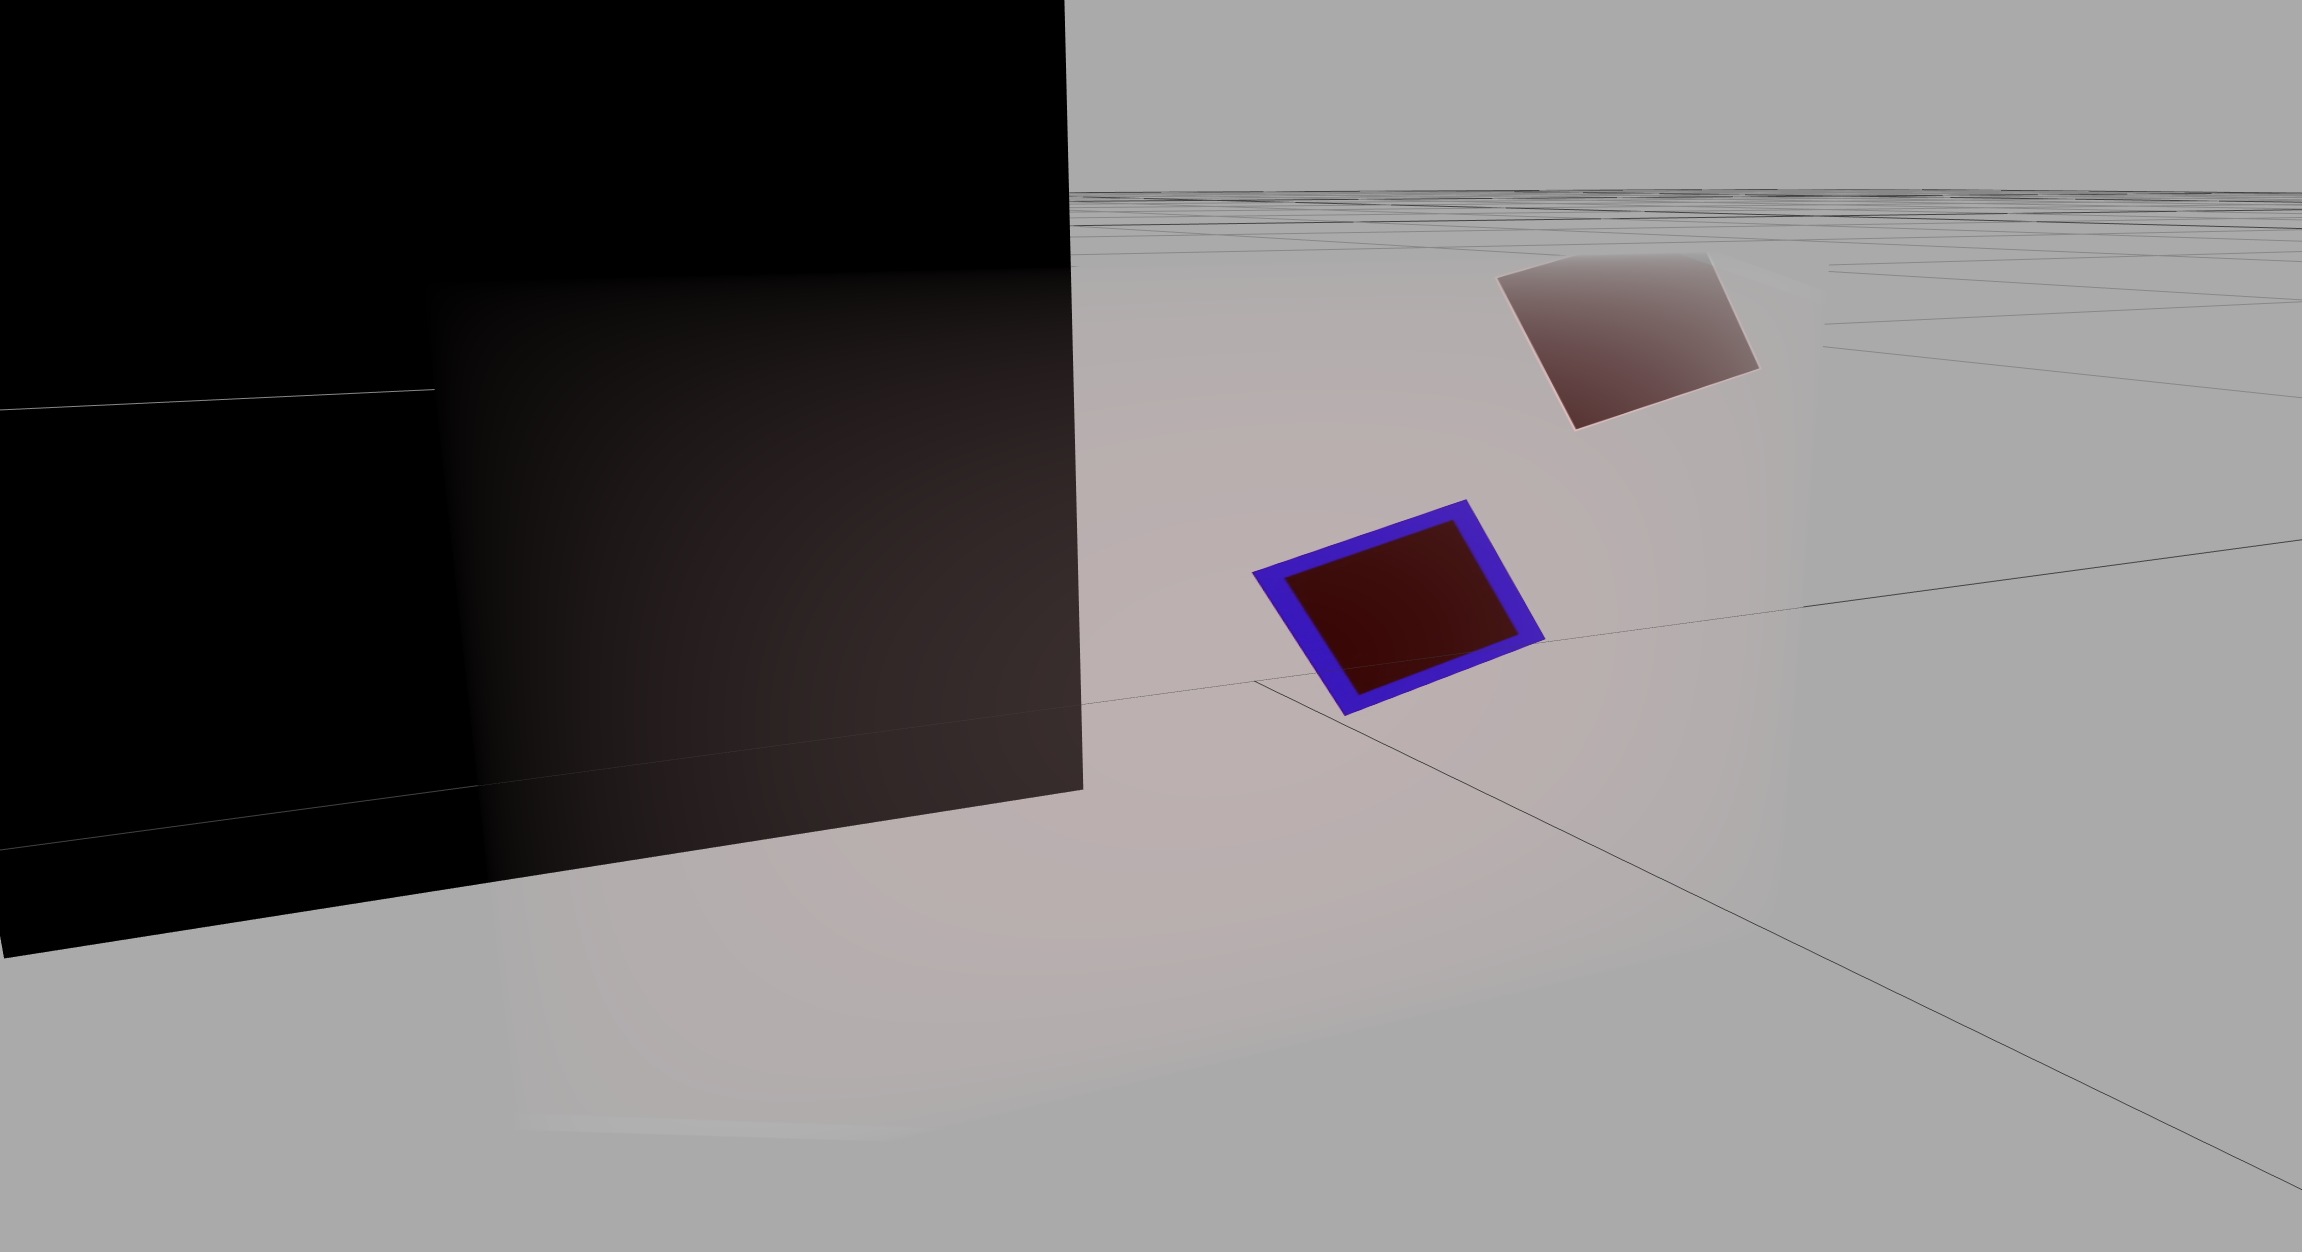
This screenshot shows a cube peeking out of a ‘plane’ made out of FLine:
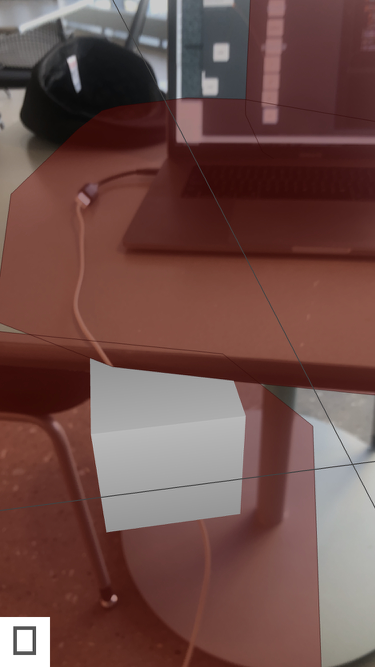
This is the code that digs out the current plane information from ARKit and draws it on the screen. We’ve drawn the FLine with a red translucent fill, but if we’d drawn it completely transparently it would ‘correctly’ occlude other objects in the scene.
// here we go!!
var data = navigator.XR._displays[0]._arKitWrapper.getData()
// clear everything
clearAll()
// our test box
var bob = addBox("bob")
bob.mesh.scale.x = 0.1
bob.mesh.scale.y = 0.1
bob.mesh.scale.z = 0.1
// our test light
var peach = addPointLight("peach")
// got spelunking for planes
for(var o of data.objects)
{
if (o.plane_center)
{
var t = new THREE.Matrix4()
t.fromArray(o.transform)
var first = true
var f = new FLine()
for(var v of o.geometry.boundaryVertices)
{
var x = vec(v.x, v.y, v.z).applyMatrix4(t)
if (first)
f.moveTo(x)
else
f.lineTo(x)
first = false
}
f.filled=true
f.stroked=true
f.color=vec(0.2,0.0,0.0,0.4)
stage.add(f)
// make sure that these planes truely occlude
f.fill.material.transparent=false
f.fill.material.depthTest=true
}
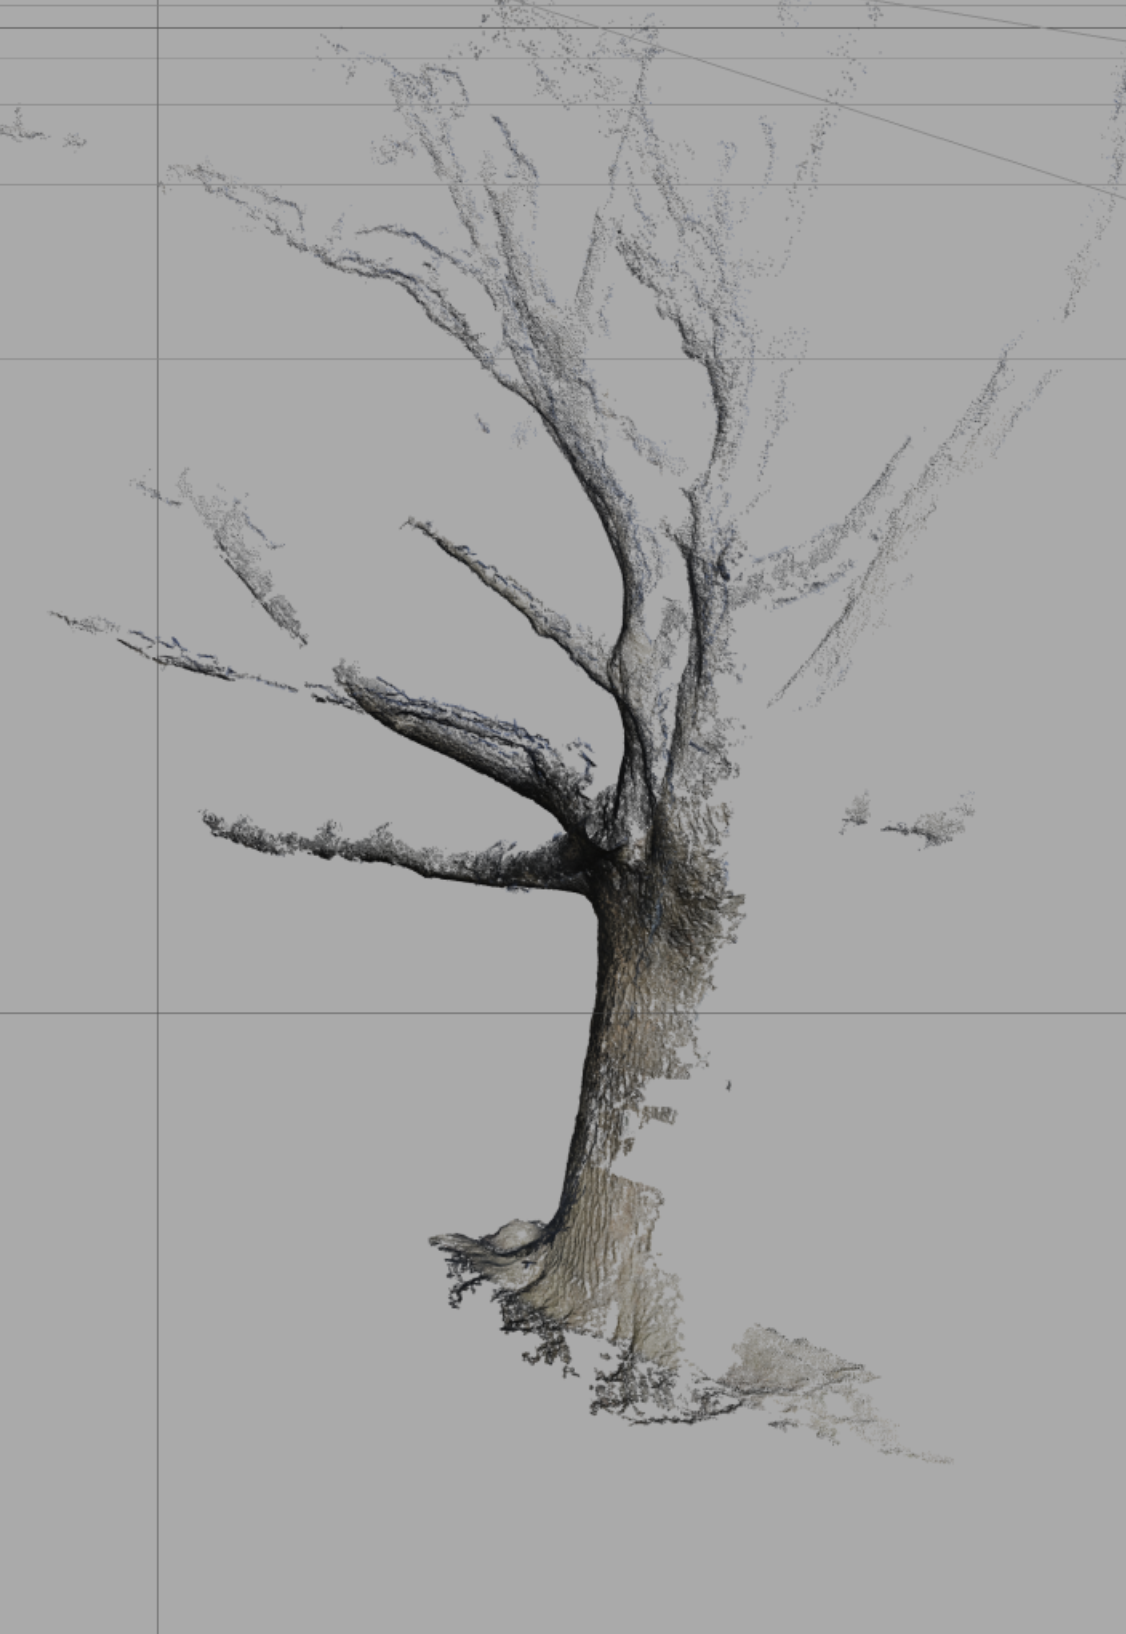
}More shading — The collapsing tree
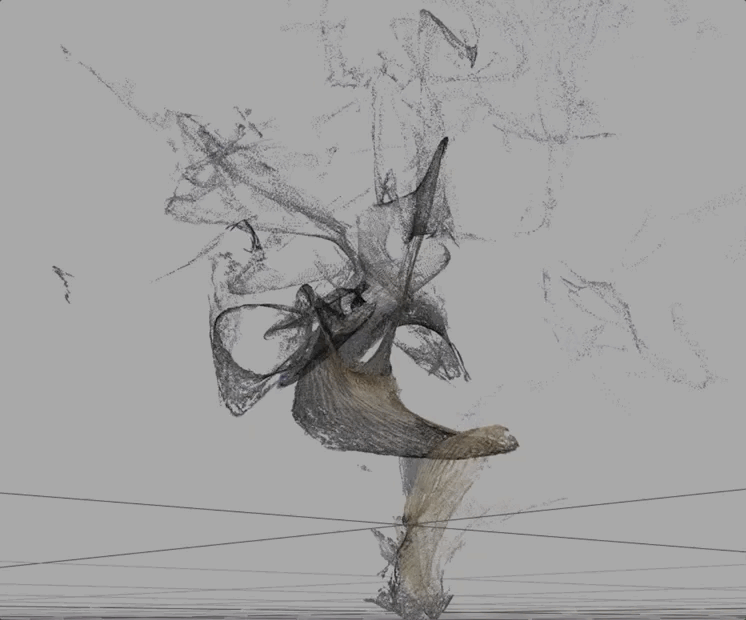
Two things together. Firstly a point cloud stored in a ply file:
clearAll()
mapDirectory("/Users/marc/Pictures/tree_half/pmvs/models/", "/o2/")

var m
loadPointCloudPLY("/o2/option-0002.ply", "p3", (e) => {
	print(e)
	m = findByName("p3")

	m.scale.x = 0.05
	m.scale.y = 0.05
	m.scale.z = 0.05

	m.material.size=0.001
	m.material.opacity=0.5

    // found in the editor and copied out
	m.rotation.x = Math.PI*76.87/180
	m.rotation.y = Math.PI*-41.5/180
	m.rotation.z = Math.PI*-27.25/180

	m.position.y = 0.

})
That gets us:
And then a (very) custom vertex shader:
precision highp float;
precision highp int;
// those two lines just need to be there at the start

uniform float size;

// this is an 'attribute' - it is associated
// with each _vertex_
attribute vec3 position;

// similarily this is a texture coordinate
// that's on a vertex
attribute vec2 uv;
// this is an _output_. It's computed here and sent
// onwards to the fragment shader
varying vec2 vUv;

// same as uv above
attribute vec3 normal;
varying vec3 vNormal;

attribute vec3 color;
varying vec3 vColor;

// these are _uniforms_: they don't vary from vertex
// to vertex. These are associated whith the whole
// mesh. These are matrices that define where the camera
// is and what it can see
uniform mat3 normalMatrix;
uniform mat4 modelViewMatrix;
uniform mat4 modelMatrix;
uniform mat4 viewMatrix;
uniform mat4 projectionMatrix;


// cribbed from the mighty Patricio Gonzalez Vivo -----
// who has curated some
// 'standard' noise functions in glsl here:
// https://gist.github.com/patriciogonzalezvivo/670c22f3966e662d2f83
float mod289(float x){return x - floor(x * (1.0 / 289.0)) * 289.0;}
vec4 mod289(vec4 x){return x - floor(x * (1.0 / 289.0)) * 289.0;}
vec4 perm(vec4 x){return mod289(((x * 34.0) + 1.0) * x);}

float noise(vec3 p){
    vec3 a = floor(p);
    vec3 d = p - a;
    d = d * d * (3.0 - 2.0 * d);

    vec4 b = a.xxyy + vec4(0.0, 1.0, alpha.y/900.0, 1.0);
    vec4 k1 = perm(b.xyxy);
    vec4 k2 = perm(k1.xyxy + b.zzww);

    vec4 c = k2 + a.zzzz;
    vec4 k3 = perm(c);
    vec4 k4 = perm(c + 1.0);

    vec4 o1 = fract(k3 * (1.0 / 41.0));
    vec4 o2 = fract(k4 * (1.0 / 41.0));

    vec4 o3 = o2 * d.z + o1 * (1.0 - d.z);
    vec2 o4 = o3.yw * d.x + o3.xz * (1.0 - d.x);

    return (o4.y * d.y + o4.x * (1.0 - d.y))*10.0;
}

// ---------------


// this is our main input to the shader, we change this, we can change
// where the tree goes
uniform vec2 alpha;


void main()
{
    // we just copy the input texture coordinate
    // to the outuput
    vUv = uv;

	vec3 p = position;

    // think hard about what this is doing
	p.x = noise(position.xyz)*alpha.x+(1.0-alpha.x)*position.x;
	p.y = noise(position.zyx)*alpha.x+(1.0-alpha.x)*position.y;
	p.z = noise(position.yxz)*alpha.x+(1.0-alpha.x)*position.z;

    // we transform the _position_ by the camera
    gl_Position = modelViewMatrix * vec4( p, 1.0);

	float z = gl_Position.z;

    // and project it onto the screen
    gl_Position = projectionMatrix  * gl_Position;

    // and figure out what this does to the normal
    vNormal = normalMatrix * normal;

	// compute and pass along a point size
	gl_PointSize = size;
	gl_PointSize = ( 0.5 / -z );

	// pass along the vertex color
	vColor = color*3.0;
}
And a fragment shader to color things correctly:
precision highp float;
precision highp int;
// the stuff above just needs to be there

// these are _inputs_ from the vertex shader
// you'll see declarations just like these
// there
varying vec3 vNormal;
varying vec3 pos;
//varying vec2 vUv;

varying vec3 vColor;

// this is the declaration for a texture map called 'map
uniform sampler2D map;

void main()
{
    // and this is how we look up a texture
    // given texture coordinates 'vUv'
    vec4 m = texture2D(map, gl_PointCoord.xy)*1.0;


    // in Javascript we'd call this 'vec'
    // but here we have to say vec4
    // this is our translucent red
    gl_FragColor = vec4(m.rgb*vColor.rgb*m.a*2.0, m.a);

}
If you look carefully at the vertex shader you’ll see this line here:
uniform vec2 alpha;That is our route in, we can conspire to set alpha from JavaScript and have it sent to the shader.
Let’s connect all these things togther:
// find out point cloud
var m = findByName("p3")
var alpha = vec(0,0)

var shad = newShaderForBox({alpha:alpha})
m.mesh.material = shad
Now we can animate alpha.x to distort all of our points.