Sketch 1 — Slit Scan
For this sketch we’ll focus on exploring a digital version of the flexible slit scan technique. You are free to explore this system using any tool you can find online (but try to be as aware as possible of the limitations and tendencies of the tools you find). For example, I particularly like this one.
But one tool that might help you get straight to the heart of the slit scan object is Field.
You’ll need the following ingredients:
- A working copy of Field — installation instructions are here.
- A video to explore!
- A way of turning that video into a directory of jpg files (one such suggestion is here, but if all else fails send it to Marc).
- Some code that asks Field to run some slit scan over the ‘video cube’ that I drew on the whiteboard during class.
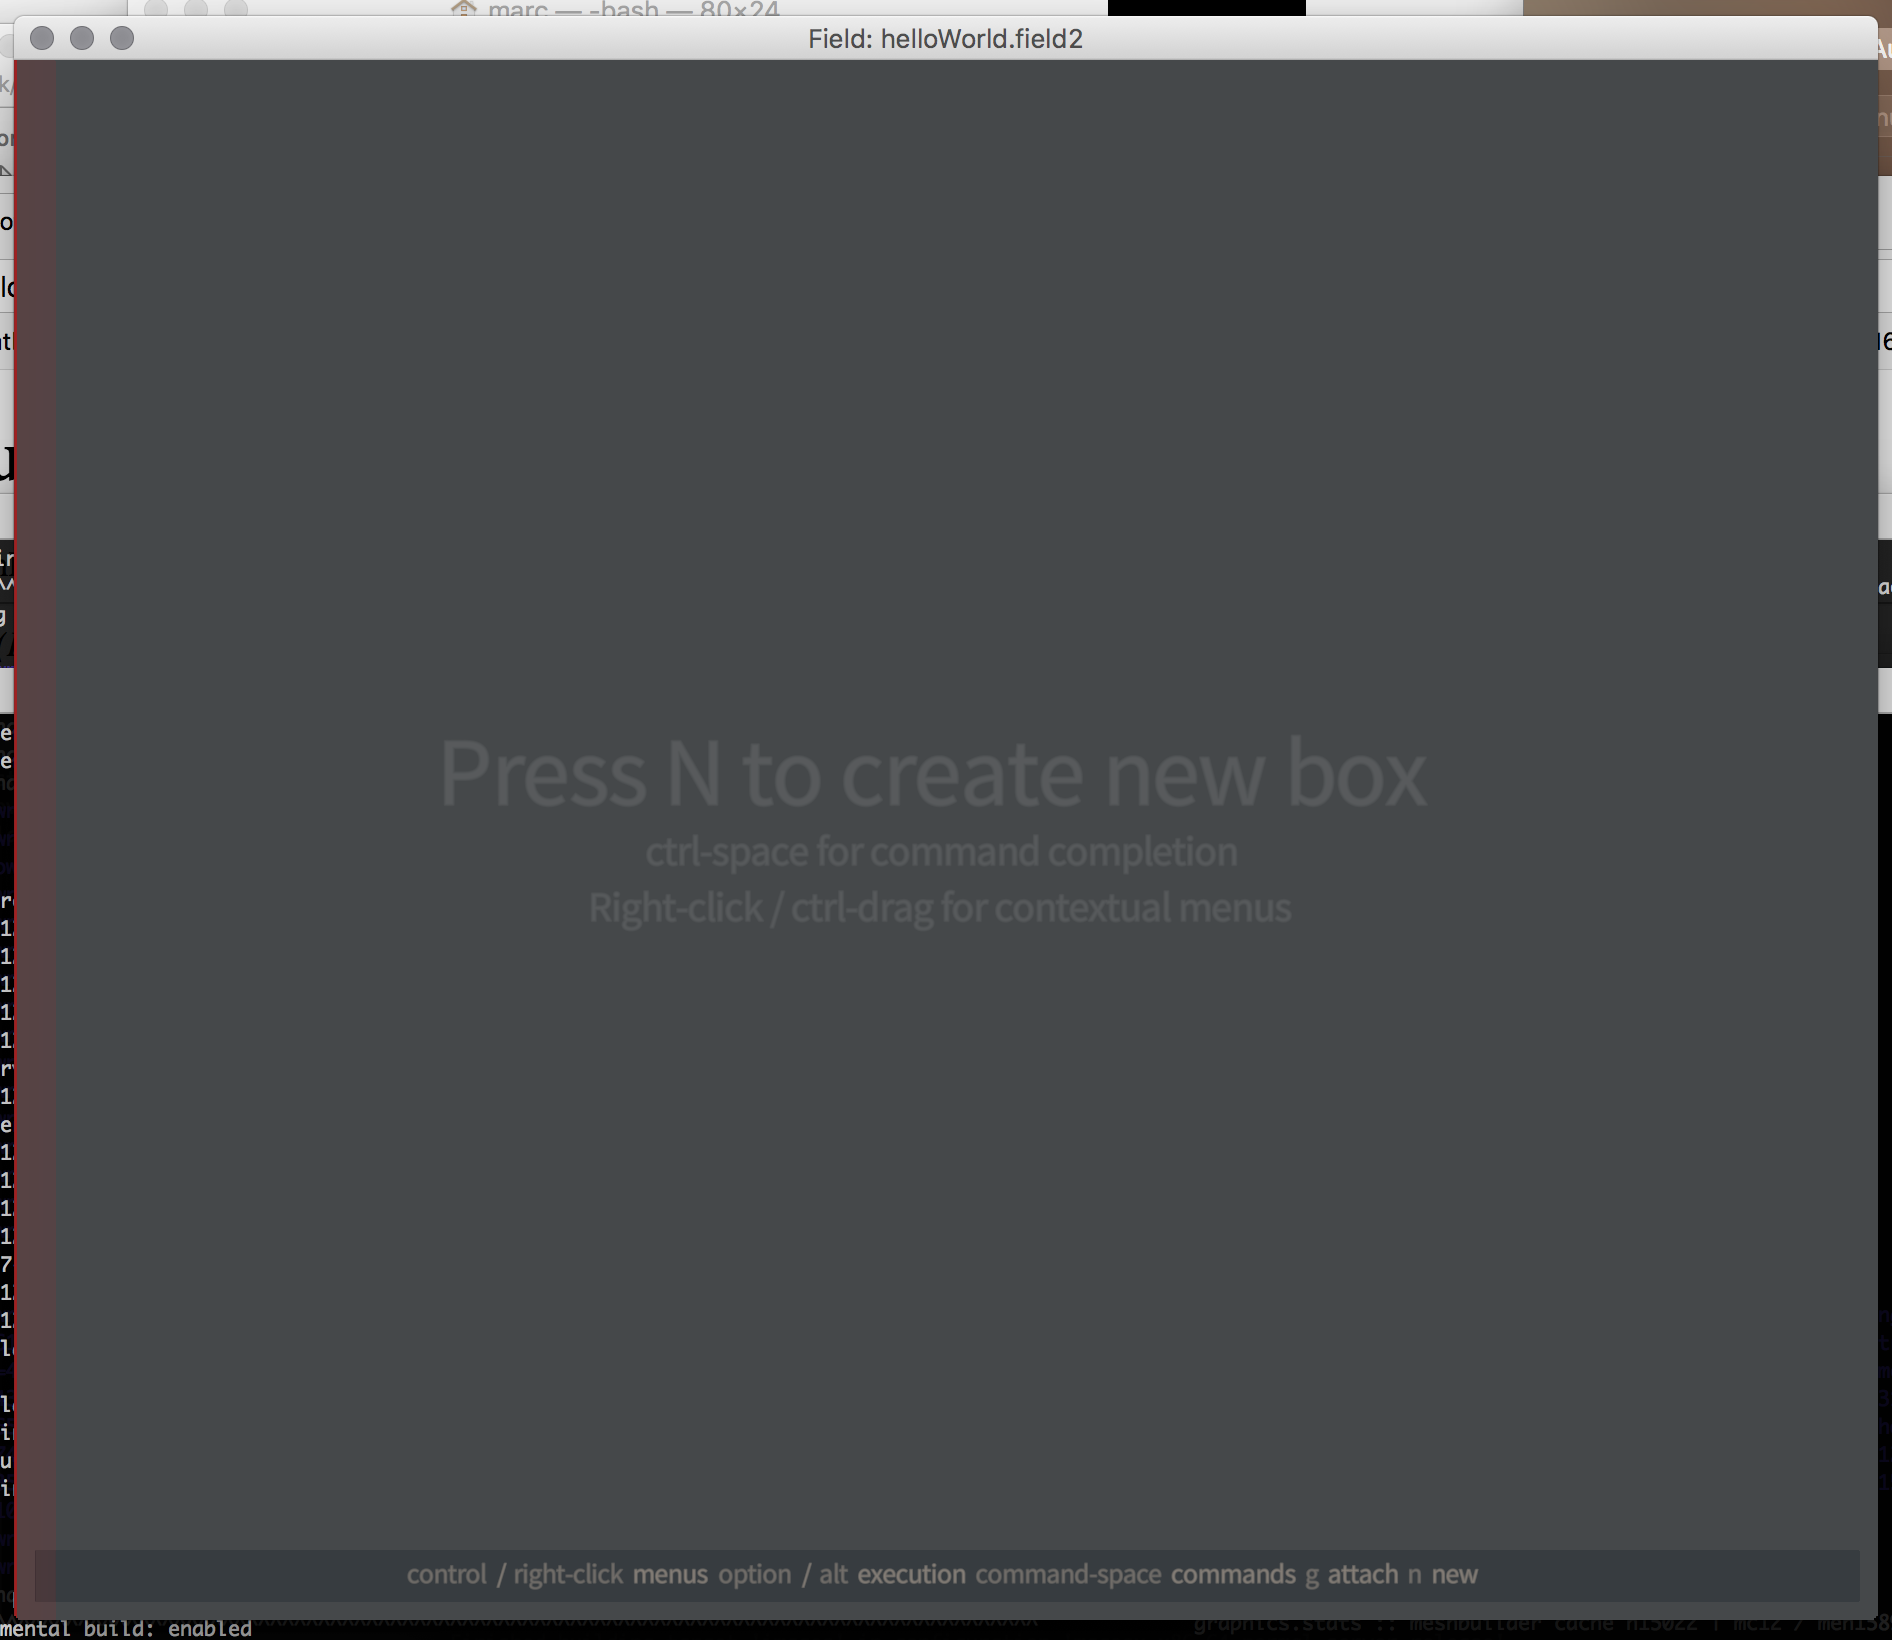
Opening Field will present you with a screen like:

Pressing ‘n’ (like the window says) should give you a new box to put some code in. Try this code to get started:
var SlitScanner = Java.type("trace.util.SlitScanner")
var ss = new SlitScanner("x:/IMG_3774.MOV.dir/")

ss.buildImage("x:/IMG_3774.MOV.dir.slit1.jpg", 1920,1080, (x,y,z, output) => {
    output.x = x
    output.y = y
    output.z = 0.5
})
You can run this code using alt or option - up-arrow. But you’ll get an error — it’s talking about video files on my computer, not your computer. You need to edit the code.
There’s a lot going on here, don’t panic. Some notes:
-
x:/IMG_3774.MOV.dir/— this is the name of the directory you want to scan over. It’s almost certainly wrong (that is: it’s a directory on my machine not yours). For a mac you’ll want something like/Users/yourname/Desktop/mygreatDirectory, for a Windows machine something likec:/Users/yourname/Desktop/mygreatDirectory/. Precision here is important. -
x:/IMG_3774.MOV.dir.slit1.jpg— this is the name of the file you want to make. Again, it’s almost certainly wrong. Try/Users/yourname/Desktop/awesome.jpg,c:/Users/yourname/Desktop/greatJPG.jpgetc. -
1920,1080— determines the size of the image you want to make. Could be anything you like. Bigger images take longer to compute. -
output.x = x— now we are getting to the interesting part! This line and the two lines that follow tell Field what shape you want to carve out of the ‘video cube’. Three numbers come in, calledx,y,z, and three numbers go out, calledoutput.x,output.y,output.z. Right now we are just passingxandythrough undisturbed and settingoutput.zto be 0.5. This simply rebuilds the ‘middle’ image of our video cube – that is, the the frame that occurs right in the middle of your video sequence.
The next thing to try is code tiny alteration:
var SlitScanner = Java.type("trace.util.SlitScanner")
var ss = new SlitScanner("x:/IMG_3774.MOV.dir/")

ss.buildImage("x:/IMG_3774.MOV.dir.slit1.jpg", 1920,1080, (x,y,z, output) => {
    output.x = x/2
    output.y = y
    output.z = 0.5
})
Make a change; make a prediction; look at the result; repeat.
Things to try, include: all manner of grade-school math. x*x, x*y, Math.sin(x*10)*0.5+0.5 etc. All the variables range from 0 to 1 (from the top-left-front corner of the cube to the bottom-right-back corner of the cube). Other ‘functions’ you might try include Math.cos, Math.random() … Try to make sure that you are producing numbers that go from 0 to 1 (that’s why, for example, we do Math.sin(x*10)*0.5 + 0.5 otherwise Math.sin will happily go from -1 to 1). If you would like the computer to remind you what these functions look like, try just typing x*x into https://www.wolframalpha.com/.
Secondly, once you have your bearings, try an animation:
var SlitScanner = Java.type("trace.util.SlitScanner")
var ss = new SlitScanner("x:/IMG_3774.MOV.dir/")

ss.buildVideoSequence("x:/IMG_3774.MOV.dir.slit1.dir", 1920,1080, 30, (x,y,z, output) => {
    output.x = x
    output.y = y
    output.z = z
})
This takes an extra parameter (here 30) that says how long an animation we want to produce. Now z varies from 0 to 1 as the animation is produced. This will take at least 30 times longer to run, so, proceed carefully!
Prompts
- Catch sight of something interesting and go in search of it. It’s an experiement because we don’t know what’s going to happen ahead of time. We’re staging an interaction between material and math out of which something unexpected happens.
- What does this encourage / provoke? — any formal system (or, here, system of systems) makes some things easy to find and other things difficult. Try to characterize this landscape. What formal manipulations fit easily to this ‘video cube’ model that appear elsewhere?
- How would you do this differently — what, non ‘mathematical’ way might there be to achieve the same ends? What other products, what other interfaces can yield a similar landscape to explore?
- What’s next? — what does this lead to, what can you add to it, where do these additions fit in, what other software tools can be brought to bear on the inputs and outputs of this system?
Other resources
The main index is simply here. Don’t miss the survival guide and the introduction to Javascript.