
Advanced: More 2D Physics
Here’s a ‘game’ that takes your FLine vocabulary & knowledge and moves it almost all the way towards actual gameplay. Let’s aim to build four boxes:

These will build a character and a world, manage the (physics) simulation of the character and a world, manage interaction (through keyboard presses), and manage the camera on the layer. You’ll be able to translate, in your head, many computer games into this quartet of tasks that sit at the core of many computer games. Of course, lots of other things (keeping the score, the networking code, non-player characters, the level loading etc.) sit around this core, but this is the core quartet.
Let’s proceed in turn.
The world and the character
// let's put everything in its own layer
var main = _.stage.withName("main")

// the 'player' character is a filled triangle
var player = new FLine()
player.moveTo(45,40).lineTo(50,30).lineTo(55,40)
player.filled = true
player.color = vec(1,1,1,0.2)
main.lines.player = player

// the 'world' is a floor
var floor = new FLine()
floor.rect(-10, 90, 120, 10)
floor.color = vec(0.3,0.8,1,0.2)
floor.filled = true
main.lines.floor = floor
That’s it! The simplest player character and world:

We can make a more complex world by making a more complex floor:
var floor = new FLine()
for(var i=0;i<30;i++)
{
	floor.rect(i*100, 90-Math.random()*50, 90, 10)
}
That will make 30 random rectangles stretching away to the right of the screen.
Physics
Next, some animation, specifically some physics.
// grab hold of the layer 'main', the floor and the player
var main = _.stage.withName("main")
var floor = main.lines.floor
var player  = main.lines.player

// add physics to this world
var ps = new PhysicsSystem()
ps.addPhysics(player)
ps.addPhysics(floor)

// the floor doesn't move
floor.physics.setFixed()
// and it doesn't bounce
floor.physics.setRestitution(0)

// the player doesn't bounce as much as usual
player.physics.setRestitution(0.5)

// gravity points downwards
ps.setGravity(vec(0,500))

// and we'll do this forever
while(_.stage.frame())
{
	ps.update()
}
Now our triangle falls:
Input (keyboard)
This is the missing ingredient — actual interactive input.
// same as before, dig out the player FLine
var main = _.stage.withName("main")
var player  = main.lines.player

// this reads: when up is pressed do this
_.stage.keyboard.edge_down.up = () => {
	player.physics.applyForce(vec(0,-20))
	return true
}
// this reads: when left is pressed do this
_.stage.keyboard.edge_down.left = () => {
	player.physics.applyForce(vec(-10,0))
	return true
}

// this reads: when right is pressed do this
_.stage.keyboard.edge_down.right = () => {
	player.physics.applyForce(vec(10,0))
	return true
}
Now in a full game the interaction between the interaction and the physics engine might be quite a bit subtler than this (for example, we’ll find that we can jump even when we are in the air). You can finesse the contents of _.stage.keyboard.edge_down.up quite a bit more than this (to permit double-jumps for example). But still, with this, we get a playable game:
Camera
The last stage is to move the camera around so that we can explore our proceedurally defined random level of rectangles. Creating the illusion of camera motion, in particular panning in 1 or 2 dimensions, was, in some sense, the primary occupation of many game engines in the 80s and 90s when software and hardware would go to incredible lengths to use panning — all to suggest that the screen was just like the frame of film: merely a window onto a larger world.
For us, however, its easy: layers have 2d cameras:
var main = _.stage.withName("main")
var player  = main.lines.player

// for all frames
while(_.stage.frame())
{
	var alpha = 0.99

	// this reads 'make main.translation equal to 99% itself + 1% something else
	// where that something else moves the camera to look at the player
	main.translation = main.translation*alpha + (1-alpha)*(player.center() - vec(50,50))*-1
}
Now we can explore (if we’re good enough at platformers):
This kind of camera control can be scene as a physics simulation in and of itself (a kind of ‘damped spring’). There’s a long tradition of constrainted, physics like approaches to cameras in computer games — you’ll see this everywhere from The Witcher 3 through early Legends of Zelda.
Prompts:
- How to build a real jump system (hint: use contact events to figure out if the character is in contact with something)
- Finish this: scoring, camera constraints, etc.
Advanced: Texturing and Atlases
In the above example we’ve constructed everything in an untextured Stage layer called ‘main’. We can build into a textured layer like things:
var Rect = Java.type('field.utility.Rect')
var main = _.stage.withTexture("/Users/marc/Desktop/grid.jpg")
Where ‘grid.jpg’ is a jpg that we want to be able available for texturing geometry in that layer (note, we might want to put the player in a different layer from the background, and we’ll almost certainly want to break the background up into more than one FLine to give us better control over how it’s textured ).
Once we’ve studied the texturing documentation for Stage we’ll realize that we have a bit of a problem: since the physics engine is continually, and magically, rewriting our FLine to reflect how it moves under the control of physics, how do texture it? We’ve added a new call to physics for the most common case:
player.physics.textureRect = new Rect(2/5.0, 2.0/7 , 1/5.0, 1/7.0)setting textureRect on physics object causes the engine to map the (rectangular) bounds of an FLine to a particular (rectangular) portion of the layer’s texture. Here’ we’ve mapped it to rectangle that starts at x=2/5.0, y=2/7.0 and has width=1/5.0 and height 1/7.0. This will make sense if we look at our test texture:
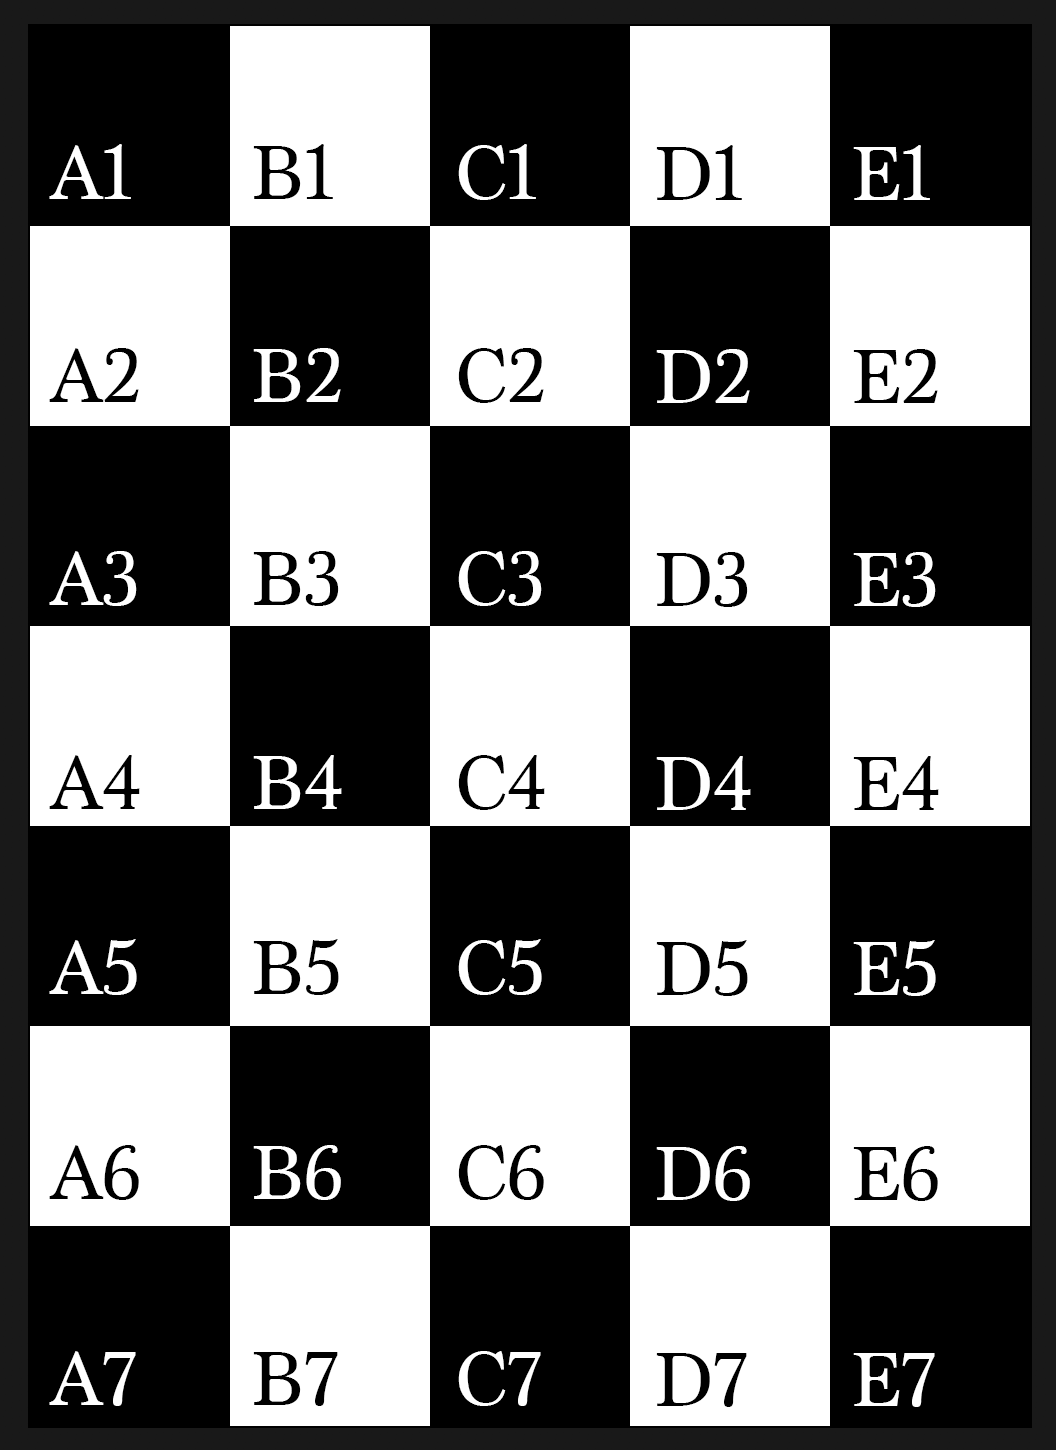
The texture atlas, as it is called, is actually a 5x7 grid of little images. We’ve mapped the 3rd from the left, 3rd from the top square to the body of our character (we’ve also made it a square)
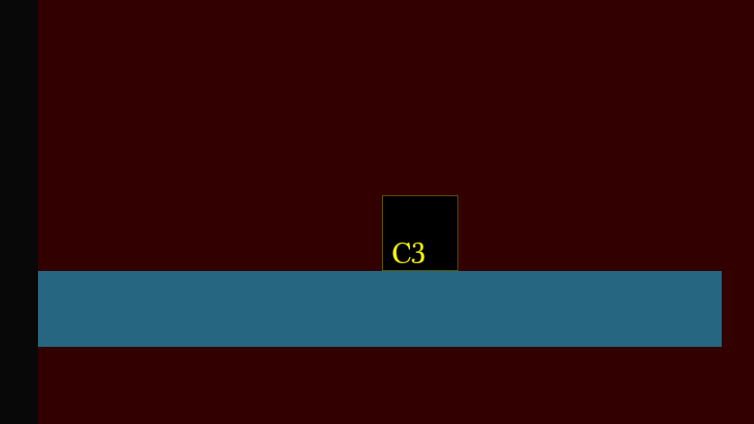
If we design a function like this:
var setPlayerCell = (x,y) => {
	player.physics.textureRect = new Rect(x/5,y/7,1/5.0, 1/7.0)
}
setPlayerCell(2,2)
Then we’ll be able to set, for our 5x7 texture map, which little image goes on our character when with a single call.